How to turn off adaptive triggers in Skull and Bones

Skull and Bones support the adaptive triggers of the DualSense as you will feel resistance when pressing down on the L2 and R2 buttons. If you would rather disable this controller feature, then you can check out this guide from Seeking Tech to see how you can do so.

1. To begin, head over to the Settings menu and then view the Controller tab.

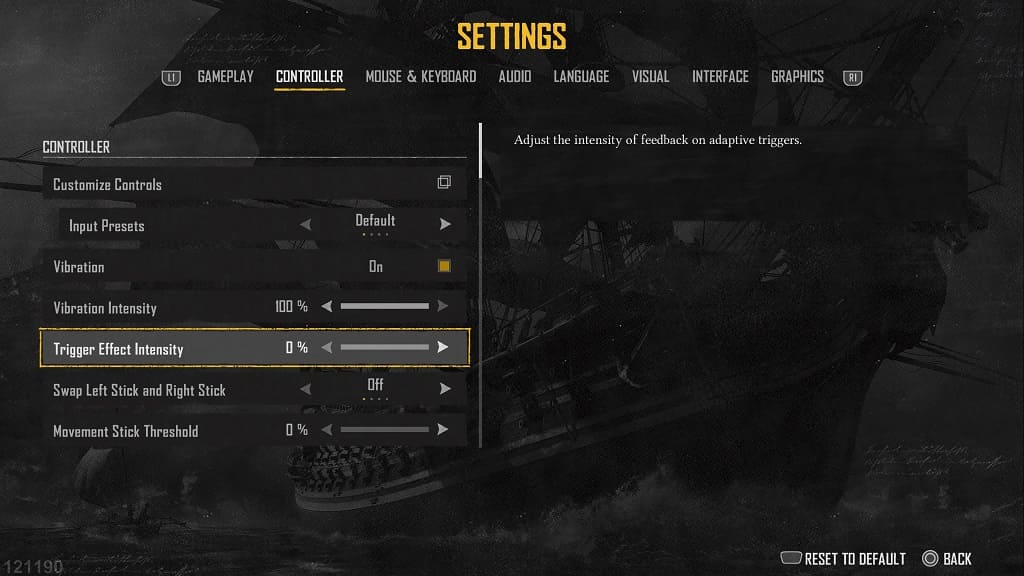
2. From there, scroll down to Trigger Effect Intensity. You should see the following description on the right side:

Adjust the intensity of feedback to adaptive triggers.

3. Move the slider all the way down to 0%.
4. Exit the Settings menu.

When you return to playing Skull and Bones, you should no longer feel any resistance when pressing down on the L2 and R2 buttons.

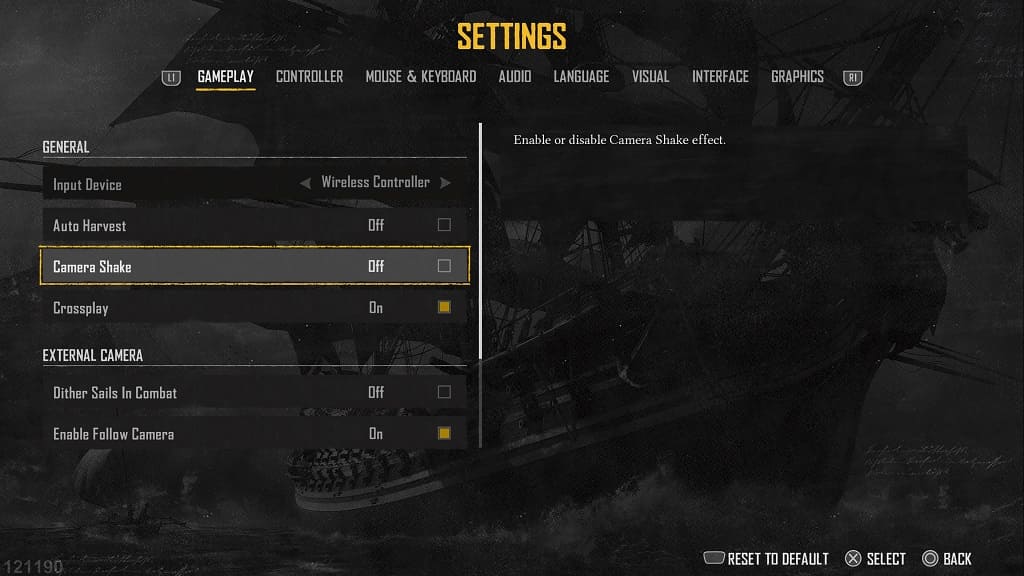
How to disable camera shake in Skull and Bones

The camera will shake on its own by default in Skull and Bones. If you want to disable this visual effect so that you can see better, you can check out this guide at Seeking Tech.

1. To start off, head over to the Settings menu.

2. From there, you need to go to the Gameplay tab if you aren’t there already.

3. Next, scroll down to Camera Shake. It should show the following description:

Enable or disable Camera Shake effect.

4. Make sure that this setting is set to Off and then exit the Settings menu.

The in-game camera should no longer shake.

How to disable crossplay in Skull and Bones

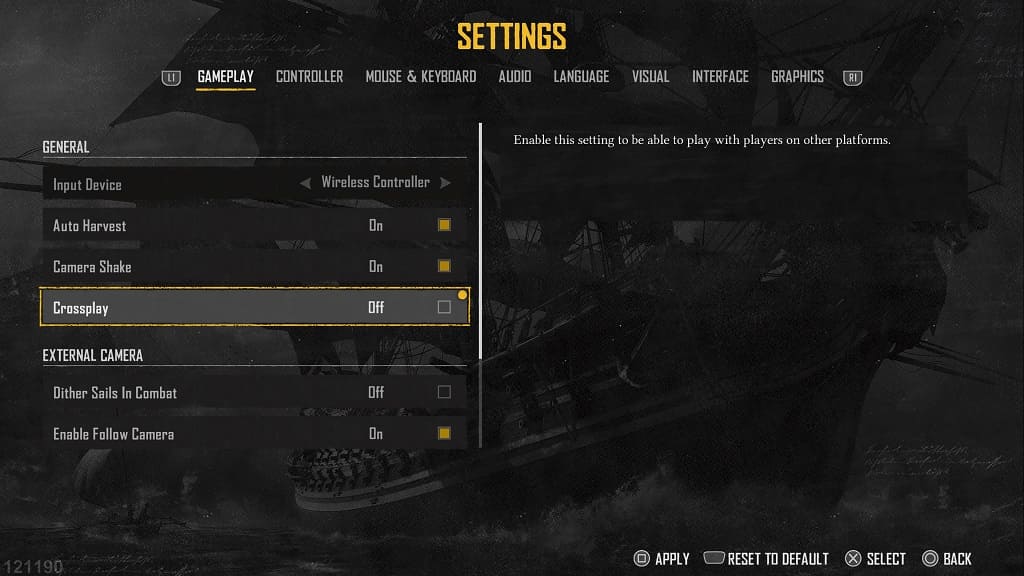
Cross platform matchmaking is enabled by default in Skull and Bones. If you would like to turn this feature off, then you can check out this Seeking Tech guide to see how you can properly do so in this online title.

1. If you haven’t already, exit the game and head back out to the Main Menu.

2. From there, go to Options and then select Settings.

3. In Settings, make sure you are viewing the Gameplay tab.

4. Next, scroll down to Crossplay. You should see the following description:

Enable this setting to be able to play with players on other platforms.

5. Make sure that the Crossplay setting is set to Off and then exit the Settings menu.

You should now only be matched up with other players from the same platform.

How to fix aiming issues in Foamstars

When playing Foamstars with a controller, you may have a hard time aiming with the right analog stick. To see how you can potentially fix your targeting issues, you can take a look at this troubleshooting article from Seeking Tech.

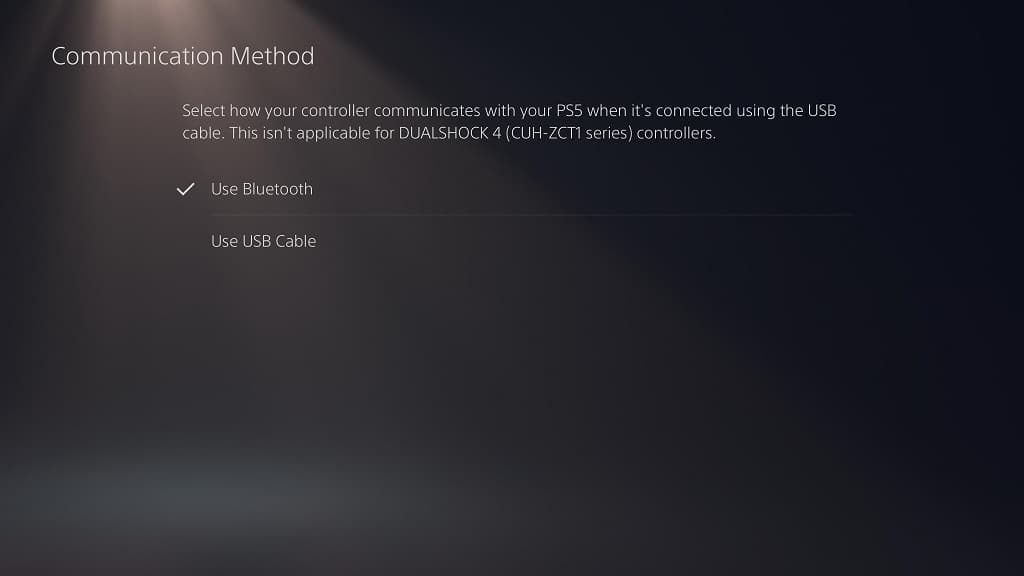
1. To start off, make sure you have game mode enabled on your television or monitor as it will help with input lag reduction. Furthermore, you should also make sure that your controller is plugged into your console as it will further reduce input latency as well.

On the PlayStation 5, you also need to go to Settings > Accessories > Controller (General) > Communication Method > Use USB Cable.

On the PlayStation 4, you have to go to Settings > Devices > Controllers > Communication Method > Use USB Cable.

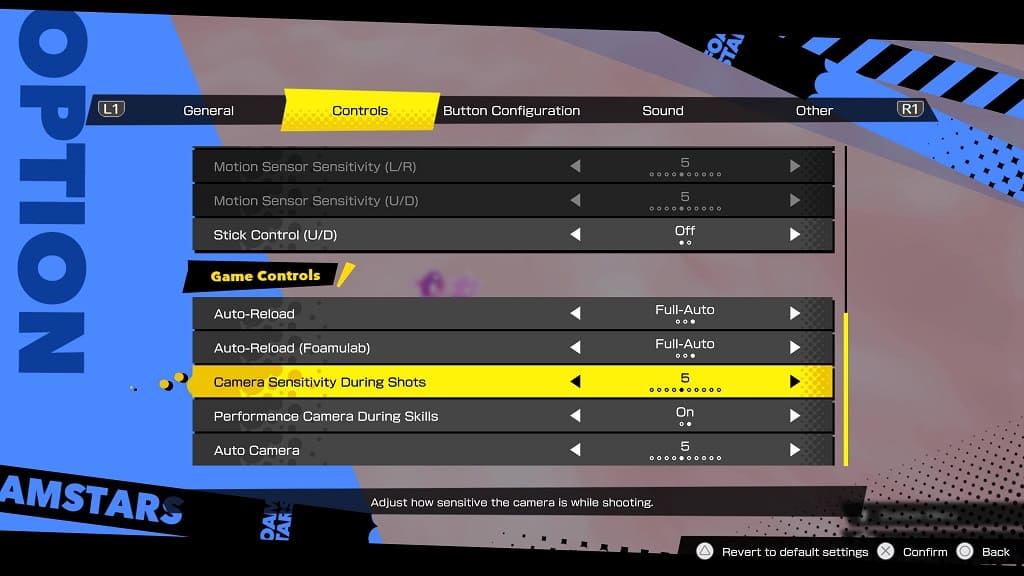
2. If you still have a hard time aiming, then you need to go to the Options menu in Foamstars, switch over to the Controls tab and then scroll down to the Camera Sensitivity During Shots setting.

Play around with this slider until the aiming feels perfect.

How to automatically harvest resources in Skull and Bones

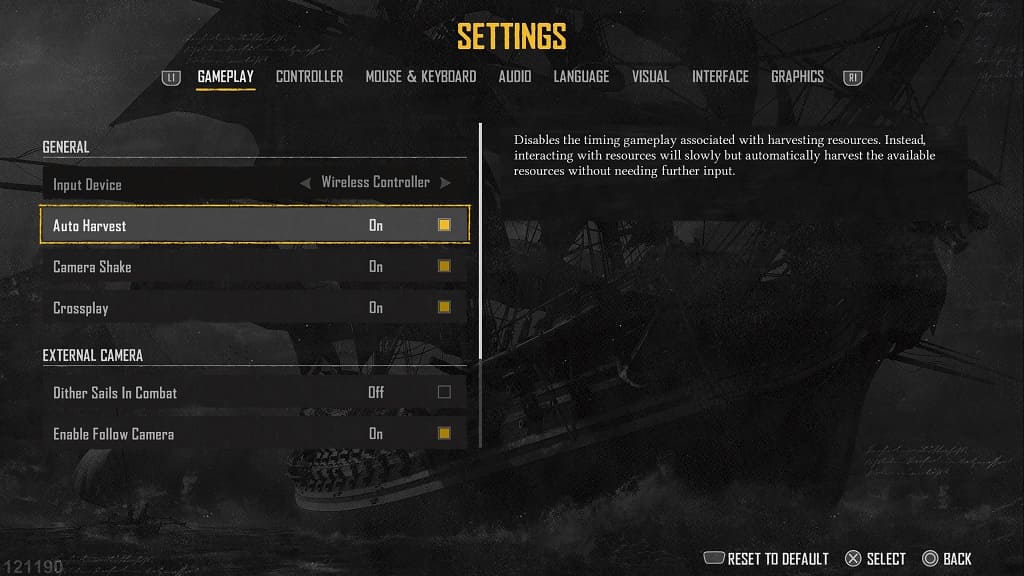
In order harvest resources in Skull and Bones, you have to go through a timing mini-game. If you want this process to be automated, then you can check out this guide at Seeking Tech to see how you can do so.

1. To start off. Open the Settings menu.

2. From there, make sure you are viewing the Gameplay tab.

3. Next, scroll down to Auto Harvest. You should see the following description to the right:

Disables the timing gameplay associated with harvesting resources. Instead, interacting with resources will slowly but automatically harvest the available resources without needing further input.

4. Make sure that the Auto Harvest setting is set to On.

Resource harvests should now be automatic.

How to enable gyro aiming in Foamstars

If you want to enable gyro aiming in Foamstars, then you can check out this guide at Seeking Tech.

1. Head over to the Options menu if you haven’t done so already.

2. From there, make sure you are viewing the Controls tab.

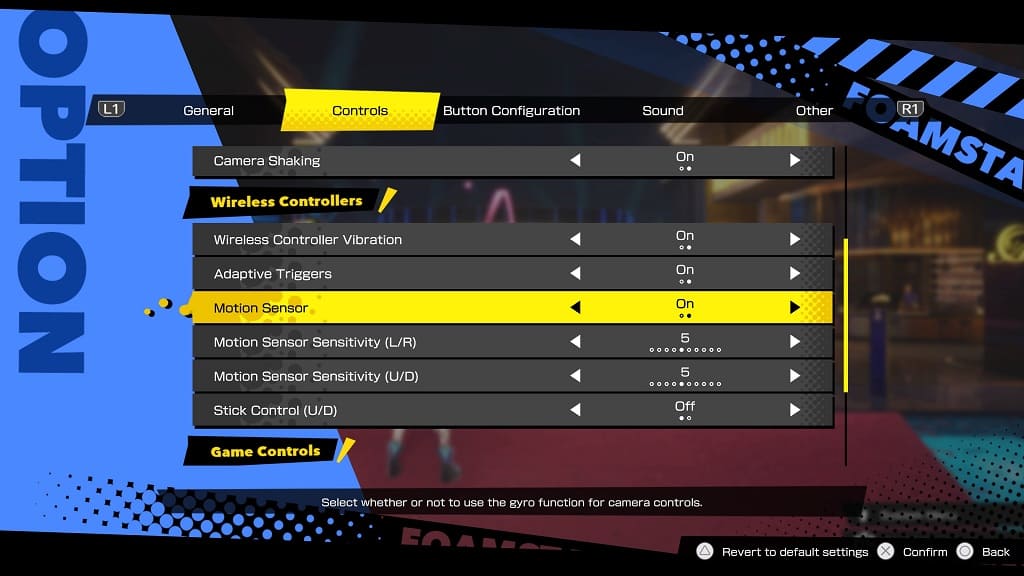
3. Afterwards, scroll down to the Motion Sensor setting. It should have the following description:

Select whether or not to use the gyro function for camera controls.

Make sure it is turned on.

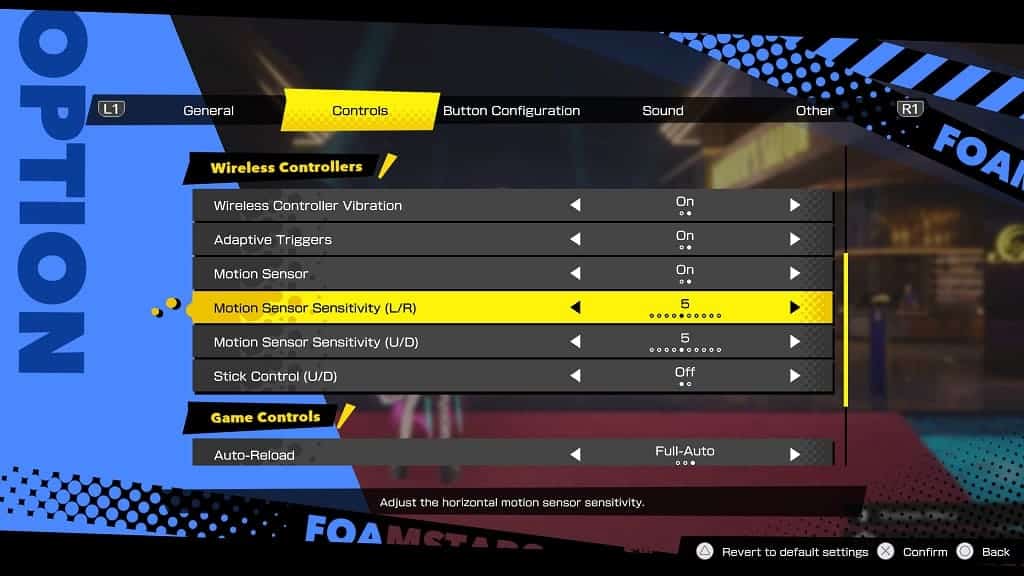
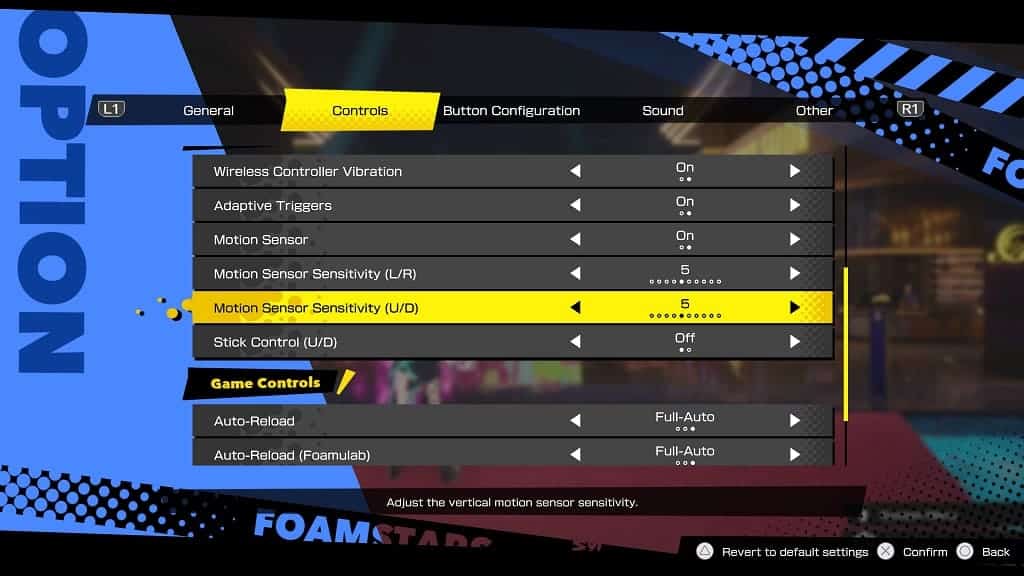
4. Underneath, you should also be able to adjust the sensitivity of the motion controls for left and right as well as up and down movements.

5. Once you are done, try to exit the Options menu.

6. When asked if you want to save the changes, select Save and Close.

Gyro aiming should now be enabled in Foamstars.

How to adaptive triggers in Foamstars

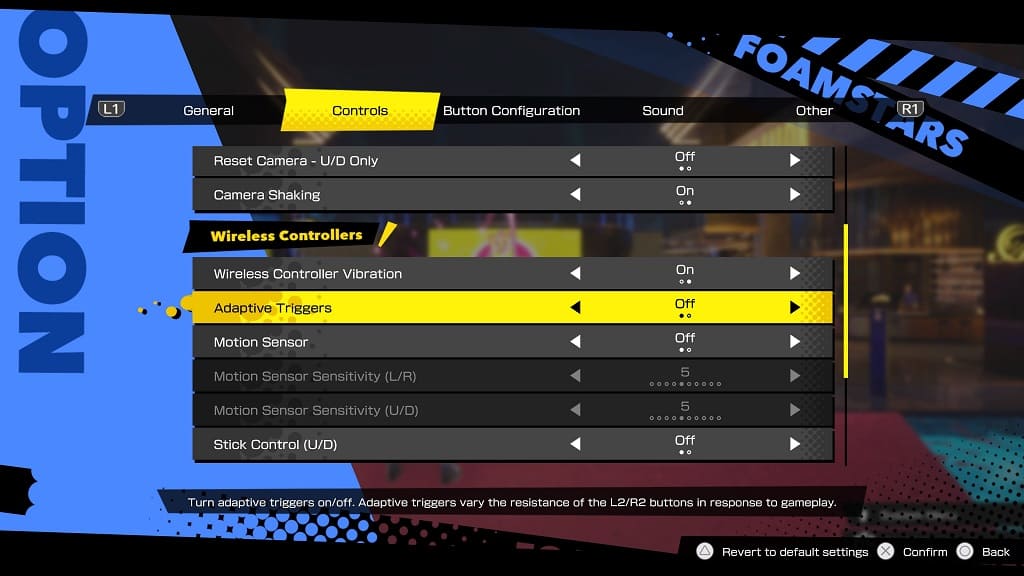
Foamstars supports the adaptive triggers of the DualSense controller. If you don’t like feeling any resistance on the L2 and R2 buttons, then you can check out this guide at Seeking Tech to see how you can disable this feature.

1. To start off, you need to head into the Options menu in the game.

2. From there, switch over to the Controls tab.

3. Next, you need to move the cursor down to Adaptive Triggers.

4. Make sure that the Adaptive Triggers setting is set to Off and then back out.

5. Finally, select the Save and Close option when the game asked if you want to save before closing the Options menu.

How to disable camera shake in Foamstars

In some circumstances, the camera will shake in Foamstars. If you want to disable this effect in this multiplayer game, then you can check out this guide from Seeking Tech to see how you can properly do so.

1. For the first step, you need to head into the Options menu.

2. From there, switch over to the Controls tab.

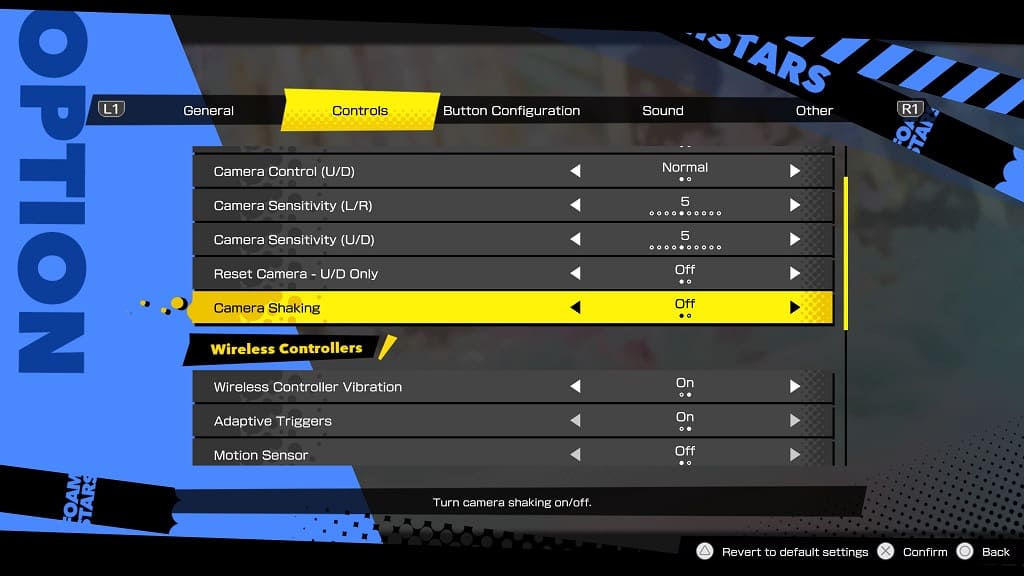
3. Scroll down until you see the Camera Shaking option. It should have the following description:

Turn Camera Shaking on/off.

4. Set it to Off and then try to exit the Options menu.

5. In the “Confirm Changes” pop-up notification, select Save and Close.

The camera should no longer shake on its own in Foamstars.

How to change voice language in Foamstars

Foamstars support multiple languages when it comes to voices. To see how you can switch between them, you can take a look at this tutorial from Seeking Tech.

1. To start off, you need to be in the Title Screen. If you aren’t, exit your current game to return there.

2. From there, select Options.

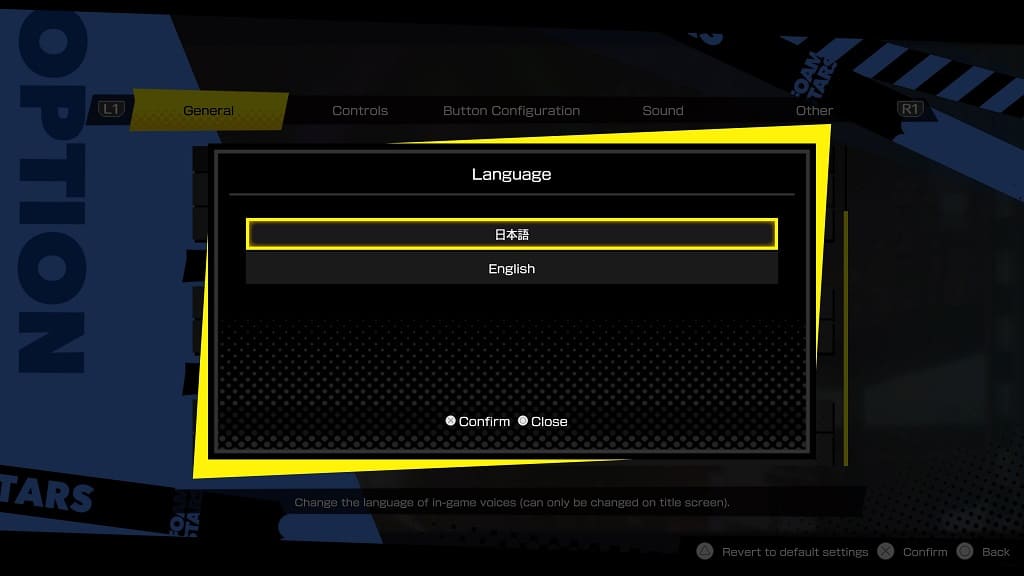
3. Make sure you are viewing the General tab and then scroll down to Voice Language. You should see the following description:

Change the language of in-game voices (can only be changed on title screen).

4. Select either Japanese or English.

5. Back out of the Options menu.

6. When asked if you want to confirm the change you just made, select Save and Close.

You should hear the new language when you start playing Foamstars again.

How to change sever regions in Foamstars

If you want to change your regional servers in Foamstars, then you can check out this guide at Seeking Tech to see how you can properly do so.

1. You can only switch severs from the title screen.

So, if you are currently in the game, open the in-game menu and then select Title Screen.

2. From the title screen, select Options.

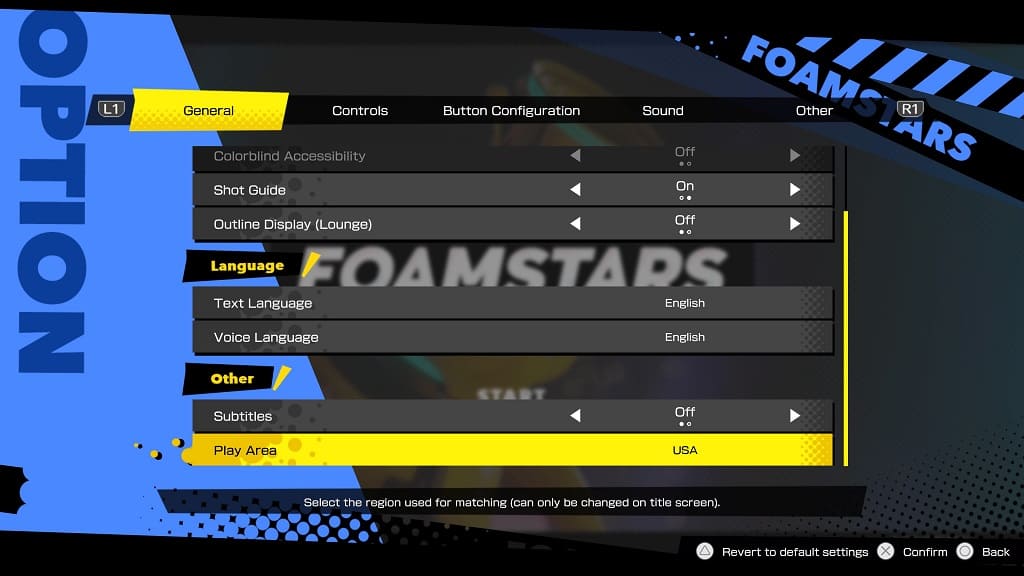
3. In the General tab of the Options menu, scroll down and then select Play Area. It should be showing the following description:

Select the region used for matching (can only be charged on the title screen).

4. In the pop-up menu, select the region that you want to switch over to. And then back out.

5. When asked if you want to confirm your changes, select the Save and Close option.