What’s the difference between PlayStation Plus monthly, quarterly and yearly payments?

When subscribing to PlayStation Plus Essential, Extra or Premium, you are able to pay on a monthly, quarterly and yearly basis. To see what the differences are between these different payment periods, you can take a look at this comparison article from Seeking Tech.  

Quick Summary 

With PlayStation Plus Essential, PlayStation Plus Extra and PlayStation Plus Premium, you will end up saving a lot more money when paying on a yearly basis as opposed to going with a monthly or quarterly payment schedule.  

So, while you have to pay more upfront, you end up paying a lot less in the long run. With that said, the monthly or quarterly plans may be more suitable if you don’t want to stay subscribed to the Essential, Extra or Premium tier for the entire year.  

PS Plus monthly vs. quarterly vs. yearly payments comparison charts  

You can take a look at our convenient comparison tables for the monthly, quarterly and yearly plans (which is based on the current U.S. standard pricing) below:  

PlayStation Plus Essential:

PlayStation Plus Essential Monthly Payment PlanPlayStation Plus Essential Quarterly Payment PlanPlayStation Plus Essential Yearly Payment Plan
U.S. Pricing$9.99 every month$24.99 every 3 months$59.99 every 12 months
Total costs when subscribed for 1 entire year$119.88$99.96$59.99
Monthly average if paying for 1 entire year$9.99 every month$8.33 every month$5.00 every month

PlayStation Plus Extra:

PlayStation Plus Extra Monthly Payment PlanPlayStation Plus Extra Quarterly Payment PlanPlayStation Plus Extra Yearly Payment Plan
U.S. Pricing$14.99 every month$39.99 every 3 months$99.99 every 12 months
Total costs when subscribed for 1 entire year$179.88$159.96$99.99
Monthly average if paying for 1 entire year$14.99 every month$13.33 every month$8.33 every month

PlayStation Plus Deluxe:

PlayStation Plus Premium Monthly Payment PlanPlayStation Plus Premium Quarterly Payment PlanPlayStation Plus Premium Yearly Payment Plan
U.S. Pricing$17.99 every month$49.99 every 3 months$119.99 every 12 months
Total costs when subscribed for 1 entire year$215.88$199.96$119.99
Monthly average if paying for 1 entire year$17.99 every month$16.66 every month $10.00 every month

PlayStation Plus Essential monthly plan 

If you decide to go with a monthly plan of PlayStation Plus Essential, then you will end up paying $9.99 a month. If you stay subscribed for three months, then this method will cost $29.97 every quarter. For the entire year, the monthly payment plan for Essential will accumulate to $119.88. 

PlayStation Plus Essential quarterly plan 

If you go with a quarterly plan instead, then you have to pay $24.99 every three months. When compared to monthly payments, you will pay $4.98 less.  

If you stretch this out to an entire year then you will end up paying $99.96, which is $19.92 less than the monthly payment plan.  

PlayStation Plus Essential yearly plan 

If you decide to pay for an entire year from the get go, then the standard price is $59.99, which is $59.89 less than the monthly plan as well as $39.97 less than the quarterly payment plan.  
PlayStation Plus Extra monthly plan 

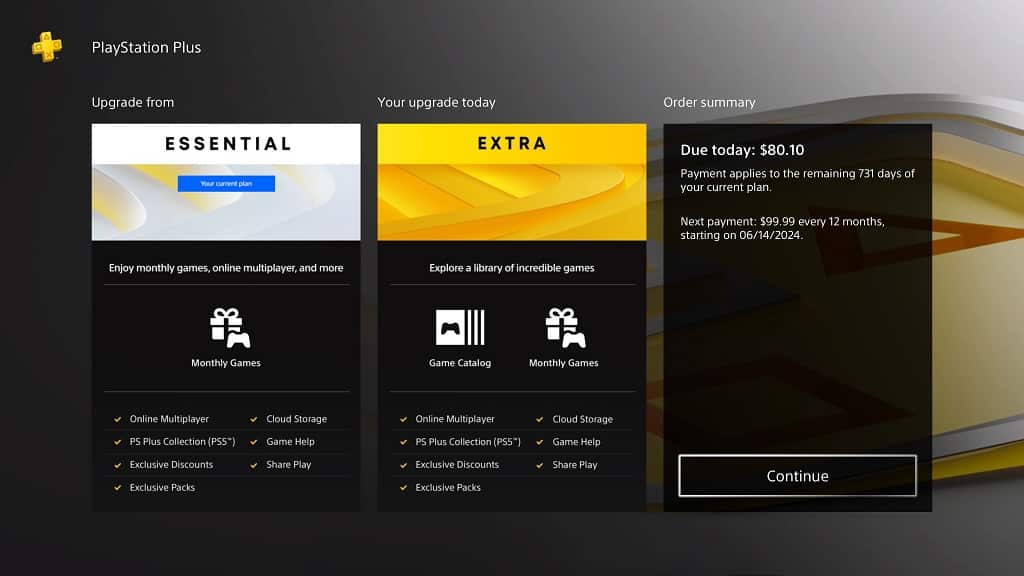
If you subscribed to the monthly plan for the PS Plus Extra tier, then you need to pay $14.99, which converts over to $44.97 over a quarterly basis and $179.88 on a yearly basis.  

PlayStation Plus Extra quarterly plan 

If you decided to go with a quarterly payment schedule for Extra instead, then you will have to pay $39.99, which is $4.98 less than the monthly payment plan over the same length of time.  

If you extend the quarterly plan over the entire year, then you need to pay $159.96, which is $19.92 less as opposed to paying monthly. 

PlayStation Plus Extra yearly plan 

For the yearly plan of Extra, you need to pay $99.99, which is $79.89 less than the monthly plan in addition to $59.97 less than the quarterly payment schedule.  
PlayStation Plus Premium monthly plan 

If you want to get the highest PlayStation Plus tier in Premium, then you need to pay $17.99 monthly. If you decide to do so, then this amount will accumulate to $53.97 quarterly and a whopping $215.88 yearly.  

PlayStation Plus Premium quarterly plan 

If you go with a quarterly plan instead for PS Plus Premium, then you need to pay $49.99 every three months. When expanded to over a year, you will end up paying $199.96. 

This will save you $3.98 every three months or $15.92 every year when compared to the monthly plan. 

PlayStation Plus Premium yearly plan 

If you buy an entire year of the Premium tier, then you need to pay $119.99 upfront. This will save you $95.89 over the monthly plan as well as $79.97 over the quarterly plan.

How to fix Lego Star Wars: The Skywalker Saga frame rate issues on Xbox Series X and S

You may notice some slowdowns and stutters when playing the Xbox Series X or Xbox Series S version of Lego Star Wars: The Skywalker Saga. To see how you can make this action game run smoother, you can follow the steps laid out in this article from Seeking Tech. 

1. For the first step, we recommend playing Lego Star Wars: The Skywalker Saga in performance mode. In order to do so, you need to take the following steps: 

  • While playing the game, press the Menu button on your Xbox controller. 
  • In the Paused screen, you need to select Options from the bottom menu.  
  • From the next menu, you should then select Video Options.  
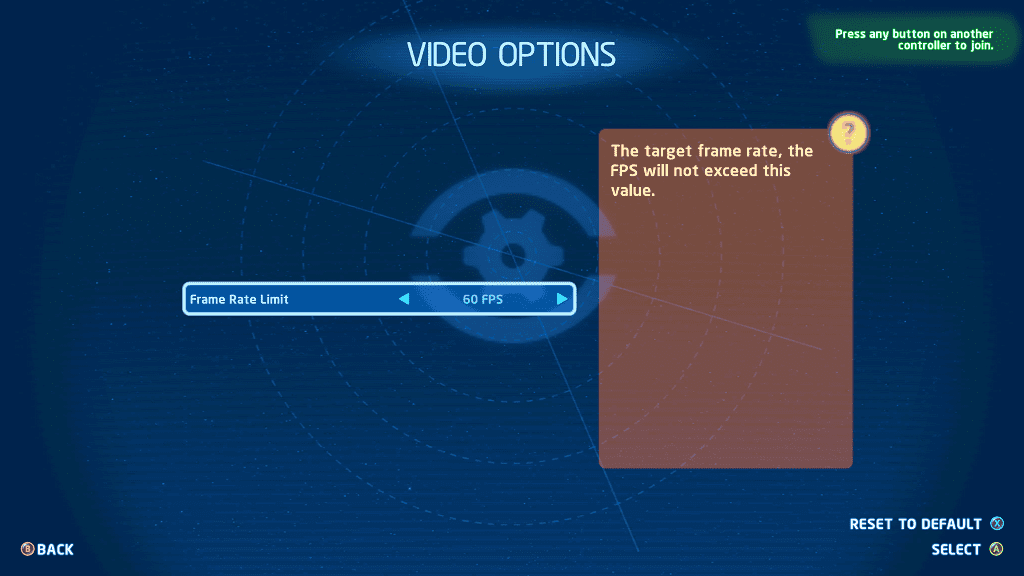
  • After getting to the Video Options menu, make sure the Frame Rate Limit setting is set to 60 FPS. 

By doing so, you should get a much smoother experience as opposed to playing the same game at 30 frames per second.  

2. If your television set or gaming monitor support Variable Refresh Rate, then we recommend that you enable it from the screen’s menus as well.  

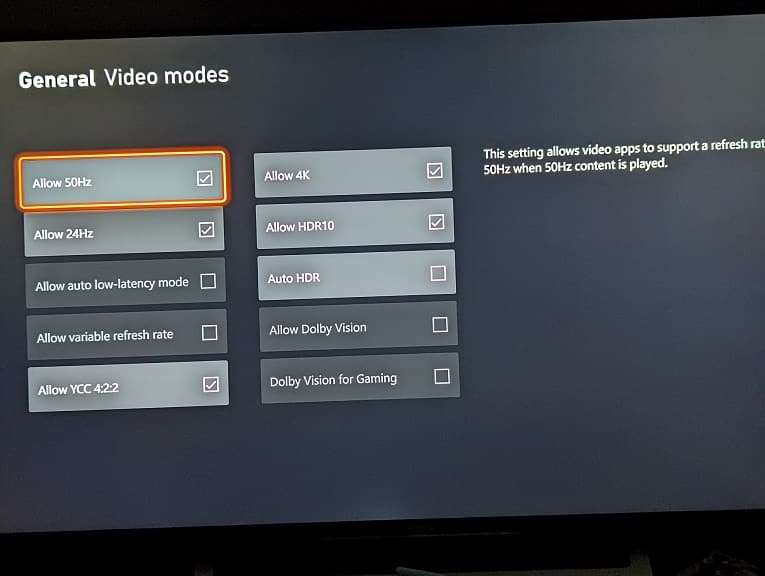
On your Series X or Series S, you should then head over to Settings > General > TV & display options > Video modes.

Afterwards, make sure that the box next to “Allow variable refresh rate” is checked in order to turn on VRR support on your console.  

3. If you have you game suspended in Quick Resume, then it may be causing issues with the frame rate.  

In this case, we recommend quitting the game, which you can do by first pressing the Xbox logo button to bring up the guide menu. From there, move the cursor over to Lego Star Wars: The Skywalker Saga and then press the Menu button. Finally, select Quit from the pop-up window to close the game before trying to open it again.  

4. If you have been putting your console to sleep instead of shutting it down completely, then that may also cause issues with its performance. To fix this particular problem, we recommend restarting the Series X or Series S.  

5. If the storage of where you have Lego Star Wars installed on is too full, then it may lead an unstable frame rate. 

For optimal performance, the internal solid state drive of your Xbox Series X or Xbox Series S should be filled up by no more than 90% of its capacity. Keep in mind that the Series X comes with a 1 TB internal SSD while the Series S only includes a 512 GB SSD. 

In order to check, go to the Settings menu of your console and then select System > Storage devices. You will be able to see how much the internal solid state drive has been filled up from the Manage – Storage devices menu.  

If it is over 90%, then you can use this same menu to clear some space to see if you can end up getting a smoother frame rate when playing Lego Star Wars: The Skywalker Saga. 

How to fix High on Life frame rate issues on Xbox Series X and S

You may encounter a lot of slow down or choppiness when playing High on Life on your Xbox Series X or Xbox Series S. To see how you get this first-person shooter to run better on your Microsoft game console, you can take a look at this troubleshooting article from Seeking Tech. 

1. For the first step, you can try quitting to the main menu and then loading back into your save file. 

You can do so by pressing the Menu button on the Xbox controller to bring up the Paused menu. From here, make sure to select the Quit to Menu option. Afterwards, continue your game from the main menu to see if the frame rate problems have gone away.  

2. You can also try quitting the game completely.  

To do so, you first need to press the Xbox button on the controller to bring up the Guide menu. From there, hover over the High on Life icon and then press the Menu button. In the small window, you can then select Quit. 

After you closed the first-person shooting game, open it again to see if a fresh reboot helps with improving the frame rate. 

3. Restarting your console may also help, especially if you have been using Sleep Mode instead of completely turning it off.  

To restart, press and hold the Xbox button. From the “What do you want to do?” menu, you should select the Restart Console option. 

4. If your television set or computer monitor support Variable Refresh Rate, then make sure that you have it enabled on the screen settings.  

Afterwards, go to the Settings menu of your Xbox Series X or Xbox Series S and then select General > TV & display options > Video mode.

From the General – Video Modes menu, make sure that the Allow Variable refresh Rate box is enabled.  

VRR should help smooth over the choppiness in High on Life as it is mostly likely caused by the inconsistent frame rate.  

5. If none of the aforementioned solutions helped, then you need to wait for a new patch that should, hopefully, fix the frame rate problems.  

To see if there is a new title update available, hover over the game’s icon from the home screen menu of your Series X or Series S and then press the Menu button. Afterwards, you should select the Manage Game and Add-on option.  

After getting to the Manage- High on Life menu, select Updates to see if there is a new patch that you can download. Hopefully, the developer will add a performance mode that focuses on retaining a high frame rate.

6. It is also a good idea to keep the system software of your Xbox Series X or S updated as well. In order to do so, make sure the console is connected to the internet and then go to Settings > System > Updates. If there is a new firmware, make sure you have it downloaded and installed.

How to fix High on Life audio issues on Xbox Series X and S

When playing High on Life on your Xbox Series X or Xbox Series S, you may notice that the sound may get occasionally cut off or turned down in volume. To see how you can potentially fix these audio problems, you can take a look at this troubleshooting article from Seeking Tech. 

1. For the first step, we recommend taking a look at your audio setup. There is currently an issue with how this game works with Dolby Atmos.  

One of the ways you can potentially fix this is to fresh Dolby Atmos by taking the following steps:  

  • Press the Xbox button on your controller and then the R1 button to navigate over to the Profile and System tab in the quick menu. 
  • From there, select Settings. 
  • Inside the Settings menu, select General on the left column and then Volume & Audio Output on the right side.  
  • After getting to the Volume & Audio Output menu, select Headset Format. 
  • Change the Headset Format to something other than Dolby Atmos for Headphones. 
  • Afterwards, select Headset Format again and then re-select Dolby Atmos for Headphones. 
  • Try playing the game to see if the sound output errors are still occurring. 

2. If refreshing Dolby Atmos did not work on your Xbox Series X or Xbox Series S, then you can try disabling this format altogether by using a different one from the Settings > General > Volume & Audio Output > Headset Format menu.  

3. Moreover, you can try adjusting the audio from the game by doing the following: 

  • Bring up the Paused screen by pressing the Menu button of the controller while playing High on Life. 
  • From there, select Settings.  
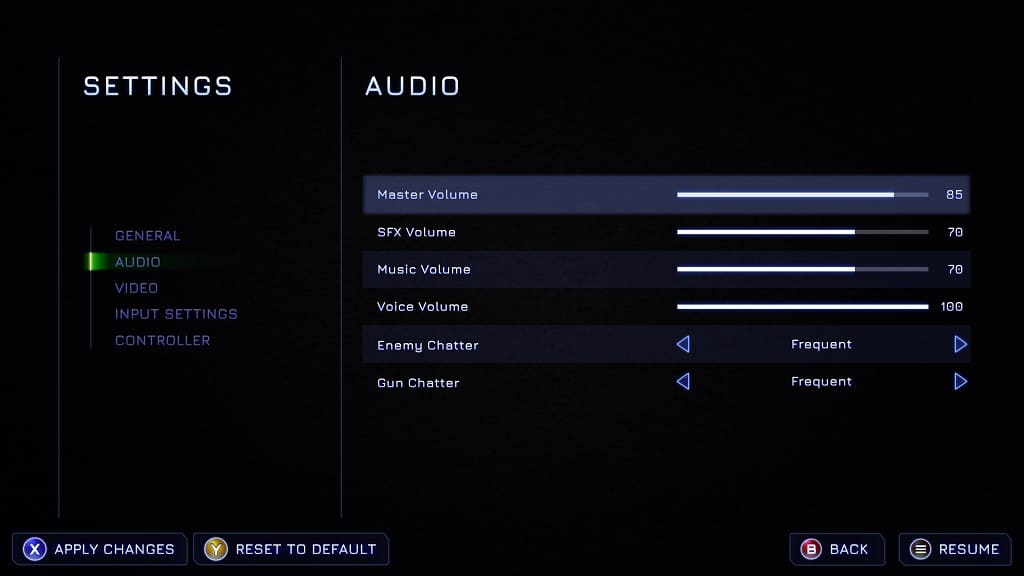
  • Inside, the game’s Settings menu, select Audio. 
  • In the Audio section, you will be able to adjust the Master, SFX, Music and Voice Volumes.  

4. You can also try restarting High on Life to see if doing so will get the sound to playback normally again. 

To restart, you can press the Menu button on the controller while playing the game and then selecting the Quit to Menu option in the Paused Screen. 

If that doesn’t work, you can try hard resetting the game by pressing the Xbox button on your controller to being up the Xbox Guide menu. From there, move the cursor over to the High on Life icon and then press the Menu button on the controller. Afterwards, select the Quit option. 

5. If restarting the game does not work, then you can try restarting your Xbox Series X or Xbox Series S. To do so, press and hold the Xbox button to bring up the “What do you want to do?” screen. From there, you can select the Restart Console option. 

6. If none of the potential solutions are working, then you need to wait until the development team at Squanch Games fixes High on Life with a new patch. 

To see if there is a new update available, press the Xbox button and then move the cursor over to the game’s icon. With the game highlighted, press the Menu button and then select the Manage Game and Add-ons option. Afterwards, select Updates from the Manage – High on Life menu.  

Is PlayStation Plus Deluxe worth it? 

In select regions, you are able to subscribe to the new Deluxe tier of PlayStation Plus. So, is this subscription worth it or are you better off with a different plan? You can find out in this review post at Seeking Tech.  

What’s included with PS Plus Deluxe? 

By being an active member of the PlayStation Plus Deluxe tier, you will be able to get the following benefits: 

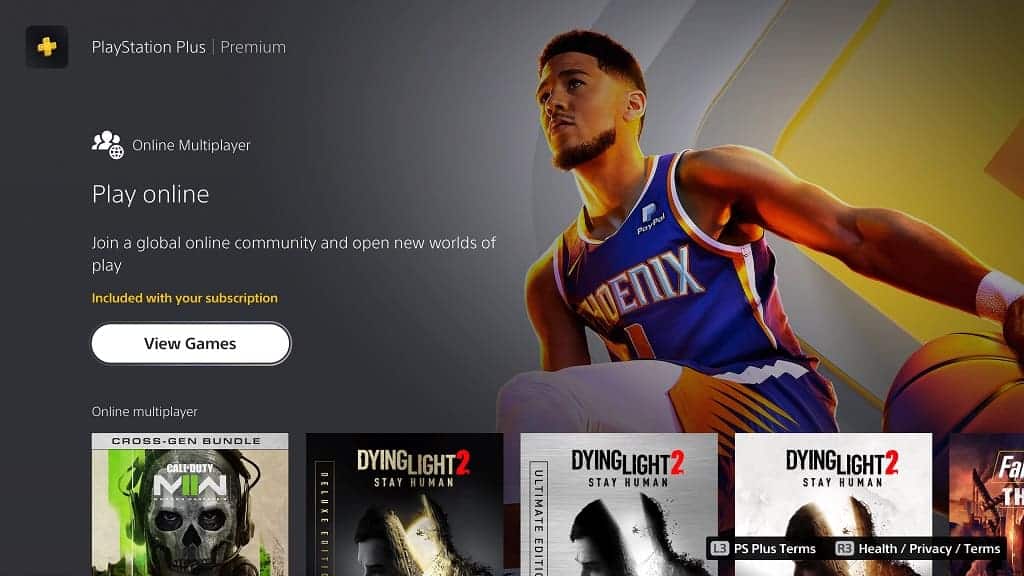
Online Multiplayer for Paid Games – To be able to play online multiplayer modes on paid games, you will need to subscribe to Deluxe or any of the other tiers of PS Plus. You don’t need a subscription to play free-to-play multiplayer titles. 

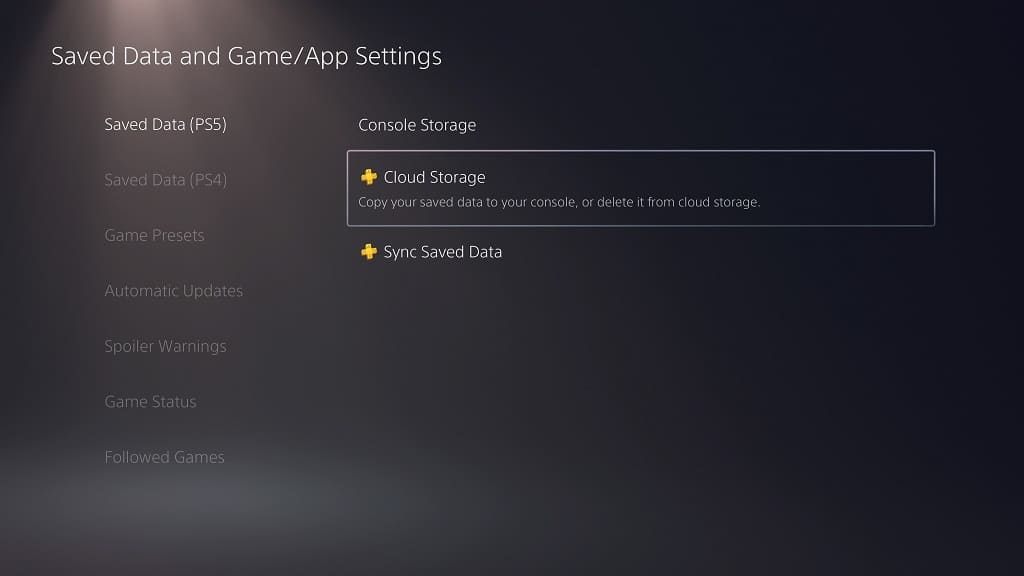
Back Up Save Files to Cloud – The only way to back up your save files is through the cloud storage. In order to access it, you need to be a member to any of the available Plus tiers.  

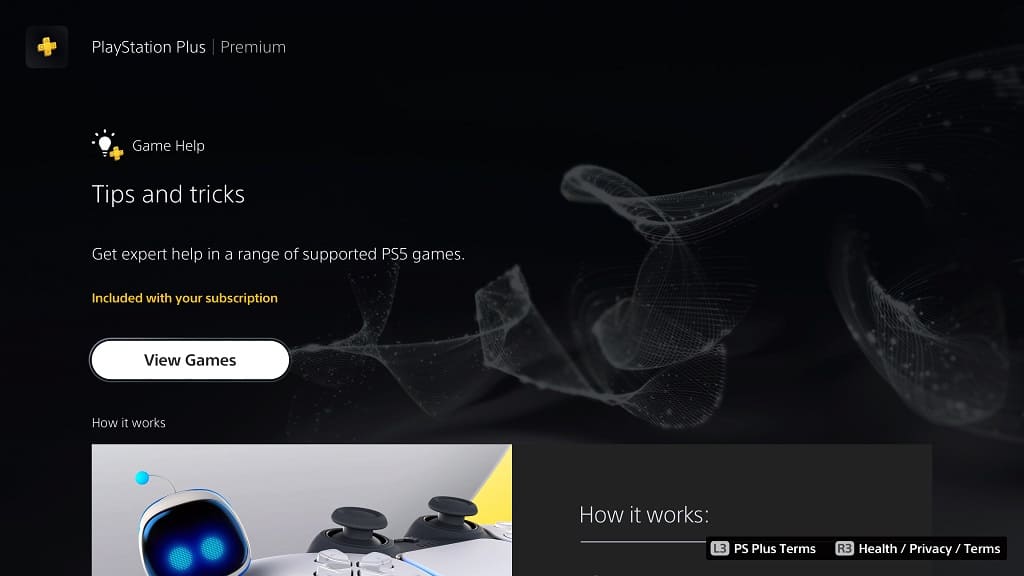
Game Help – This is a subscription feature that is only exclusive to the PlayStation 5. It provide video hints on supported games.  

Share Play – With this feature, you are able to play any local multiplayer games with another friend over the internet as long as they are also subscribed to any of the PlayStation Plus subs. The friend can also take over your controls in single-player games.  

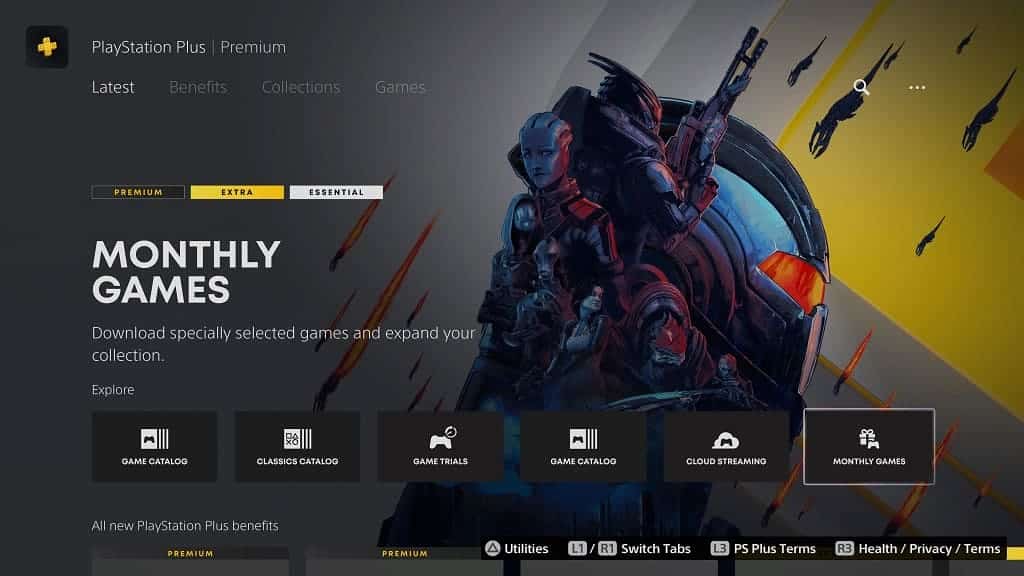
Monthly Games Catalog – With Deluxe, you will have a list of games that you can play. This catalog is refresh monthly and usually contains a handful of PS4 and PS5 titles. 

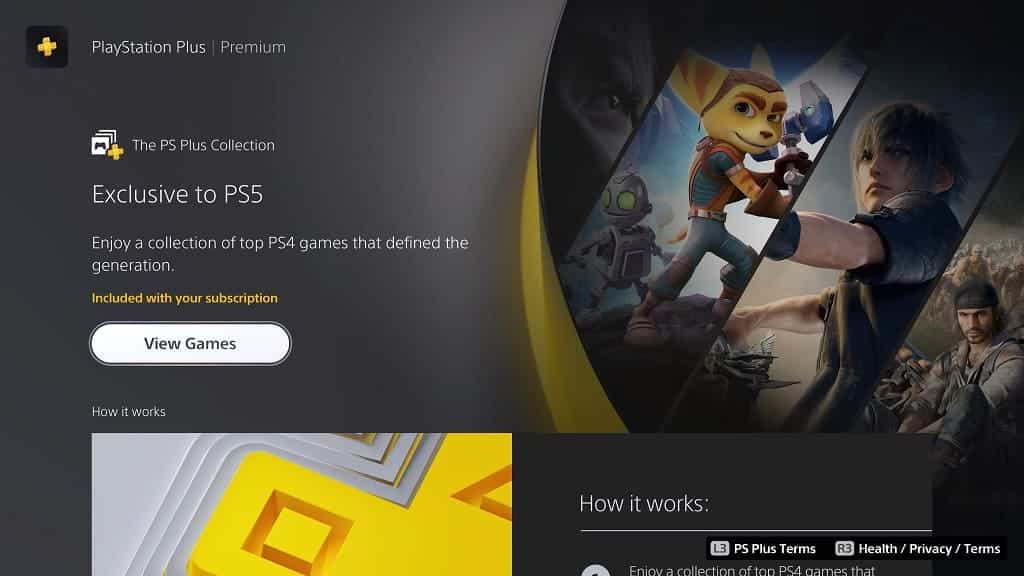
PlayStation Plus Collection – This is a PS5 exclusive catalog that contains a list of 19 popular PS4 games that are backwards compatible.  

Games Catalog – The Games Catalog will give you full access to hundreds of games, including some of the biggest titles, for PS4 and PS5.  

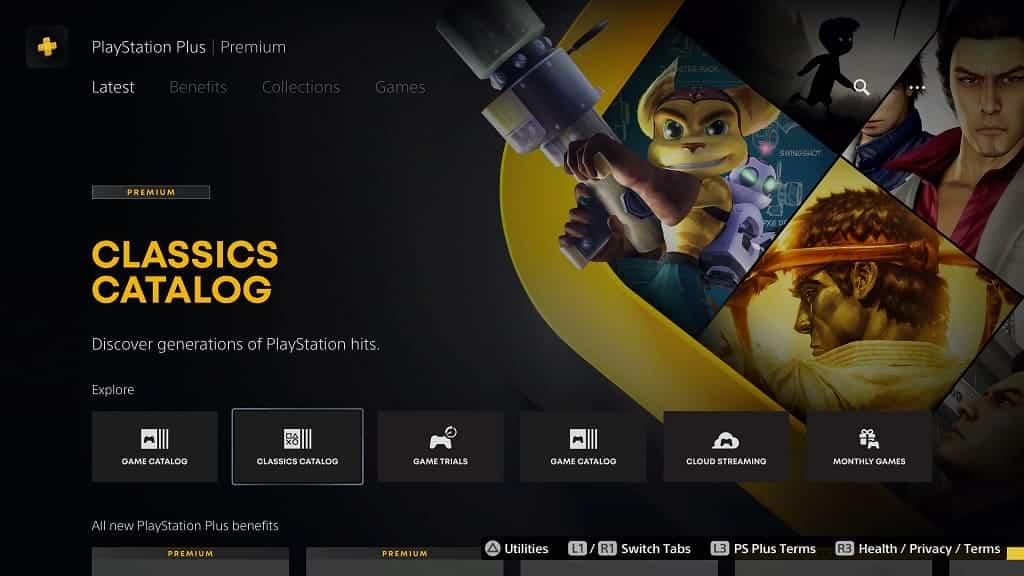
Classics Catalog – This list focuses on select emulated and remastered games that originally came out before the PlayStation 4 generation.  

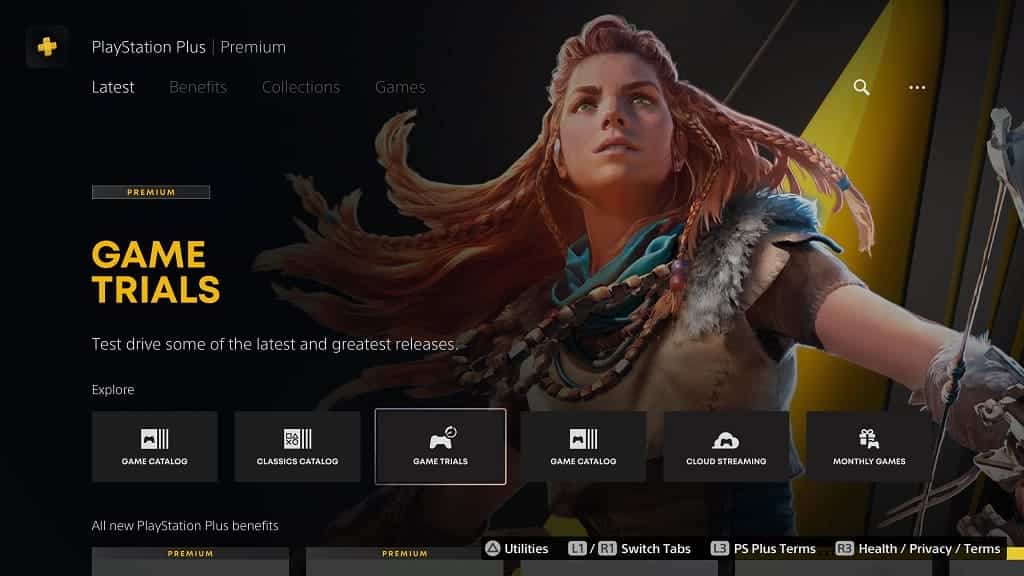
Timed Game Trials – With this feature, you are able to play select games from the very beginning for a limited amount of time. You should then be able to take your progress to the full game.  

Exclusive DLC Packs – The PlayStation Plus membership will grant you access to DLC packs for select games. 

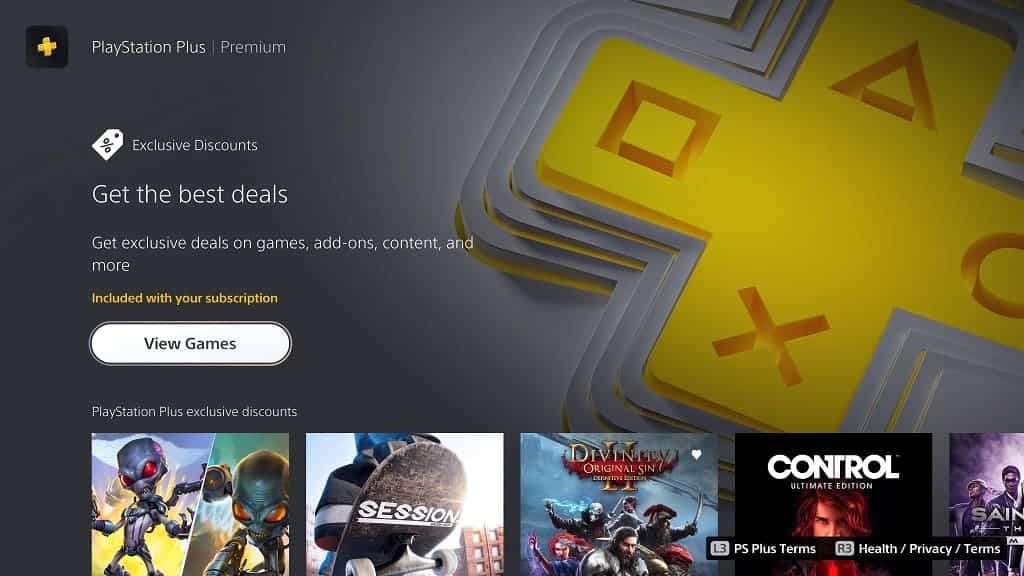
Exclusive Discounts – By being a member of Deluxe or the other Plus tiers, you can also get exclusive discounts for digital content found on the PlayStation Store.  

What we like about PlayStation Plus Deluxe 

What we loved about the PlayStation Plus is that, by being a member, you will get instant access to hundreds of PlayStation 4 and PlayStation 5 games due to the Monthly Games Catalog, PlayStation Plus Collection, Games Catalog and Classics Catalog.  

These lists include acclaimed titles from a variety of genres. Therefore, chances are very high that you find something of interest that makes the value of the subscription more than worth it in the end.  

While we don’t really take advantage of the timed game trials, game help, share play, exclusive DLC or exclusive discounts, these may cater to your interests as well. 

What we don’t like about PlayStation Plus Deluxe 

The only issue we have with this subscription is that puts online multiplayer for paid games, as well as the cloud save back up feature, behind a pay wall. We would rather have these features free for us and other players as the other benefits of this service is more than good enough to justify the costs. 

Should you get PlayStation Plus Deluxe? 

If you like to play a lot of games but don’t have the budget to buy them, then PlayStation Plus Deluxe provides a lot of value as you will get access to hundreds of games to play on your PlayStation 4, PlayStation 4 Pro, PlayStation 5 and PlayStation 5 Digital Edition consoles. 

By being a member, you will also be able to take advantage of timed game trials, game help, share play, exclusive DLC and exclusive discounts. Not to mention that you will also unlock online multiplayer for paid games along with cloud save backups.  

PlayStation Plus Deluxe or PlayStation Plus Essential? 

We recommend picking up the Deluxe tier over the Essential tier as the former comes Games Catalog and Classics Catalog. Without these catalogs, which contains hundreds of additional titles, you will be limited to a handful of monthly games. 

PlayStation Plus Deluxe or PlayStation Plus Extra? 

Depending on how interested you are when it comes to playing emulated or classic games from older generations, then you may also want to pick up the Deluxe tier over the Extra tier. PS Plus Deluxe also offers timed game trials. 

With that said, we find that the current lineups for the Classics Catalog and timed trials to be scarce and underwhelming. Therefore, you may want to stick with PlayStation Plus Extra and then upgrade to the Deluxe tier if you Classics Catalog and/or timed trials lists get better over time. 

PlayStation Plus Deluxe or PlayStation Plus Premium? 

Depending on your region, you will either get PlayStation Plus Deluxe or PlayStation Plus Premium. The Premium tier offers the additional ability to stream PlayStation 3 and PlayStation 4 games on your console or other devices. 

While there are ways that you can get Premium over Deluxe, it may too much of a hassle, especially when you consider that the streaming quality of PlayStation Plus may not work perfectly in your region. 

Thus, we recommend that you stick with the Deluxe tier unless Sony decides to officially bring cloud streaming to your region. 

How to check PlayStation Store Gift Card or PlayStation Plus Wallet Funds balance

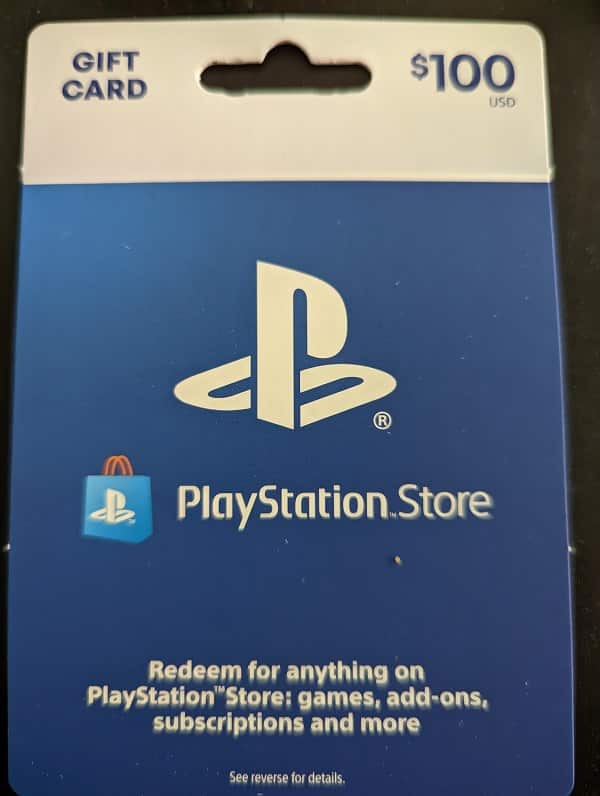
If you have a PlayStation Store Gift Card or PlayStation Plus Wallet Funds, then you may be wondering how you can check its balance. To find out how to properly do so, you can take a look at this tutorial from Seeking Tech. 

1. If you haven’t redeemed the PlayStation Store Gift Card or PlayStation Plus Wallet Funds yet, then you should be able to find the balance printed directly on the physical card.  

You can also look at the receipt to see if the amount is printed there. 

2. If you bought a digital code, then you can try checking the order confirmation or receipt email to check the card’s balance. 

3. Of course, you can also try contacting the seller or retailer where you bought your PlayStation Store Gift Card or PlayStation Plus Wallet Funds from to see if they have any information about the balance of the card you bought. 

4. If you got a digital code as a gift, then you can try asking the gift giver more information about your present. 

5. Of course, you will also be able to see the gift card balance when you redeem it. In order to redeem your gift card on the PlayStation 5 or PlayStation 5 Digital Edition system, for example, then you need to do the following: 

  • Turn on your PS5 or PS5 Digital Edition console and then go to the PlayStation Store. 
  • On the front page of the PS Store, select the icon that has the three dots. 
  • In the small window, you then need to select Redeem Code. 
  • Enter the code from your PlayStation Store Gift Card or PlayStation Plus Wallet Funds in the Redeem Codes screen. 
  • Before you confirm your redemption, you should be able to see the gift card balance. 

6. If you already redeemed the code, then you can find the balance of the card by looking at your transaction history.  

To view this page, you can select the three dots icon on the front page of PlayStation Store App of the PS5. You should then select Transaction History. 

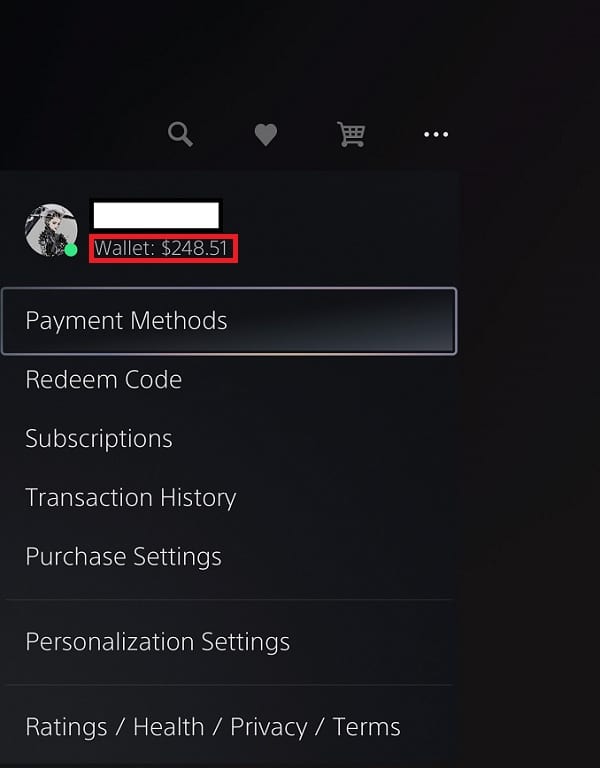
7. If you want to check the remaining balance of your gift card, then you can head back to the PlayStation Store App of your PlayStation 5. From the front page, you should then select the three dots icon.  

You should be able find the Wallet Balance account located directly under your PlayStation Network user name in the small window. 

What to do if you can’t load or save in The Witcher 3 Complete Edition on PS5

When trying to save and/or resume your progress in The Witcher III: Wild Hunt Complete Edition on the PlayStation 5 or PlayStation 5 Digital Edition console, you may find that you aren’t able to. You can take a look at this troubleshooting article from Seeking Tech to see how you can potentially get the saving and loading systems to work normally again. 

1. If you have a lot of saves, especially those that were created automatically, build up in the Load Game menu, then it may cause issues when it comes to saving and loading.  

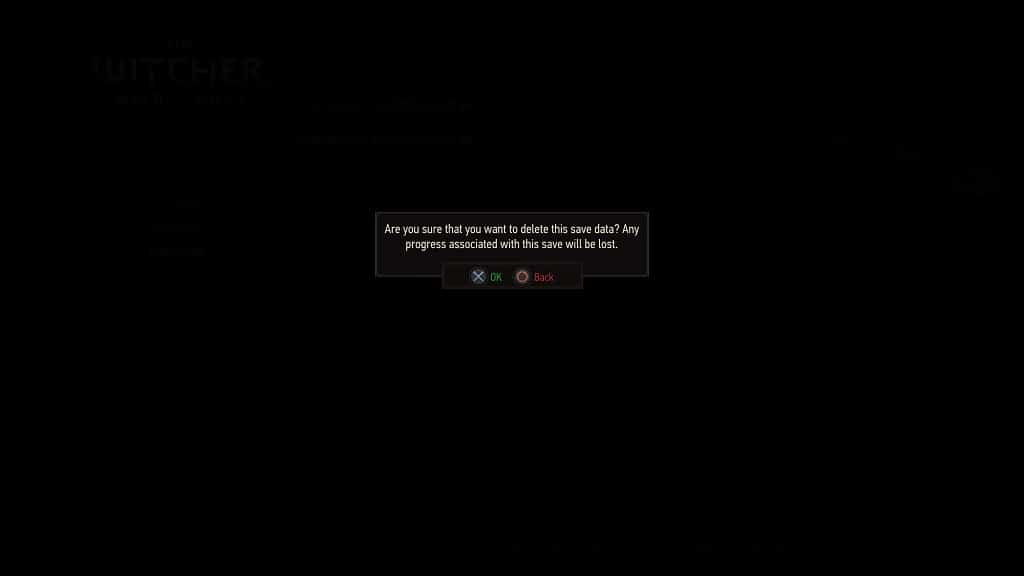
In order to potentially fix this, you can try deleting as many of the save files as possible. To do so, move the cursor on the file that you want to deleted in the Load Game menu and then press the square button on the DualSense controller. You then need to press the cross (X) button in the pop-up window.  


If possible, try to leave your only your most recent save. 

2. If you back up your saves over the cloud storage via PlayStation Plus, then you can also try re-downloading your saves. 

In order to do so, press and hold the PS button on the controller to bring up the home screen menu. From there, move the cursor over to The Witcher 3: Wild Hunt Complete Edition and then press the Options button.  

Next, you need to select Upload/Download Saved Data. You should then select Download. When prompted, select Yes when asked if you want to overwrite your current saved data on your Console Storage. 

3. Clearing the system cache and/or rebuild the database of the Console Storage may also help fix the loading and saving errors. 

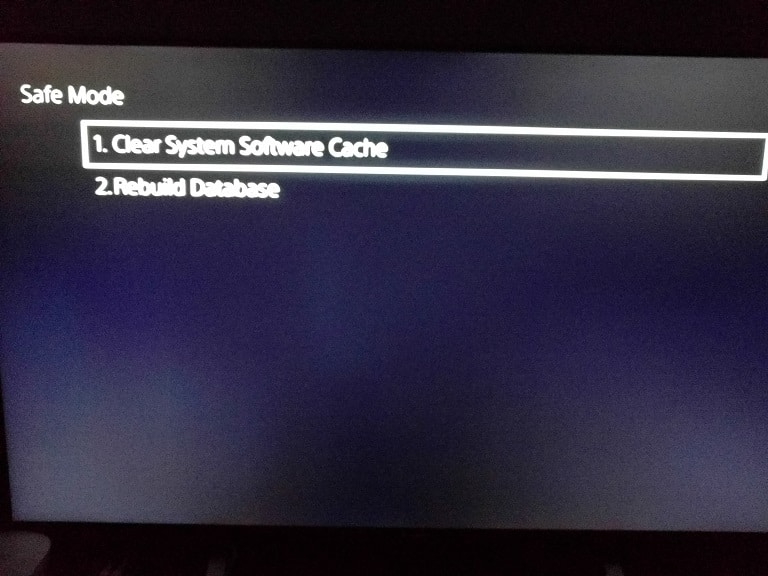
You can perform these actions from the Safe Mode menu by taking the following steps: 

  • To start off, use a USB cable to connect the DualSense to one of the USB ports of your PS5. 
  • Next, you need to turn off your game system. 
  • Afterwards, press and hold the power button on the system until you hear a second beep. 
  • You should then get a message asking you to connect your controller to the PS5. Here, you need to press the PS button on the DualSense.  
  • In the main menu of Safe Mode, select Clear System Software Cache and Rebuild Database. 
  • Afterwards, you should see the options to delete the system software cache as well as rebuild the database of the Console Storage.  

4. If none of the aforementioned steps help in getting the saving and/or loading to work as intended, then we recommend that you stop playing the game until the development team at CD Projekt RED releases a new patch to address this issue.  

If you want to manually check to see if a new version of the game is available, then you can move the cursor over to The Witcher 3: Wild Hunt Complete Edition in the home screen menu of your PS5. Afterwards, press the Options button to open a small window, where you can select the Check for Update option.

How to fix The Witcher 3: Wild Hunt Complete Edition crashing issues on PS5

The Witcher 3: Wild Hunt was recently upgrade to the PlayStation 5 and PlayStation 5 Digital Edition. If you have the Complete Edition of this open-world role-playing game but are currently experiencing a lot of crashing and freezing, then you can take a look at this troubleshooting article from Seeking Tech.  

1. For the first step, we recommend touching your PS5 and PS5 Digital Edition. If it feels hot, then the overheating console may be causing The Witcher III: Wild Hunt Complete Edition to crash. 

If you believed that this is the case, then we recommend turning off your console and then unplugging its power cord from the wall. Afterwards, let the PS5 cool down at room temperature before plugging it back into the wall socket again. 

Furthermore, we recommend repositioning the console to allow for more air flow so that it won’t overheat again in the future. To find out more about how you can prevent this gaming system from getting too hot, you can check out this post.  

Once your system has cooled down, turn it back on and then start playing The Witcher 3 again to see if it will still crash. 

2. If the console storage or M.2 storage where you have The Witcher 3: Wild Hunt Complete Edition installed on is too full, then that may be causing performance and/or crashing issues. 

Therefore, you should make sure you have at least 10% of free space remaining on these storage options.  

3. The Ray Tracing Frame Rate Mode may also be causing the game to crash; thus, you may want to switch over to Performance. 

In order to do so, you need to do the following: 

  • While playing The Witcher III: Wild Hunt Complete Edition on your PlayStation 5, press the Options button to bring up the Options menu. 
  • From there, you need to go to Display. 
  • You then need to select Graphics from the Display menu. 
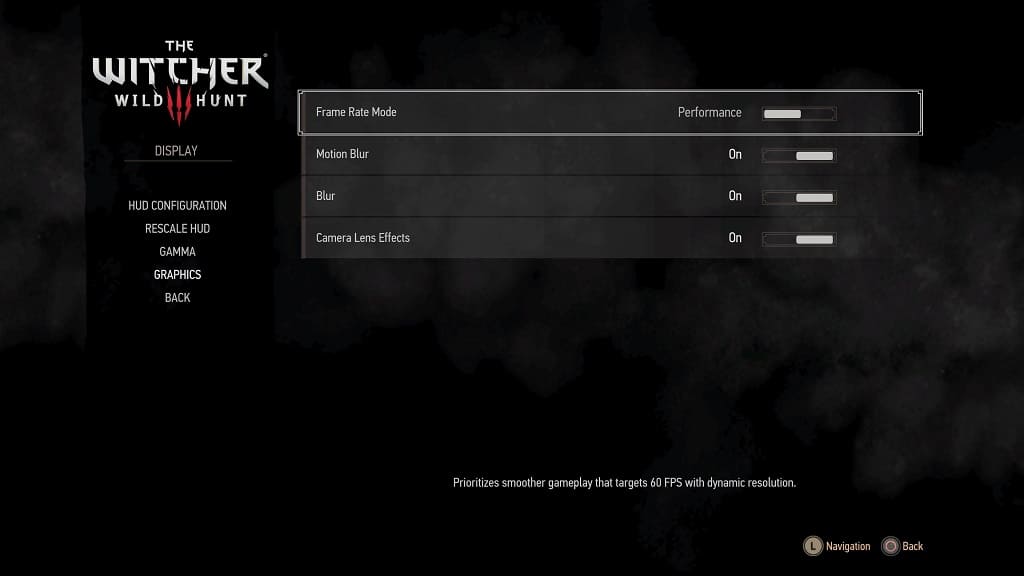
  • After getting inside the Graphics menu, you need to make sure that the Frame Rate Mode is set to Performance. 

4. You can also try clearing the cache and rebuilding the database of your PS5.  

You can find both of these options by opening the Safe Mode menu. To get there, turn off your console and then hold the power button until you hear a second beep. 

Afterwards, connect your controller to the PS5 by using a USB cable and then press the PS button. You should be able to select Clear System Software Cache and Rebuild Database afterwards.  

5. Of course, you should also make sure that you keep The Witcher 3: Wild Hunt Complete Edition updated.  

To check to see if a new patch is available, move the cursor to the game’s icon in the home screen menu of your PlayStation 5. You should then select the Check for Update option to see if there is a new version available to download. 

6. Furthermore, you should also keep your PS5 system software firmware up to date. To check, you need to go to the home screen of the console and then select Settings > System > System Software > System Update and Settings > Update System Software > Update Using Internet.

How to zoom out in The Witcher 3: Wild Hunt Complete Edition on PS5

The Witcher III: Wild Hunt Complete Edition uses a close-up camera angle on the PlayStation 5 and PlayStation 5 Digital Edition so that players will get a better look with the improved visual fidelity of the next-gen upgrade. 

If you think that the new camera angle is making exploration and/or combat more difficult, then you can take a look at this guide to see how you can move it back so that you can a wider view of the area surrounding the character.  

Method #1 

For the first method, you can use the main menu. You can get there when you open The Witcher 3: Wild Hunt Complete Edition on your PS5’s home screen.  

Alternatively, you can press the Options button on the DualSense controller to pause the game while you are playing it and then select Quit to Main Menu. Afterwards, select OK when asked if you are sure you want to quit as you may lose any unsaved progress.  

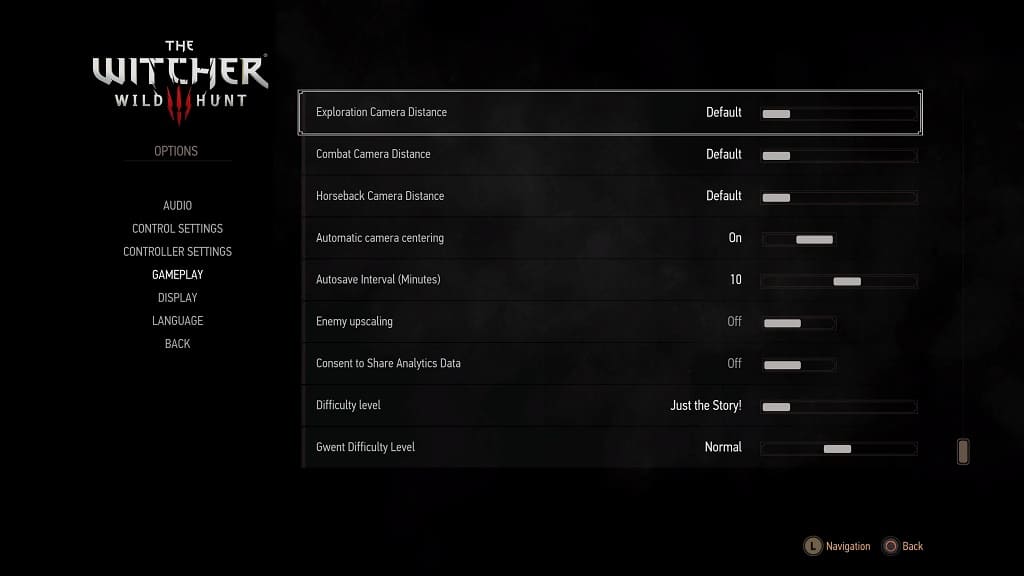
From the main menu, you need to select Options > Gameplay. From the Gameplay menu, scroll down until you see the following settings: 

  • Exploration Camera Distance 
  • Combat Camera Distance 
  • Horseback Camera Distance 

To move the camera angle back of these settings, make sure you set them to Default instead of Close.  

Keep in mind that you will be able to mix and match these camera settings. So, for example, you will be able to keep the camera up close during exploration or horseback racing while being able to zoom out when you are engaging the enemies during combat. Therefore, you should play around with these settings to see which combinations you prefer.

Method #2 

You can also change the camera distance while you are playing Witcher III on your PS5.  

In order to do so, you need to first press Options on your controller. By doing so, you should be able to pause the game and bring up its Options menu. From there, you need to head into Gameplay. 

After getting to the Gameplay menu, you will be able to zoom the camera outwards by setting Exploration Camera Distance, Combat Camera Distance and/or Horseback Camera Distance to default.

What to do if The Witcher 3: Wild Hunt on PS5 has no performance mode

You should now be able to play The Witcher III: Wild Hunt at 60 frames per second on your PlayStation 5 or PlayStation 5 Digital Edition console. To do so, you need to enable performance mode.  

If you can’t find this mode in the menus of the open-world role-playing game, then you can take a look at this troubleshooting article from Seeking Tech. 

The reason why you aren’t seeing the performance mode is due to the fact that you are playing the PlayStation 4 version of The Witcher 3: Wild Hunt or The Witcher 3: Wild Hunt Complete Edition on your PS5 or PS5 Digital Edition system.  

Both of these iterations do not have an option where you can play the RPG at 60 fps even if you update them to patch version 4.0 or higher. Instead, you need to download the native PlayStation 5 version of The Witcher 3: Wild Hunt Complete Edition. 

The good news is that the next-gen upgrade is free if you already own The Witcher 3: Wild Hunt or The Witcher 3: Wild Hunt Complete Edition on PS4.  

If you previously own a disc copy of the PlayStation 4 version, then make sure you have the disc linked to your PlayStation Network account. To do so, you simply need to install it to the console storage of your console previously. With that said, you will need to keep this disc in the disc drive of your PS5 in order to play the next-gen upgrade. 

For the digital version, you need to make sure that you have the PS4 version of Witcher 3 linked to your PSN account. 

If you have a hard time trying to get the next-gen upgrade of the game for free, then you can take a look at this tutorial. 

If the upgrade is done correctly, you should be able to find The Witcher 3: Wild Hunt Complete Edition with the PS5 label on the home screen of your PlayStation 5 or PlayStation 5 Digital Edition console.

This version should contain the performance mode you are looking for. 

How to enable performance mode for Witcher 3 on PS5 

Once you managed to upgrade to The Witcher 3: Wild Hunt Complete Edition on your PlayStation 5, you have two ways to enable performance mode. 

The first is by using the main menu of the game. From there, you need to select Options > Display > Graphics. Afterwards, you need to make sure that Frame Rate Mode is currently set to Performance. 

You can also change the graphical settings while playing the RPG. In order to do so, you must first press the Options button on the DualSense in order to pause the action and bring up the Options menu. From there, you should select Display > Graphics. You should then make sure that Frame Rate Mode is set to Performance from the Graphics menu.