How to change control types in Tekken 8

If you don’t like the button layout in Tekken 8, then you can check out this tutorial from Seeking Tech to see how you can change it.

1. To start off, you need to open the Options menu in the fighting game.

2. From there, select Controller Setup.

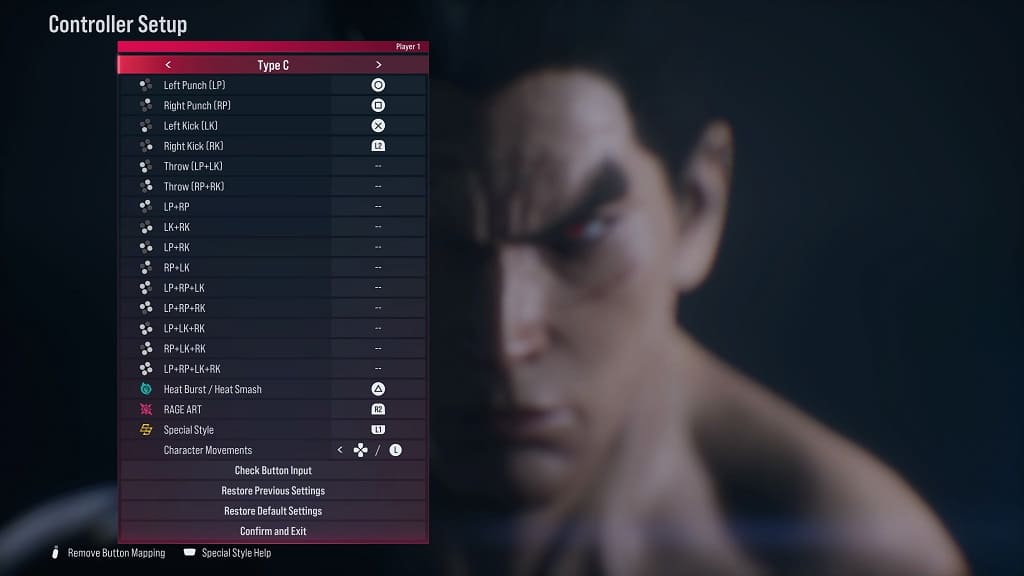
3. On the next screen, you should be able to switch between Type A, Type B, Type C or Custom layouts.
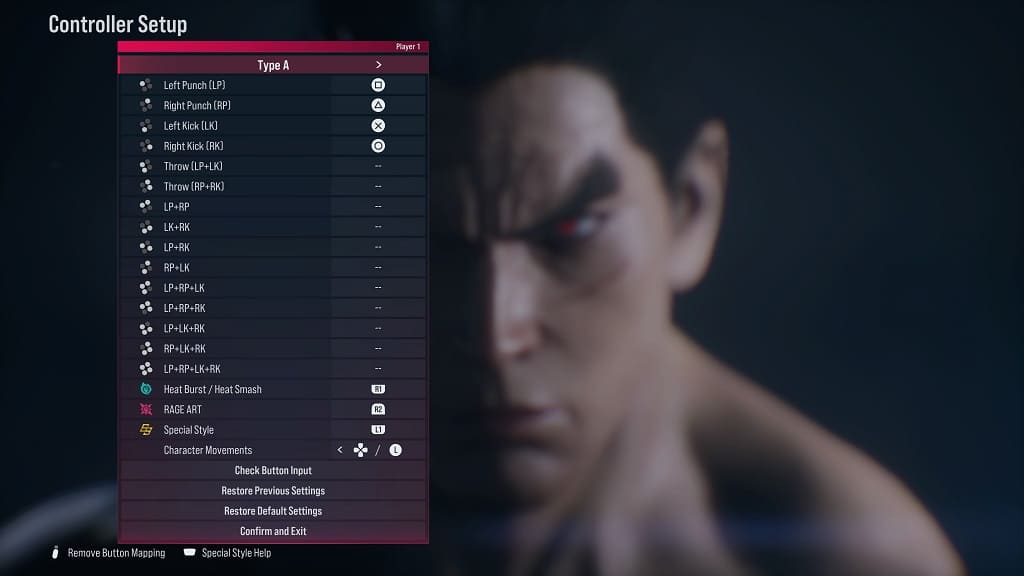
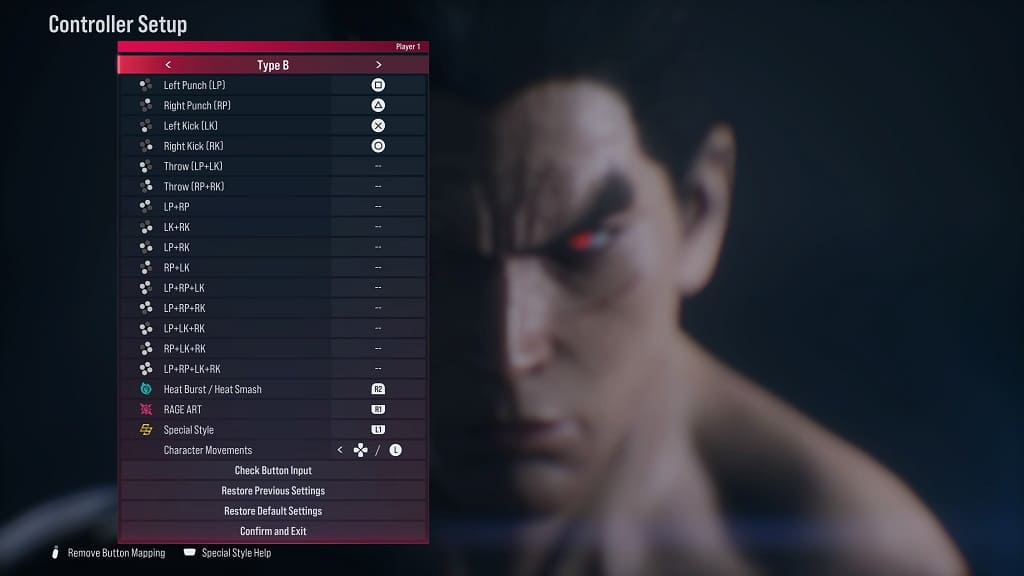
By default, there is a button assigned to the left punch, right punch, left kick, right kick, heat burst/heat smash, rage art and special style actions.

You will also be able to change the buttons to any of the above actions as well as assign buttons for actions that require multiple simultaneously button presses.

4. Once you are done changing the control scheme, select the Confirm and Exit option located at the bottom of the menu.

The new button layout should be applied the next time you play a match in Tekken 8.

How to change the effect saturation levels in Tekken 8

You may notice that the saturation level will be different for certain actions in Tekken 8. To see how you can increase or decrease this visual effect, you can take a look at this tutorial from Seeking Tech.

1. For the first step, you need to head over to the Options menu.

2. From there, you need to select Screen Settings from the list.

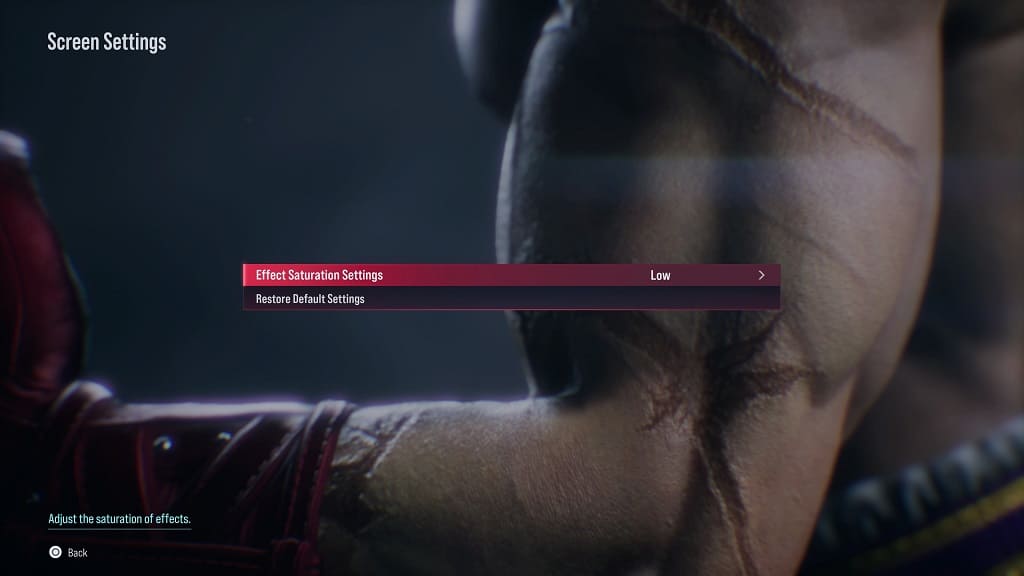
3. You should now see the Effect Saturation Setting with the following description:

Adjust the saturation of effects.

4. By default, the Effect Saturation Setting is set to Medium. To lower this visual effect, you can set it to Low. If you want to increase the saturation, you need to set it to High instead.

5. Afterwards, exit the Options menu. The new graphical setting should be applied the next time you fight in Tekken 8.

How to disable subtitles in Tekken 8

By default, subtitles are enabled in Tekken 8. To see how you can disable these captions, you can take a look at this tutorial from Seeking Tech.

1. Start off by opening the Options screen from the Main Menu.

2. Next, you need to select Sound Settings.

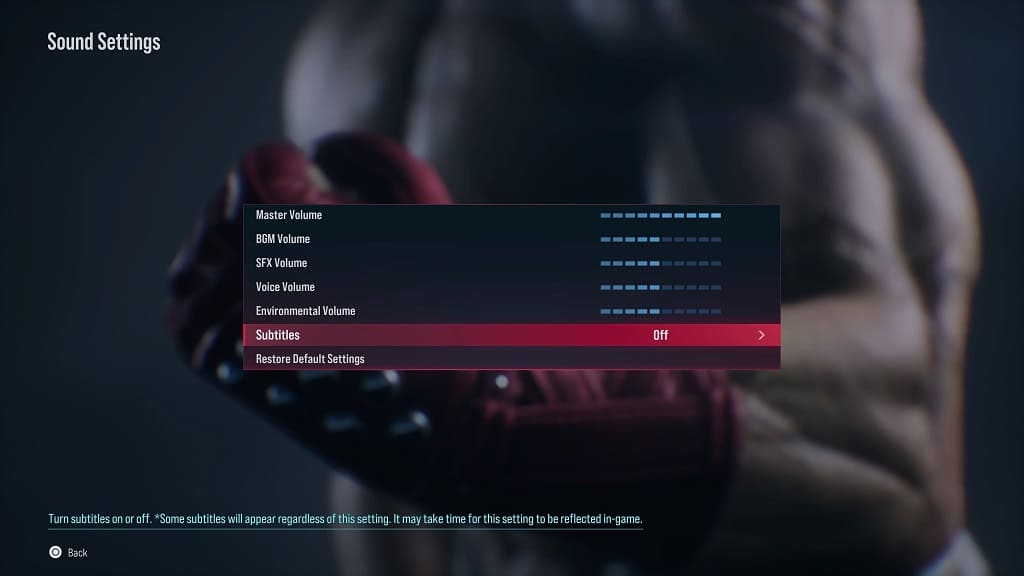
3. From the Sound Settings menu, move the cursor down to Subtitles. It should have the following description:

Turn subtitles on or off. *Some subtitles will appear regardless of this setting. It may take time for this setting to be reflected in-game.

4. Use the left analog or directional pad buttons to switch the Subtitles settings to Off.

5. Exit the Sound Settings menu and your changes will be applied to the game.

How to fix Killer Instinct: Anniversary Edition input lag issues

You may notice that there is a bit of input lag while playing Killer Instinct: Anniversary Edition. To see how you can make this PC and Xbox fighting game more responsive, you can take a look at this guide from Seeking Tech.

1. To start off, you can try checking the settings of your television screen or monitor. Make sure that you have the picture mode set to Game Mode, Game Optimizer Mode or something similar as these are designed to reduce input latency.

2. If your screen supports Variable Refresh Rate, make sure you enable it on the screen as well as on your PC/Xbox. VRR should further reduce the input delay.

3. You can also try plugging in the controller into your PC or Xbox console. A wired controller should be faster and more stable than a wireless one.

4. If you can only use a wireless controller to play Killer Instinct: Anniversary Edition, then you should make sure that there aren’t any obstructions between the gamepad and the PC/console.

Other wireless devices nearby could also cause issues. If possible, try to move the controller closer to the gaming system.

5. Of course, you should make sure you have the latest patch downloaded for Killer Instinct: Anniversary Edition.

How to adjust The Last of Us Part II Remastered vibrations settings

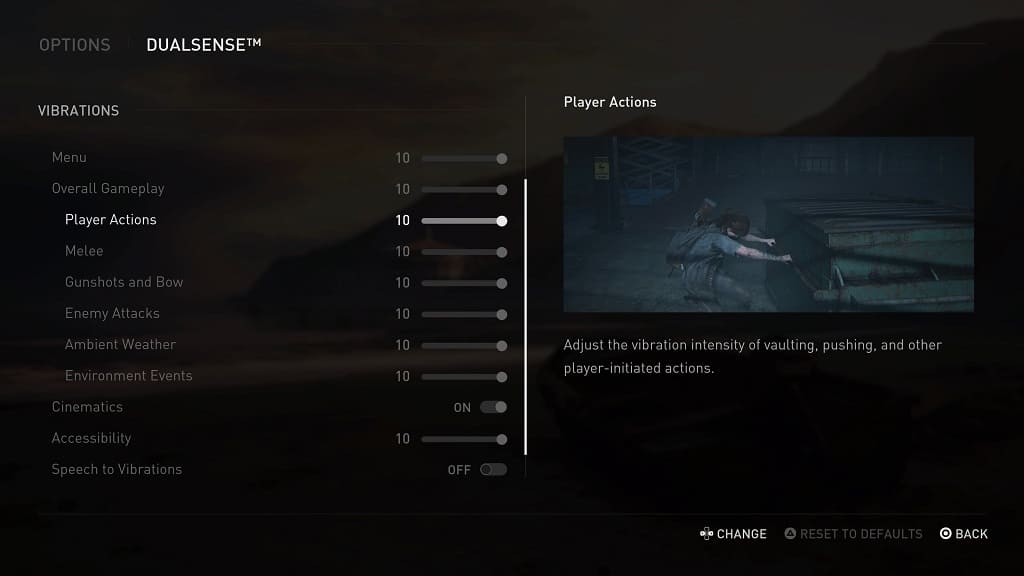
The Last of Us Part II Remastered on the PlayStation 5 fully utilizes the subtle haptic feedback of the DualSense controller. To see how you can adjust the vibrations in this action-adventure title, you can take a look at this guide from Seeking Tech.

1. Open the Options menu from the main menu or pause menu.

2. From there, go to the DualSense section.

3. Next, scroll down to the Vibration section.

4. You should be able to adjust the rumble intensity for the following:

  • Menu
  • Overall Gameplay
  • Player Actions
  • Melee
  • Gunshots and Bow
  • Enemy Attacks
  • Ambient Weather
  • Environment Events
  • Accessibility
  • Speech to Vibrations Intensity

To completely disable vibrations for any of the above events, you need to move the slider all the way down to 0.

On the same screen, you can also choose to enable or disable rumble for Cinematics and Speech to Vibrations.

How to adjust The Last of Us Part II Remastered adaptive trigger settings

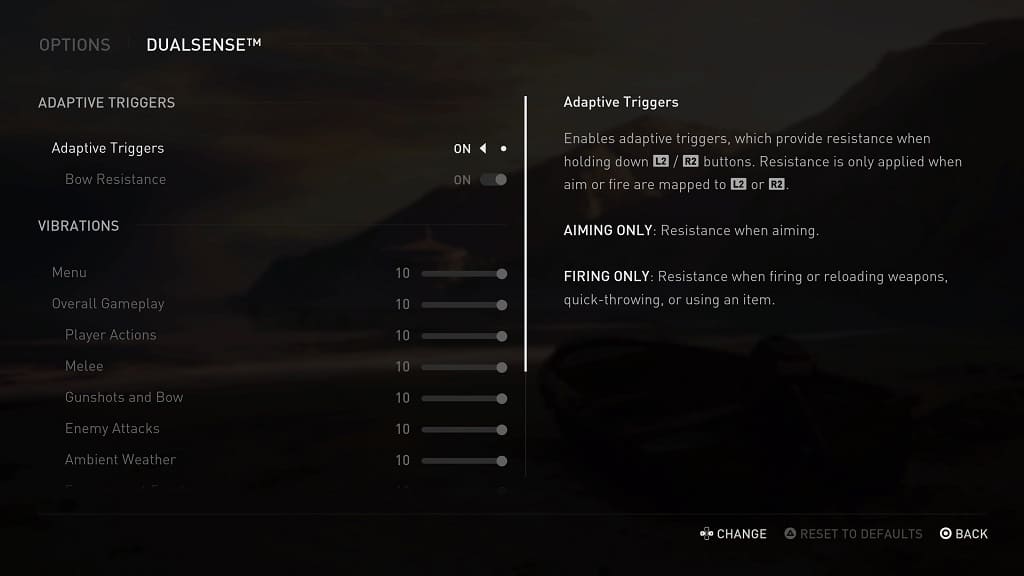
The Last of Us Part II Remastered takes full advantage of the DualSense controller, including utilizing the adaptive trigger. To see how you can when you want to feel the resistance of the L2 and R2 buttons, you can take a look at this tutorial from Seeking Tech.

1. To start off, head to the Options menu. This can be done from the main menu or pause screen.

2. In Options, select DualSense.

3. You should see the Adaptive Triggers section at the top of the screen.

4. Move the cursor down to Adaptive Triggers. By default, this setting is set to On. You can also change it to Aiming Only or Firing Only. To completely disable this feature, select the Off option.

5. You can then move the cursor down to Bow Resistance, which is set to On by default. To disable adaptive triggers when using a bow, you need to set this setting to Off instead.

Keep in mind that if you set the Adaptive Triggers setting to Off or Aiming Only, then the Bow Resistance setting will automatically be disabled.

How to play The Last of Us Part II Remastered lost levels

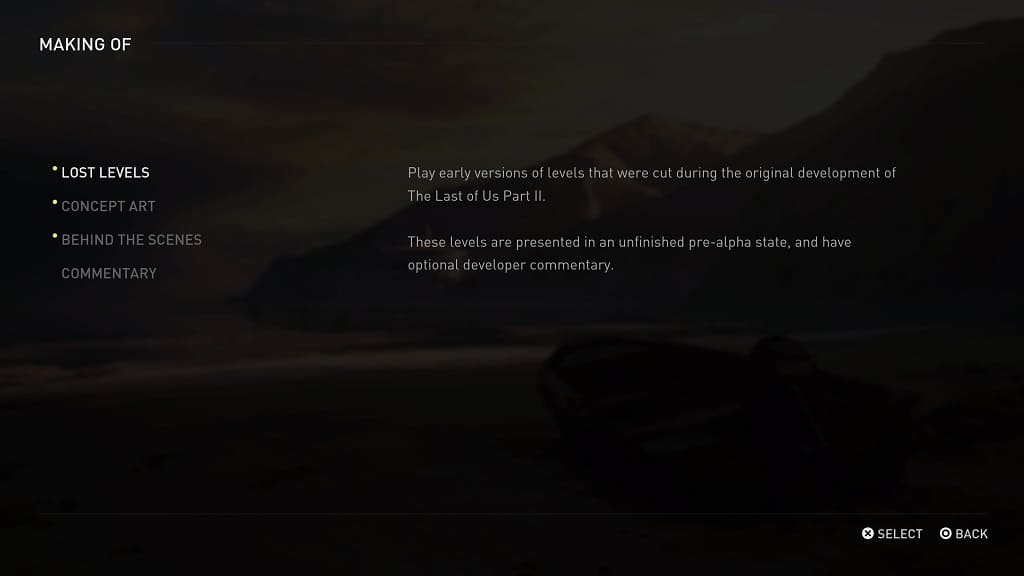
The Last of Us Part II Remastered features three lost levels. To see how you can access these unfinished stages, you can take a look at this tutorial from Seeking Tech.

1. To start off, make sure you are in the main menu of the game.

2. From there, select the “Making Of” option.

3. In the “Making Of” menu, select Lost Levels.

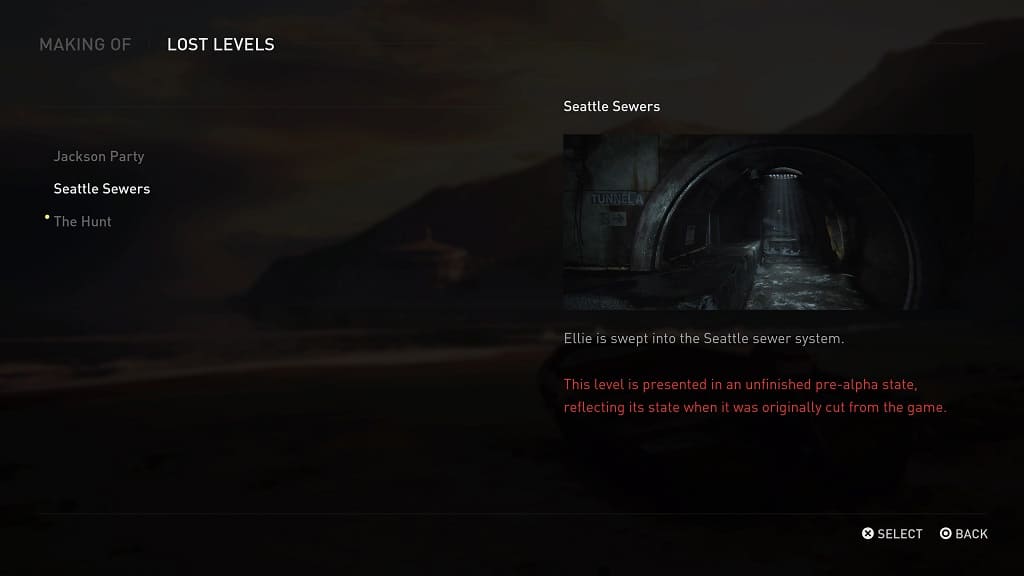
4. On the next screen, you should see the Jackson Party, Seattle Sewers and The Hunt levels.

On the right of the screen, you should see a short description of the stage along with a warning text saying that it is in a pre-alpha state. For the Jackson Party level, there is also additional text explaining that it does not have spoken dialogue.

5. Once you pick a level, you will be taken to a new screen.

Here, you can choose whether or not you want to enable developer commentary or the introduction video.

When you are ready, select the Start option to start playing the lost level.

How to make dodging and parrying easier in Prince of Persia: The Lost Crown

If you are having a hard time trying to dodge and parry in Prince of Persia: The Lost Crown, then you can check out this guide to see how you can increase the timing windows for these actions.

1. If you haven’t done so already, make your way to the Options menu.

You can do so by pausing the game, heading over to the System tab and then selecting Options.

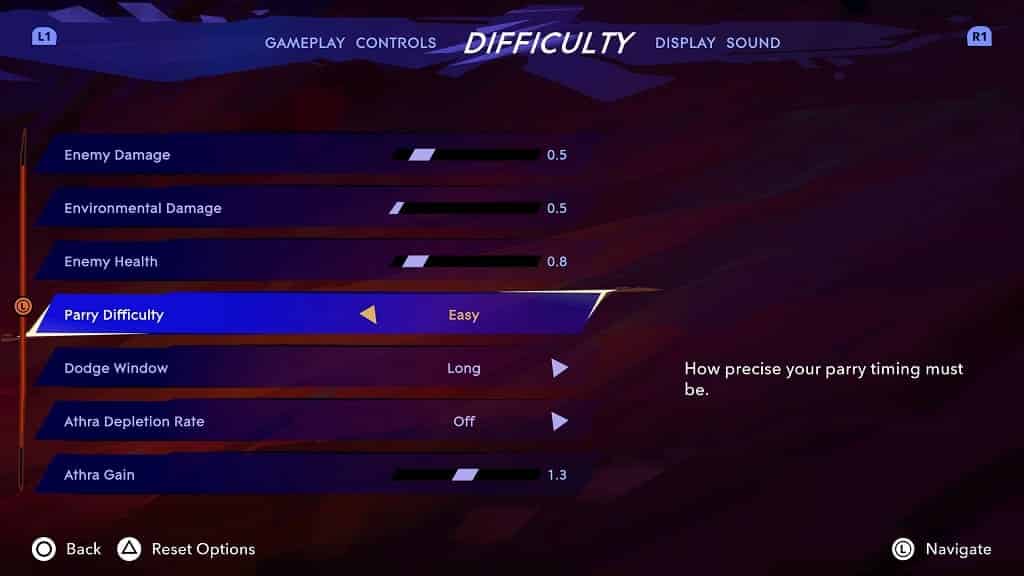
2. From there, switch over to the Difficulty tab.

3. Scroll down and then move the cursor to Parry Difficulty. You should see the following description:

How precise your parry timing must be.

Make sure that this setting is set to Easy.

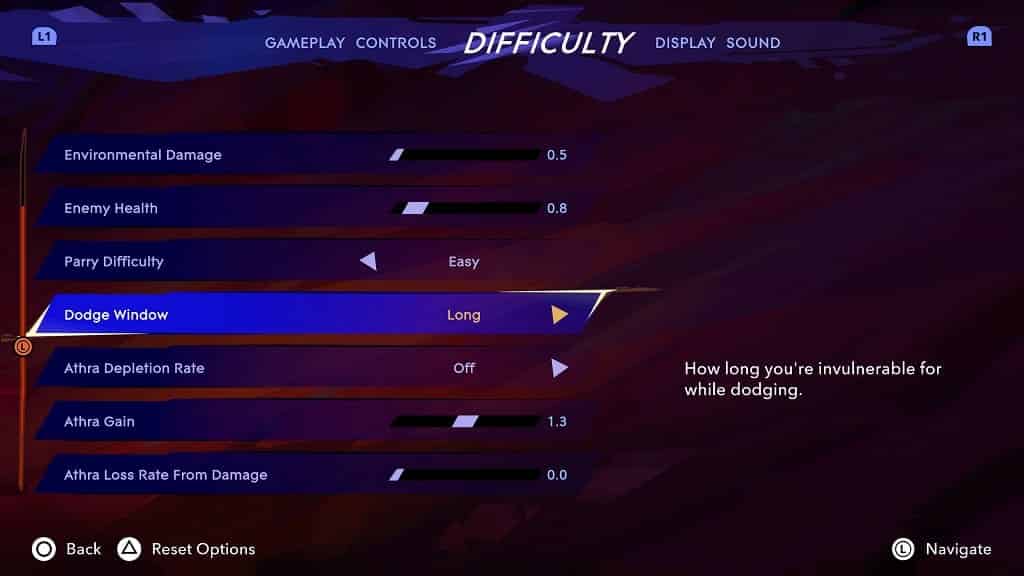
4. Next, move the cursor down to Dodge Window, which has the following description:

How long you’re invulnerable for while dodging.

Make sure that this setting is set to Long.

Exit the Options menu and return to your game. The new dodging and parrying settings should be applied.

How to make aiming and targeting easier in Prince of Persia: The Lost Crown

If you have issues trying to target and/or aim at enemies in Prince of Persia: The Lost Crown, then you can check out this guide at Seeking Tech to see how you can make these actions easier.

1. To start off, open the pause menu, head over to the System tab and then select Options.

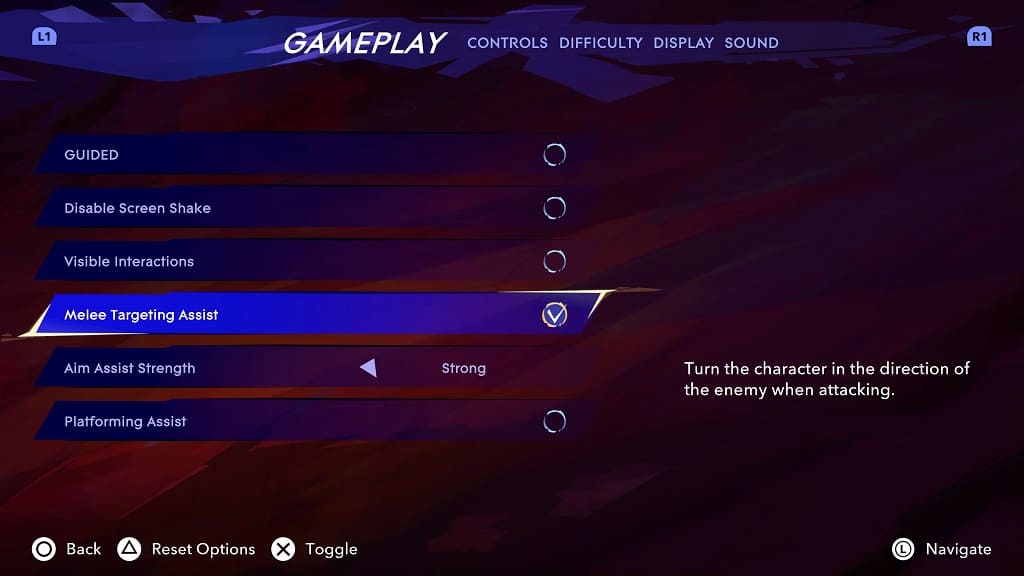
2. In the Options screen, make sure you are viewing the Gameplay tab.

3. Move the menu cursor down to Melee Targeting Assist. It should have the following description:

Turn the character in the direction of the enemy when attacking.

Enable this setting so that you don’t have to worry about which direction your character is facing when executing a melee attack.

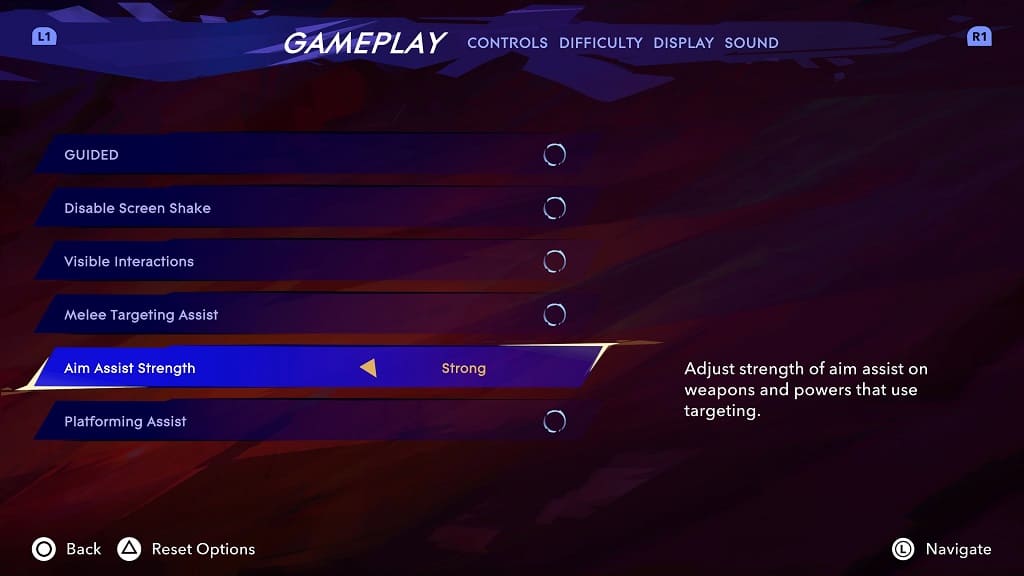
4. Move the cursor further down to Aim Assist Strength. You should see the following description:

Adjust strength of aim assist on weapons and powers that use targeting.

Make sure this setting is set to Strong if you have problems aiming.

Afterwards, exit the pause menu and then return to playing The Lost Crown. The assists should be applied to the game.

How to disable vibrations in Prince of Persia: The Lost Crown

If you are playing Prince of Persia: The Lost Crown with a compatible controller, then it will vibrate on certain actions. If you want to decrease the rumble intensity, or disable it altogether, then you can check out this tutorial from Seeking Tech.

1. To start off, open the pause menu, head over to the System tab and then select Options.

2. Inside of Options, you need to switch over to the Controls tab.

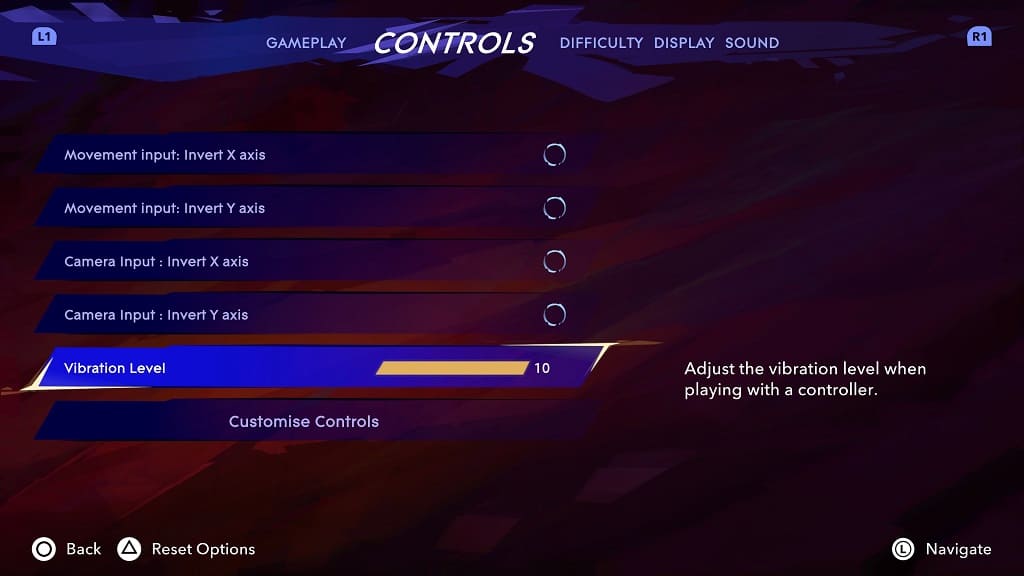
3. You should be able to find Vibration Level, which has the following description:

Adjust the vibration level when playing with a controller.

4. By default, this setting is set to 10.

To decrease it, move the slider to the left in increments of 1.

To fully disable haptic feedback in Prince of Persia: The Lost Crown, make sure that the Vibration Level is set to 0.