How to turn off controller vibrations in Sea of Stars

If you are playing Sea of Stars with a compatible controller, then vibrations are enabled by default. If you find that the rumble does not add much to the experience and/or to be a little distracting, then you can check out this guide at Seeking Tech to see how you can turn off this feature.

1. To begin, you need to open the Options menu from within Sea of Stars. This can be done from the main menu or pause menu.

The pause menu can be accessed by pressing the Options button on a PlayStation controller, Menu button on an Xbox controller or + button on a Nintendo Switch controller.

2. Inside of Options, make sure you are viewing the General section.

You can change sections with the L1/R1 buttons on PlayStation, LB/RB buttons on Xbox or L/R buttons on Nintendo Switch.

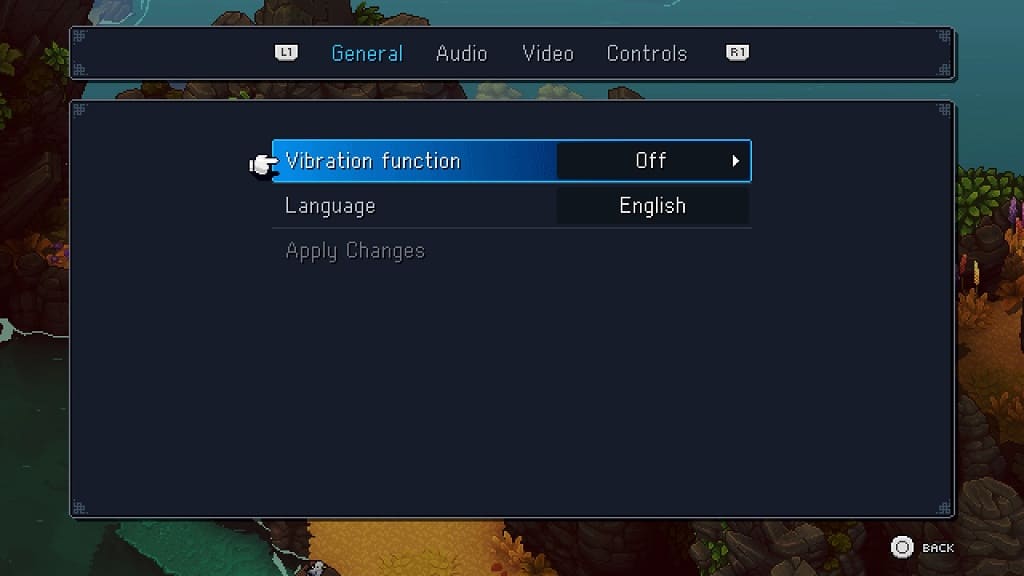
3. Next, move the cursor over to Vibration Function, which is set to On by default.

4. Use the left and right directional pad buttons, or tilt the left analog stick to the left or right, to set this setting to Off.

5. Back out of the Options menu when you are done.

When you play Sea of Stars again, you should no longer feel your controller vibrate.

How to disable dialog noises in Sea of Stars

Whenever a character talks in Sea of Stars, you will hear a string of blooping noises being made as the text appears in the dialog box.

If you find that this sound effect to be too annoying, then you can check out this Seeking Tech guide to see how you can disable it from this PC, PlayStation 4, PlayStation 5, Nintendo Switch, Xbox One, Xbox Series S and Xbox Series X role-playing game.

1. To start off, you need to go to the Options menu.

This can be done from the title screen before you load into the game. Alternatively, you can also select Options from the Pause menu.

To bring up the Pause menu in Sea of Stars, you need press the Options button if you are playing with a DualSense/DualShock 4, + button if you are playing on a Nintendo Switch gamepad or Menu button if you are playing with an Xbox controller.

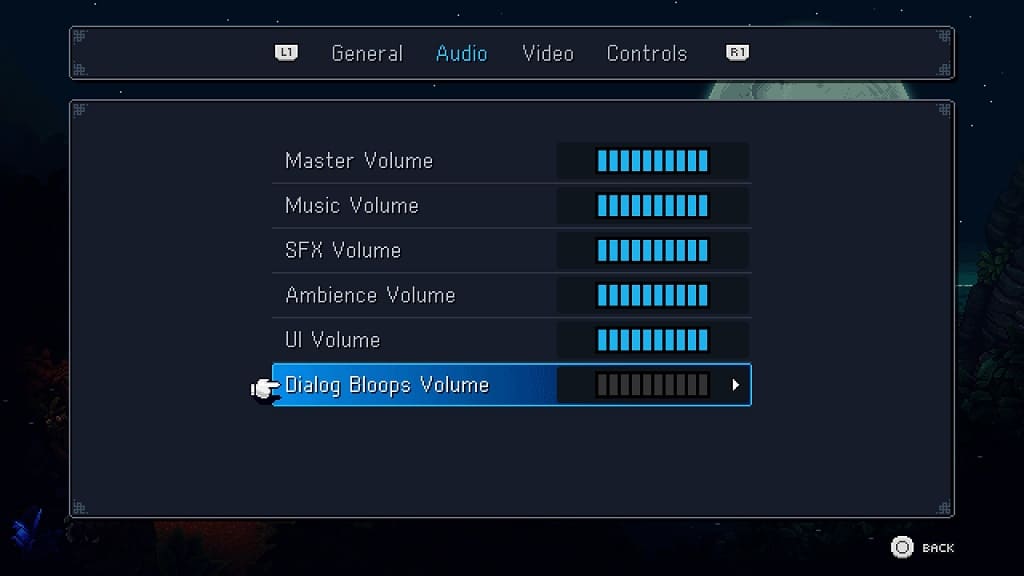
2. From the Options menu, head over to the Audio tab.

You can change tabs by using L1/R1, L/R or LB/RB.

3. From the Audio tab, move the cursor down to Dialog Bloops Volume.

4. You can decrease the volume level of dialog noises with the Dialog Bloops Volume setting. To mute it completely, make sure that the volume level is moved all the way to the left.

5. Exit the Options menu once you are done.

When you play Sea of Stars again, you should no longer notice any blooping noises being made when a character speaks.

What is the best bonus stat in Sea of Stars?

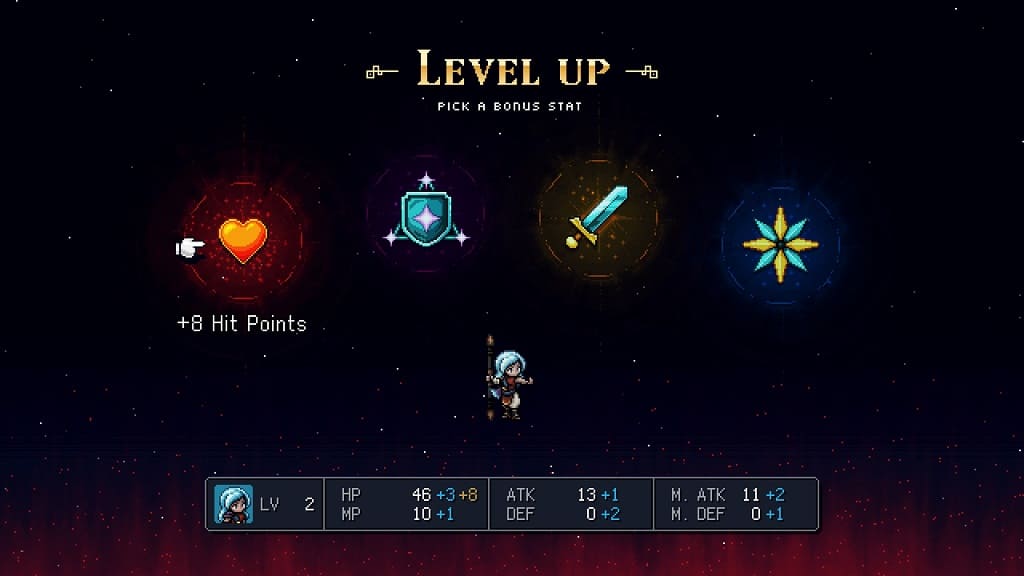
Similar to Super Maro RPG: Legend of the Seven Stars, you can choose a bonus stat to upgrade in Sea of Stars. The new RPG (which is out now for PC, PlayStation 4, PlayStation 5, Nintendo Switch, Xbox One, Xbox Series S and Xbox Series X) will let you pick between four different stats.

You may see any of the following bonuses appear in the level up screen:

  • Health Points
  • Mana Points
  • Attack Points
  • Defense Points
  • Magic Attack Points
  • Magic Defense Points

So, which bonus stat is the best in Sea of Stars? You can find out in this guide from Seeking Tech.

About the Relics System

Before we start, it is important to note that Sea of Stars features a Relics system that lets you customize your experience.

After the prologue, you will be given the Amulet of Storytelling, which doubles the HP of your character when activated.
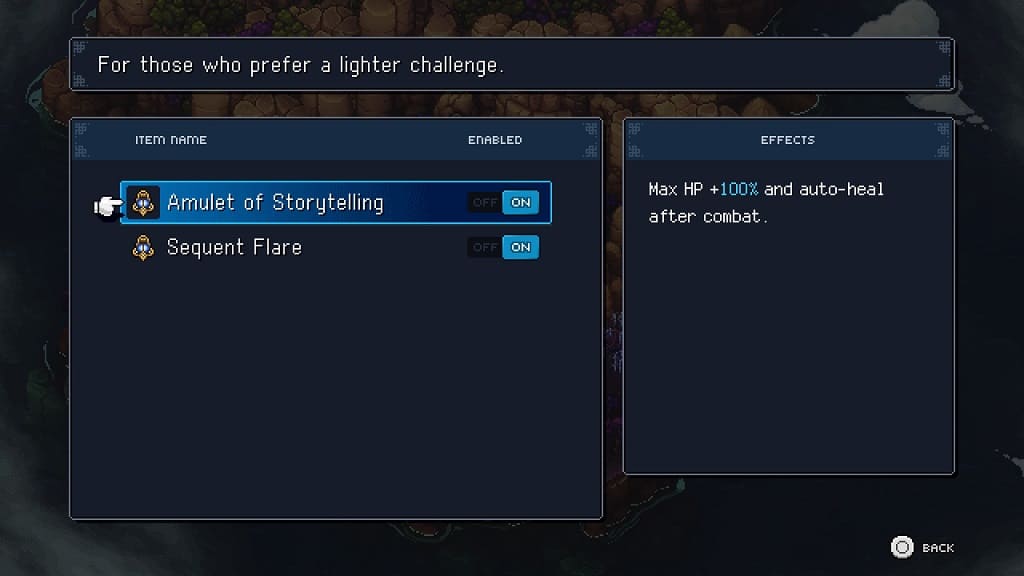
Later on in the game, you should also be able to buy the Guardian Aura, which reduces the damage taken from enemy attacks by 30% when activated.

Best Sea of Stars bonus stat without using relics

If you don’t want to use the Amulet of Storytelling and/or Guardian Aura, then the best bonus stat to get, especially early on, is HP.

By having higher hit points, you won’t have to worry about healing or getting knocked out as much. The bosses and even the regular enemies in the game can hit pretty hard, especially if you aren’t good at consistently timing your blocks.
Best Sea of Stars bonus stat when using relics

If you decide to activate the Amulet of Storytelling and/or Guardian Aura relics, then the best bonus stat to get early on is MP.

While skills can deal a lot of damage, the maximum MP pools for your characters are pretty low. As a result, you won’t be able to use skills in consecutive turns from the same character for most of the game. Hence, you might want to focus on increasing your MP stat of your party members until you get to at least 20 MP.

About the other bonuses

Aside from HP and MP, you can also choose any of the following bonus stats in the level up screen:

  • Attack Points
  • Defense Points
  • Magic Attack Points
  • Magic Defense Points

Once you feel like that you have obtained enough HP and MP, we suggest that you improve your Magic Attack Points as these will help you deal more damage with your Skill attacks. If Magic Attack Points aren’t available, then you can focus on Attack Points, which increases your regular attack power.

Assuming you have high HP, then the Defense and Magic Defense bonuses aren’t necessary. This is especially true if you are using the Amulet of Storytelling and/or Guardian Aura relics.

Sea of Stars Bonus Point Rankings

To recap, you can check out bonus point rankings below:

With the Amulet of Storytelling and/or Guardian Aura relics activated:

1. Mana Points

2. Magic Attack Points

3. Attack Points

4. Health Points

5. Magic Defense Points

6. Defense Points

Without the Amulet of Storytelling and/or Guardian Aura relics activated:

1. Health Points

2. Mana Points

3. Magic Attack Points

4. Attack Points

5. Magic Defense Points

6. Defense Points
How to play Sea of Stars in easy mode

If you are having a hard time with fighting against bosses and/or regular enemies in Sea of Stars, then you can check out this guide at Seeking Tech to see how you can make the game easier.

Before we begin, it is important to note that Sea of Stars does not have a traditional easy, very easy or story mode. Instead, the role-playing game offers a Relics system that you can use to customize your gameplay experience. With this feature, you should be able to make the combat easier.

1. For the first step, you need to open the Game Menu.

This can be done by pressing the Triangle button if you are playing with a PlayStation controller, Y button if you are playing with an Xbox controller or X button if you are playing with a Nintendo Switch controller.

2. Next, you need to select Relics from the Game Menu.

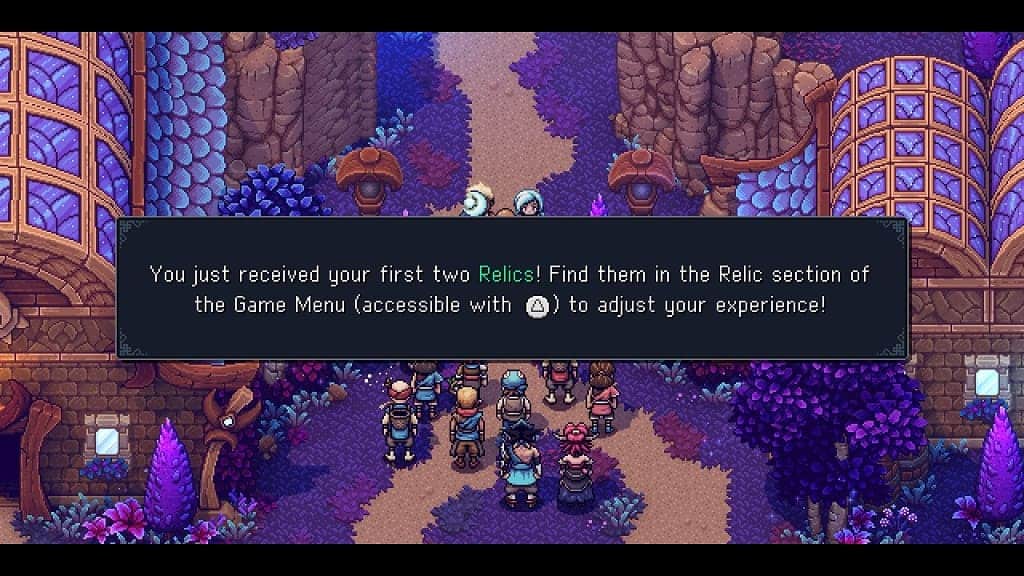
Keep in mind that Relics won’t be unlocked until you clear the prologue. This occurs when you leave Mooncradle village as you will be given two relics by Headmaster Moraine.

3. In the Relics Menu, we suggest that you turn on the Amulet of Storytelling, which is one of the first two relics given to you.

By doing so, the maximum hit points of your characters will double. Once you defeat your enemies in an encounter, the HP will be fully restored as well.

4. Once you reach the Stone Masons Village, visit its shop to purchase the Guardian Aura. This relic will reduce the damage you take by 30%.

Afterwards, activate it from the aforementioned Relics Menu.

5. There are other relics that you can purchase as you go further into Sea of Stars to make the game easier.

With both Amulet of Storytelling and Guardian Aura activated, you shouldn’t have much trouble in combat, however, as your characters are able to take more hits before getting knocked out. Not to mention that you don’t have to worry about healing in between fights.

How to enable or disable subtitles in Armored Core 6

Subtitles are included in Armored Core VI: Fires of Rubicon. To see how you can enable or disable the texts from appearing at the bottom of the screen whenever a character speaks, you can take a look at this tutorial from Seeking Tech.

1. To start off, you need to head to the System screen in Armored Core 6.

2. From the System menu, select Game Settings from the list of options located on the left column.

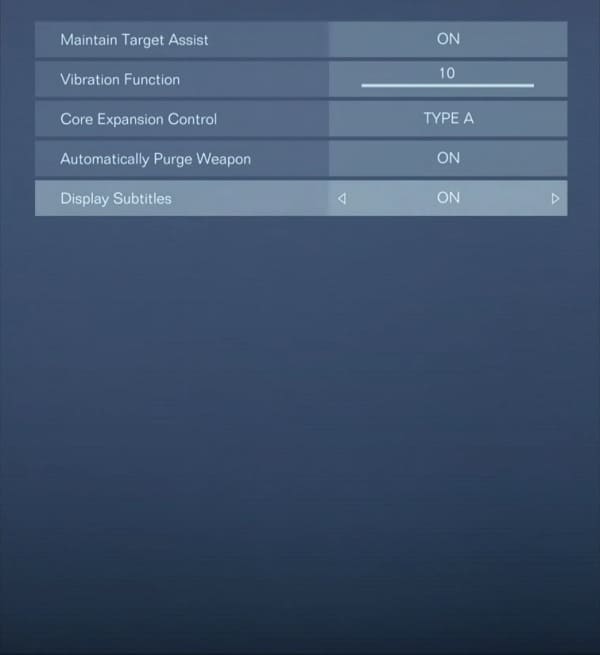
3. On the right side of the same screen, you should see the Display Subtitles option. It should show the following description:

Toggle display of subtitles on or off.

4. To see text appear on the screen when you hear a character talking, make sure that the Display Subtitles option is set to On.

If you find that the subtitles to be too distracting during gameplay, then you can set this setting to Off.

5. Exit the System menu and then return to your game.

The next time you play Armored Core VI: Fires of Rubicon, you should notice the change in the way the captions are displayed.

How to fix Armored Core 6 input lag issues

You may experience some input lag when playing Armored Core VI: Fires of Rubicon on your PC, PlayStation 4, PlayStation 4 Pro, PlayStation 5, Xbox One, Xbox One S, Xbox One X, Xbox Series S or Xbox Series X.

To see how you can potentially reduce the delay to your controller inputs, you can take a look at this troubleshooting article from Seeking Tech.

1. If you haven’t done so already, make sure you have Game Mode, or another similar mode, activated on your television screen or monitor. This picture setting is designed to reduce input latency.

2. You should also check to see if you are playing Armored Core 6 at the highest possible frame rate as doing so will make the game feel more responsive.

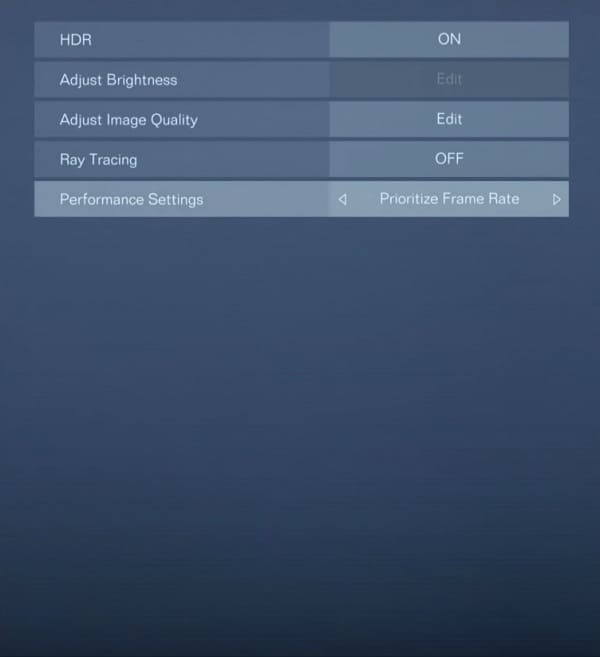
On consoles, you can go to the Graphics Settings tab in the Armored Core 6 System menu. From there, make sure that the Performance Settings option is set to Prioritize Frame Rate.

3. You can try using your controller through wired connection as well in order to reduce input lag. This is because wired communication should be quicker when compared to wireless.

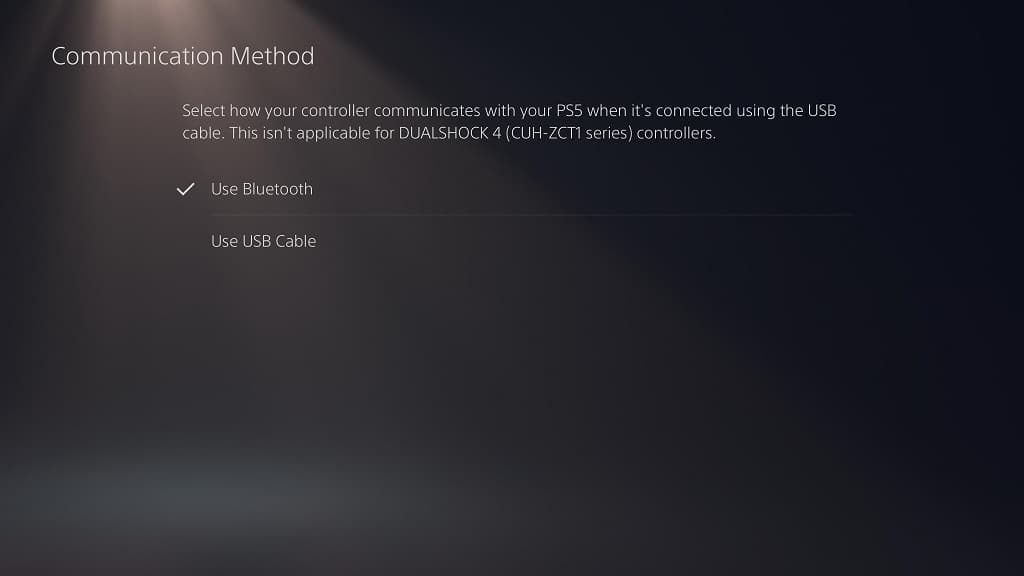
On the PS4 or PS4 Pro, connect the DualShock 4 to the USB port of the console and then head over to its Settings menu. From there, select Devices > Controllers > Communication Method > Use USB Cable.

If you are playing the mech action game on a PlayStation 5, then you need to connect the DualSense to the USB port of the console. Afterwards, go to Settings > Accessories > Controller (General) > Communication Method > Use USB Cable.

For the Xbox consoles, all you need to do is to connect your Xbox controller to the USB port.

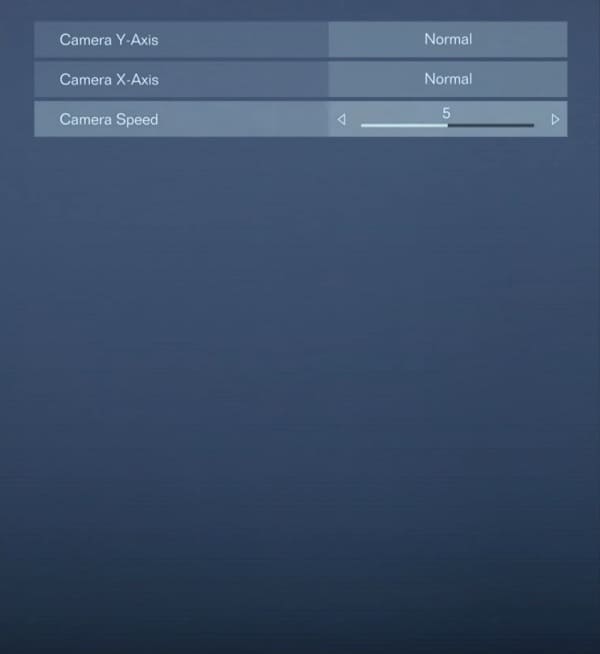
4. If you are having a hard time aiming, then we suggest that you head over to the Camera Settings tab in the System menu of the game. From there, you will be able to adjust the Camera Speed.

5. Make sure you have the latest patch installed for Armored Core VI: Fires of Rubicon.

Furthermore, check to see if there is a new system software update available if you are playing on a console or new drivers to download if you are playing on a PC.

6. Some screens are better than others when it comes to reducing input delay. So, if possible, you can try playing this game on a different television or monitor to see if the controls feel more responsive.

How to launch Armored Core 6 offline

By default, Armored Core VI: Fires of Rubicon will try to connect to the servers any time you launch the game. To see how you can start off with the game offline when you boot it up on your PC, PlayStation 4, PlayStation 5, Xbox One, Xbox One S, Xbox One X, Xbox Series S or Xbox Series X, you can take a look at this tutorial from Seeking Tech.

1. For the first step, you need to head over to the System menu in Armored Core 6.

2. Once you get to the System menu, you need to select Network Settings.

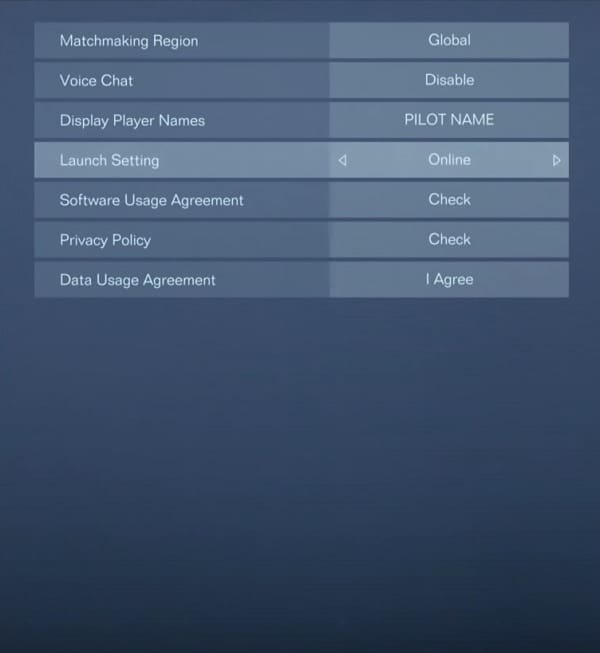
3. On the right side of the same screen, you should see the Launch Setting, which is set to Online by default. It should show the following description:

Choose which mode (online or offline) to start in from title launch. Setting will be applied after returning to title screen.

4. To make sure that Armored Core VI: Fires of Rubicon boot up without having to connect to the online servers, make sure you set the Network Settings option in this screen to Offline.

5. Exit the System menu and then return to the title screen. You should now be able to boot up the game in offline mode.

How to enable or disable voice chat in Armored Core 6

You are able to communicate with other players while playing the online multiplayer portion of Armored Core VI: Fires of Rubicon.

To see how you can enable or disable voice chat for this mech action game, you can take a look at this tutorial from Seeking Tech.

1. To begin, you need to make your way to the System menu if you haven’t done so already.

2. From the System menu, you need to select Network Settings, which is the bottom-most options on the left column.

3. On the right side of the same screen, you should see the Voice Chat setting, which should show the following description:

Enable or disable voice chat.

4. To turn on voiced communications, you need to set the Voice Chat to Enable.

If you don’t want to hear or talk with other players while playing Armored Core 6: Fires of Rubicon, then you need to set this setting to Off.

5. Once you are done changing the Voice Chat option, exit the System menu.

How to change Armored Core 6 core expansion controls

Performing a core expansion in Armored Core VI: Fires of Rubicon can feel a little awkward. To see how you can change the controls for this action, you can take a look at this tutorial from Seeking Tech.

1. Go to the System menu of Armored Core 6 if you haven’t done so already.

2. From there, select Game Settings from the list of options you see on the left side of the screen.

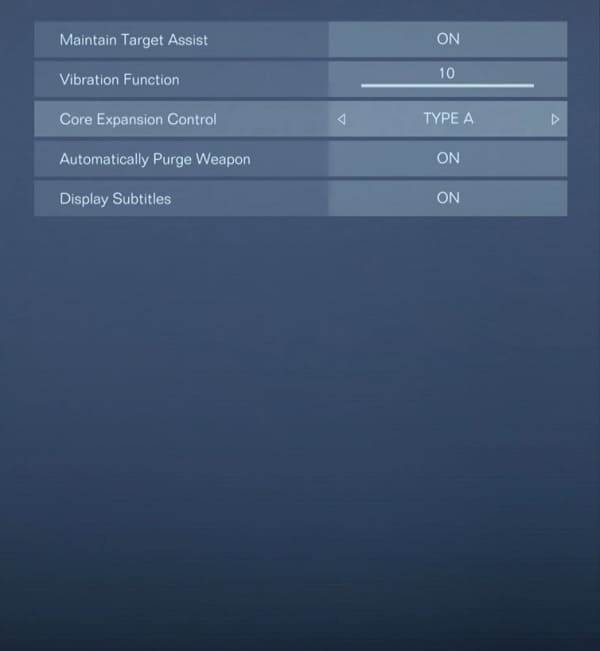
3. On the right side of the screen, you should see the Core Expansion Control setting. It should show the following description:

Choose a method to activate Core Expansions:

TYPE A: Assault Boost + Shift

TYPE B: Assault Boost + Target Assist

If you are using the default Type-A controller layout, then you normally have to press the L3 and Square buttons together to activate core expansions whenyou are playing with a DualShock 4 or DualSense controller. If you are using an Xbox One or Xbox One S controller, then you have to press down on the left analog stick and press the X button at the same time.

If you want to change the core expansion activation to the L3 and R3 buttons on PlayStation or pressing down on both the left and right analogs on Xbox, then make sure you change the Core Expansion Control setting to TYPE B.

4. After changing the core expansion controls, you can exit the System menu and return to your game.

How to play Starfield via early access on Xbox Game Pass

If you want to play Starfield earlier than the official release date on Xbox Game Pass, then you are able to do so if you don’t mind spending additional cash. To find out how you can properly do so on your Xbox Series X or Xbox Series S console, you can check out this tutorial from Seeking Tech.

1. If you haven’t done so already, make sure you download Starfield from the Xbox Game Pass app on your Xbox Series X or Xbox Series S. The game should be available to pre-load.

2. After downloading the software through Game Pass, move the menu cursor over to the Starfield icon on the Xbox Home menu and then press the Menu button on the controller.

3. Select “Game card” from the pop-up menu.

4. In the Starfield screen, select the “Show in Microsoft Store” option.

5. Next, you need to select Starfield Standard Edition from the Compare Editions screen.

6. On the product page, select the Choose Edition – Show All Versions option.

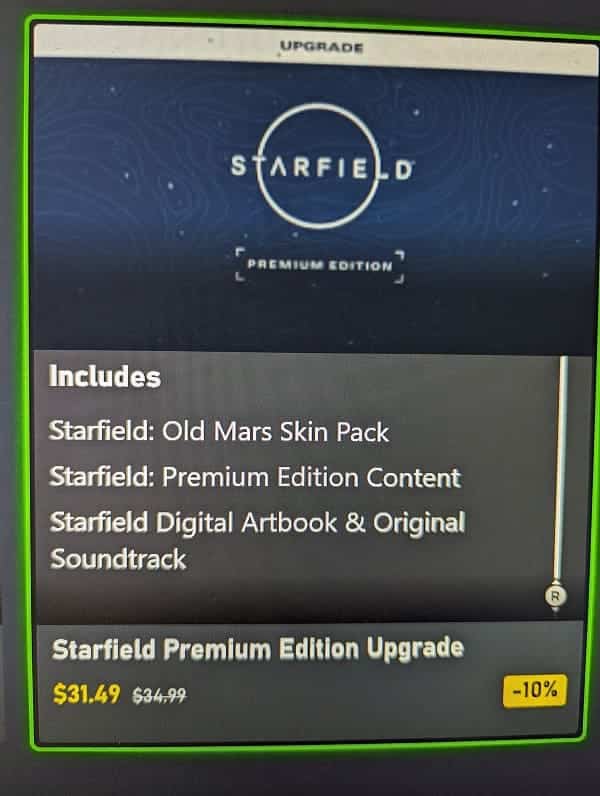
7. In the new Compare Editions screen, select Starfield Premium Edition Upgrade.

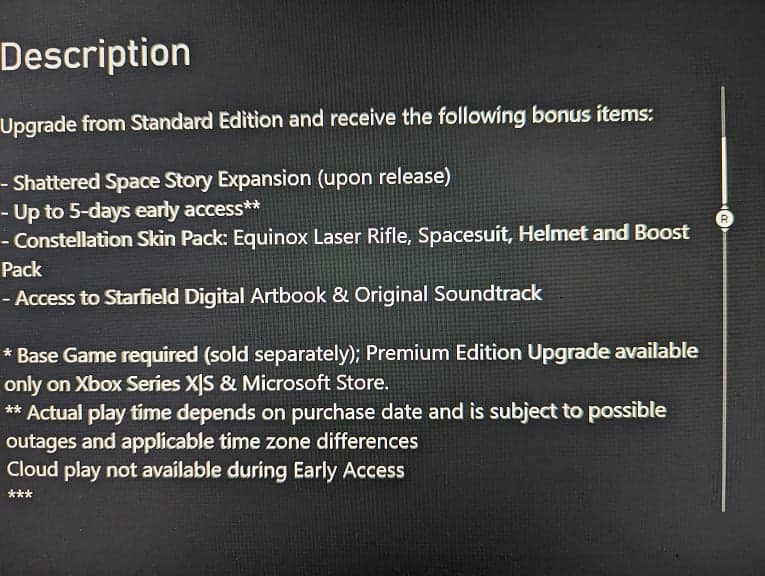
8. Go through the checkout process to purchase the upgrade. This will let you play Starfield on September 1, 2023, instead of having to wait until September 6, 2023.

While you can also play the game in early access by buying the Starfield Premium Edition outright, you have to pay $99.99 in the U.S. region.

By getting Starfield from Game Pass and then paying for the Starfield Premium Edition Upgrade, the price is only $34.99 (or $31.49 with the Game Pass discount) if you want to play the game five days earlier than the official launch date.

In addition to early access, the upgrade also comes with the following:

  • Starfield: Old Mars Skin Pack
  • Starfield Premium Edition Content
  • Starfield Digital Artbook & Original Soundtrack