How to delete your account in Mobile Suit Gundam U.C. ENGAGE

If you no longer want to play Mobile Suit Gundam U.C. ENGAGE and would like to delete your account from the game servers, then you can check out this guide at Seeking Tech to see how you can properly do so.

1. To start off, head over to the home screen if you aren’t there already.

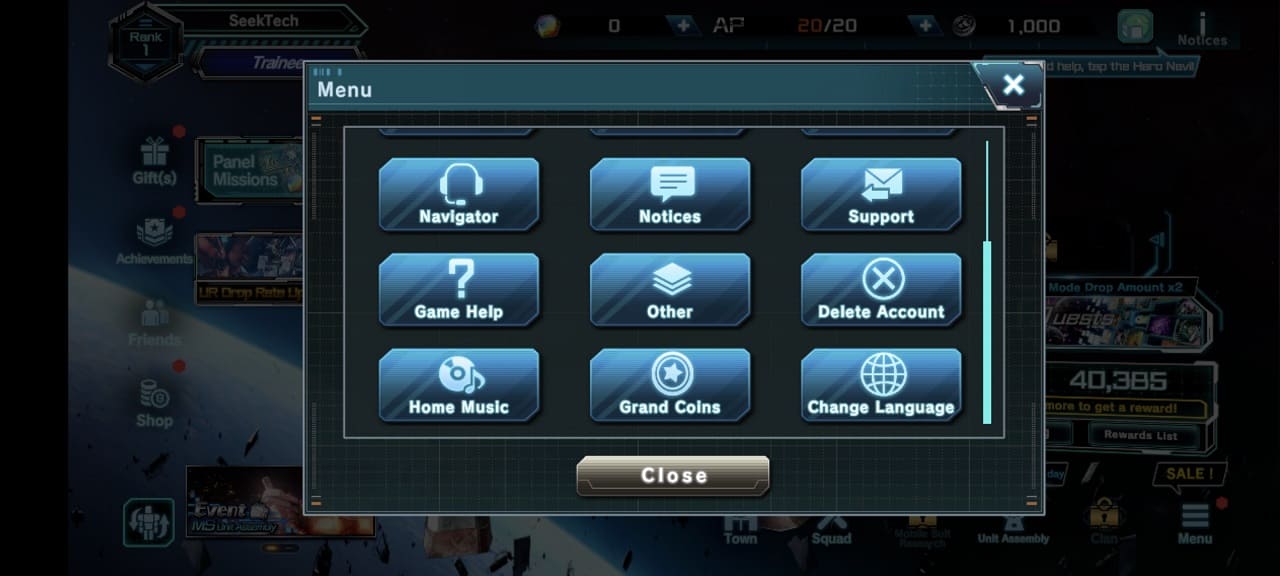
2. From there, tap the hamburger icon and then scroll down.

3. Tap the Delete Account option.
4. A webpage will then load in the default web browser app of your smartphone. Here, you are required to provide the email address you used for the account as well as some commentary regarding your inquiry.

Your account ID should already be included on the webpage.

5. On the next page, select the Send option at the bottom.

6. Your Mobile Suit Gundam U.C. ENGAGE should be deleted once the company has received your inquiry.

How to change the graphics quality in Mobile Suit Gundam U.C. ENGAGE

Mobile Suit Gundam U.C. ENGAGE supports three graphics quality modes. To see how you can switch between these visual settings, you can take a look at this guide from Seeking Tech.

1. For the first step, you need to open the Menu. This can be done by pressing the hamburger icon located on the bottom right of the screen.

2. Next, you need to select Miscellaneous Settings from the pop-up Menu screen.

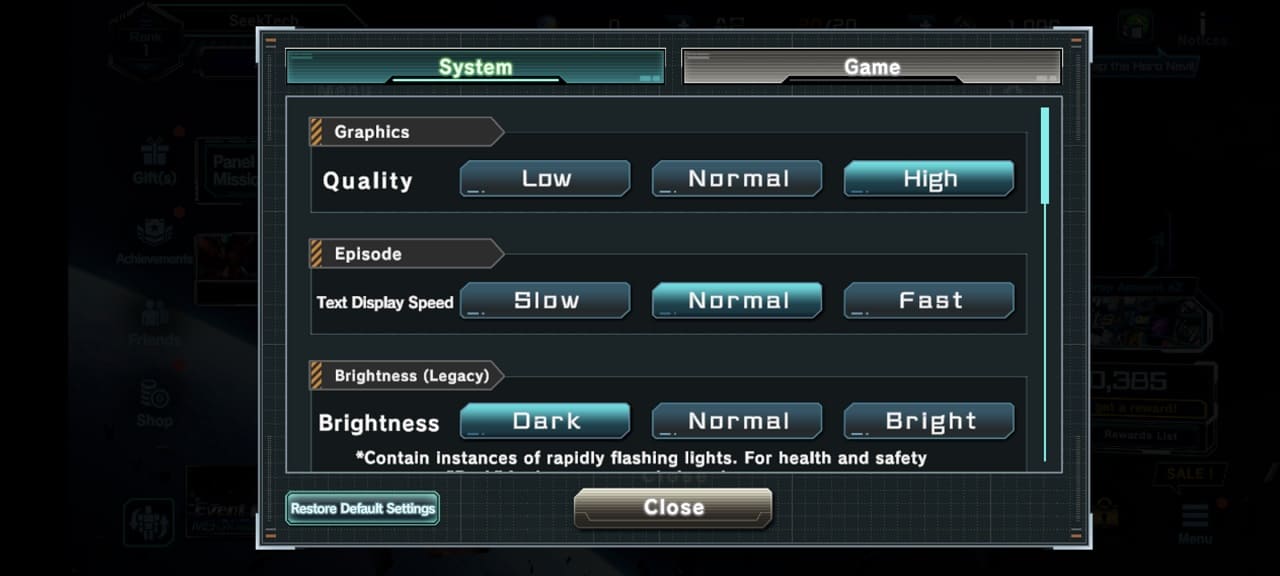
3. You should see the Graphics Quality setting located at the top. By default, this is set to Normal.

If the frame rate appears to be choppy when you are playing Mobile Suit Gundam U.C. ENGAGE, then you should set Graphics Quality to Low. You should lower this setting if the game is draining your phone battery faster than you would like.

On the other hand, you can set Graphics Quality to High if you want to experience the best visuals.

4. After you are done changing the visual modes, select the Close option.

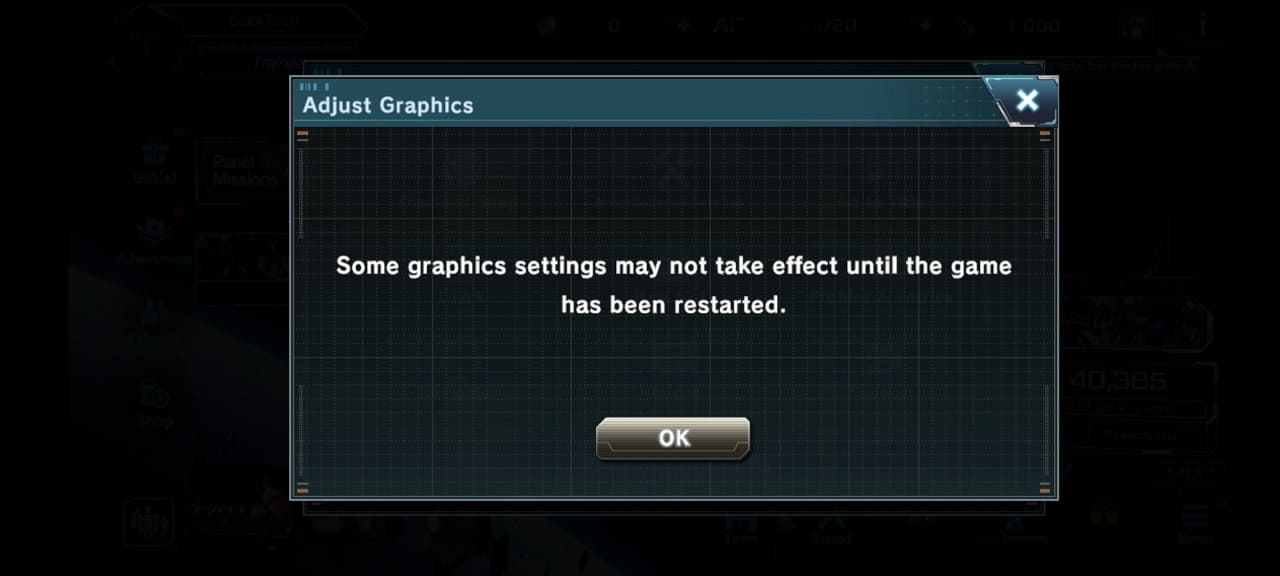
5. You should see the following message appear:

Some graphics settings may not take effect until the game has been restarted. Select OK to close the message.

6. Finally, close Mobile Suit Gundam U.C. ENGAGE and then open it again.

How to change inverted camera controls in Marvel’s Spider-Man 2

Marvel’s Spider-Man 2 uses inverted camera controls by default. To see how you can change these to normal so that the camera will move in the same direction where you are pointing the right analog stick, you can take a look at this tutorial from Seeking Tech.

1. If you haven’t done so already, open the Settings menu in Spider-Man 2. This can be done from either the main menu or pause screen.

2. From the Settings menu, select Controls.

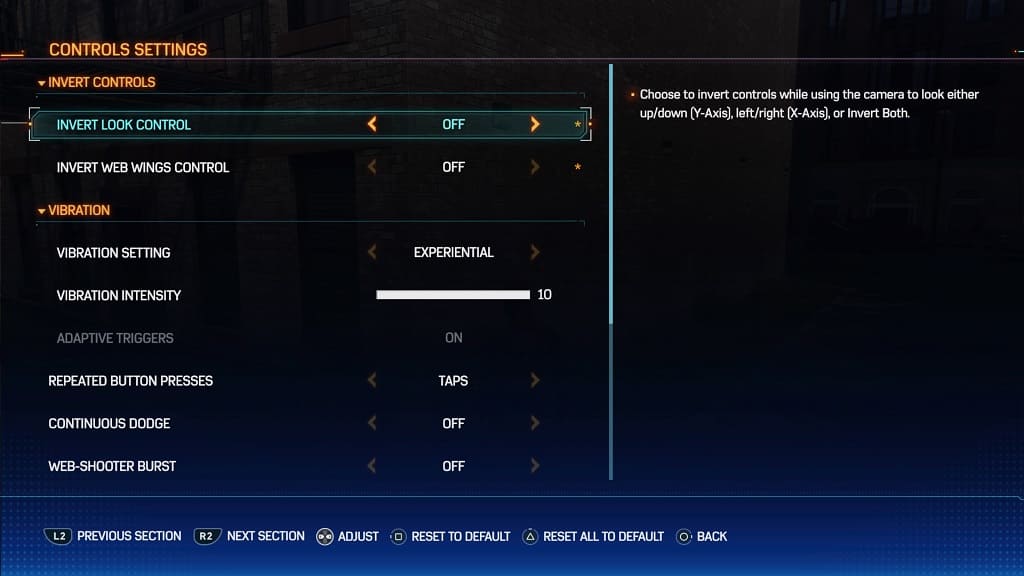
3. In the Controls Settings screen, move the cursor down to Invert Look Control option, which should have the following description:

Choose to invert controls while using the camera to look either up/down (Y-Axis,) left/right (X-Axis,) or invert both.

By default, Invert Look Control option is set to “Invert Both.” To make it non-inverted, you need to change it to “Off.”

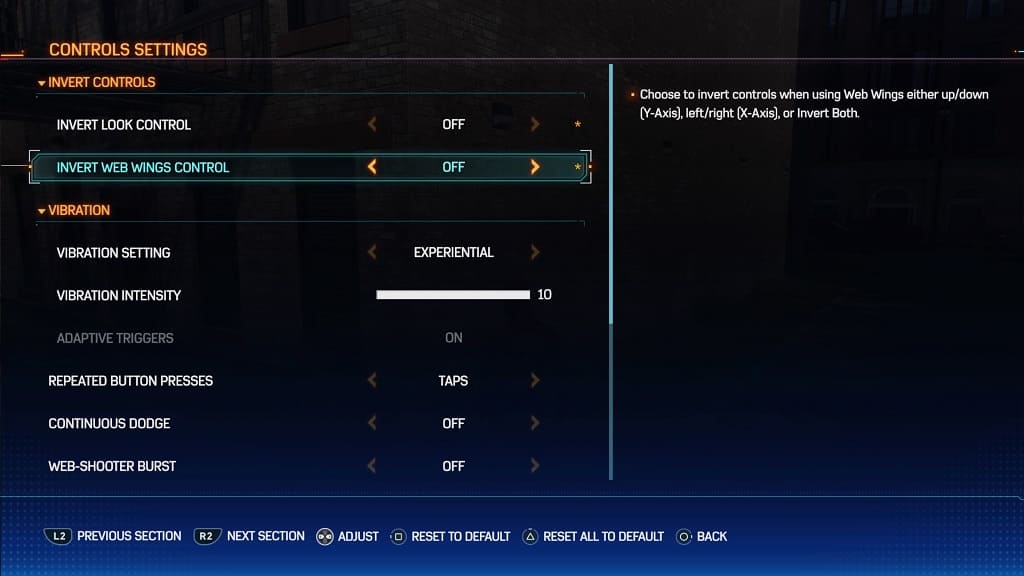
4. Next, you need to move the cursor down to Invert Web Wings Control. It should be showing the following description:

Choose to invert controls while using Web Wings either up/down (Y-Axis,) left/right (X-Axis,) or invert both.

The Invert Web Wings Control is set to “Y-Axis” by default. To make it normal, you need to change it to “Off.”

5. Once you are done non-inverting the camera controls, you can exit the Settings menu.

When you return to playing Spider-Man 2 again, the camera should no longer be inverted.

How to fix Mortal Kombat: Onslaught lost connection error

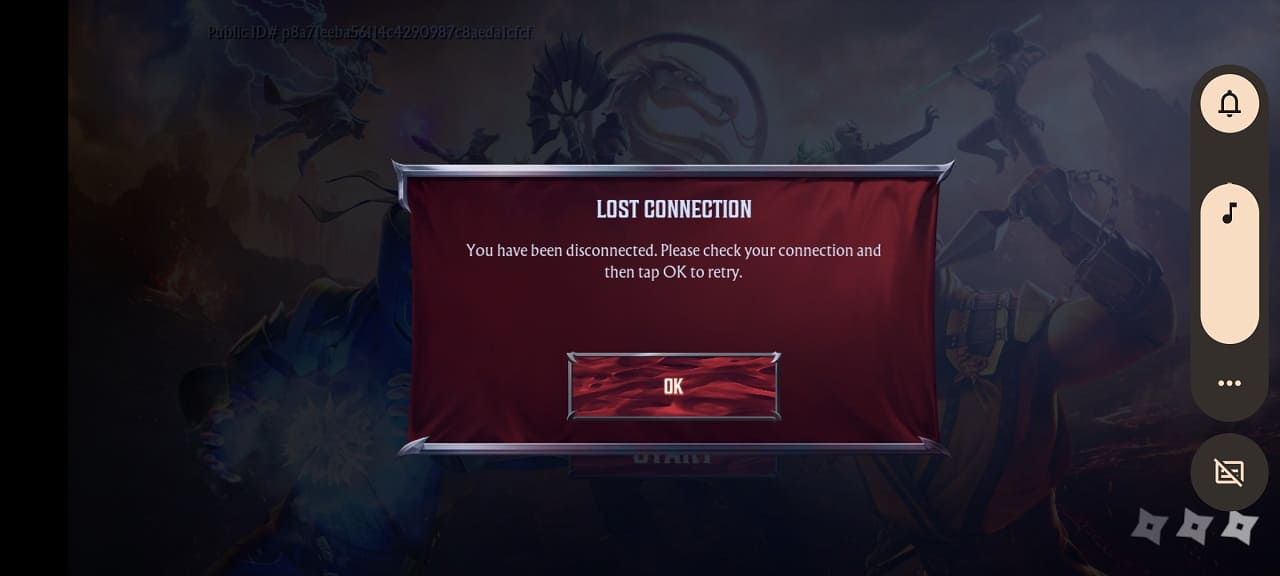
When trying to play Mortal Kombat: Onslaught, you may end up seeing the following error message:

Lost Connection. You have been disconnected. Please check your connection and then tap OK to retry.

To see how you can fix this internet issue for this mobile spin-off Mortal Kombat title, you can take a look at this troubleshooting article at Seeking Tech.

1. For the first step, we suggest taking a look at the official Mortal Kombat: Onslaught Twitter page to see if there are any server issues.

If there is downtime, then you won’t be able to connect to the game until they get fixed.

2. If the servers appear to be fine, then you should check the internet connection of your smartphone. Try to make sure that you have a strong enough signal.

Of course, you should also avoid using the same internet connection to download and/or stream the same time you are playing the game.

3. Furthermore, you can try closing any other or suspended applications as these may conflict with the online connection in Onslaught.

4. If possible, try switching to a different wireless network on your phone.

5. Make sure you have the latest patch installed for the game as well.

6. Deleting and then re-installing the game from the Google Play Store or Apple App Store may also help.

How to use left-handed controls in Mortal Kombat: Onslaught

Mortal Kombat: Onslaught comes with an accessibility feature that makes the game easier to play for left-handed people. To see how you can turn this feature on, you can check out this tutorial from Seeking Tech.

1. For the first step, make sure you complete the tutorial, which is three battles long. Otherwise, you won’t be able to access the game’s system menus.

2. Once you have full control, tap the hamburger icon located on the top right of the screen.

3. Next, you need to tap Settings from the small menu.

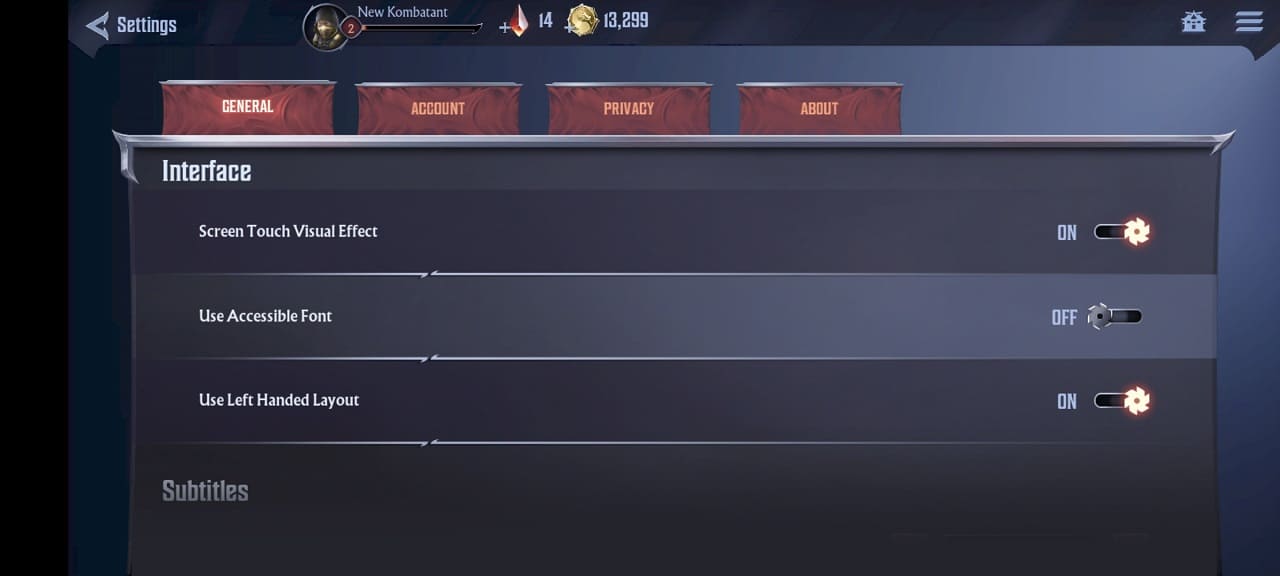
4. Make sure you are viewing the General tab in Setting and then scroll down to the Interface section.

5. From there, make sure that the Use Left Handed Layout setting is set to On.

6. You can then exit the Settings menu.

The touch layout in Mortal Kombat: Onslaught should now be more suitable for left-handed players.

How to increase the brightness in Mortal Kombat: Onslaught

If you find that Mortal Kombat: Onslaught is a little too dark, then you can check out this guide from Seeking Tech to see how you can make the game look brighter.

1. For the first step, you need to tap the hamburger icon located on the top right side of the screen.

It is important to note that this icon can’t be selected unless you complete the three tutorial battles; therefore, you should make sure you progress enough into the game.

2. In the menu the slides in from the right side of the screen, you can then select Settings.

3. You should automatically be viewing the General tab. If not, tap on it.

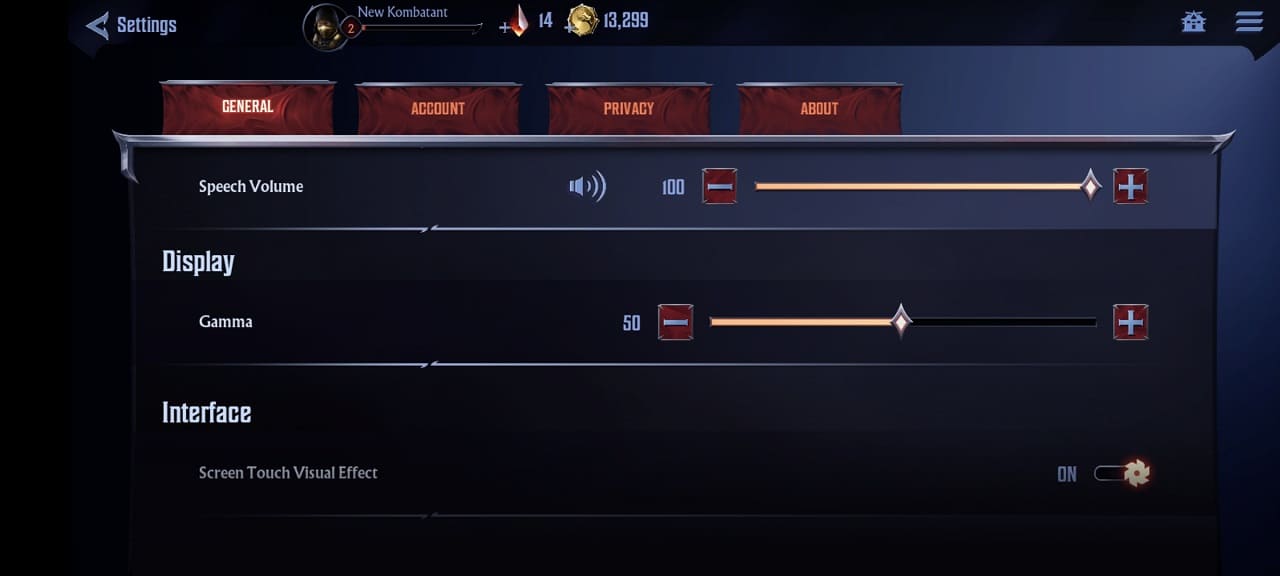
4. Scroll down the General tab until you get to the Display section.

5. You should find the Gamma slider, which is set to a value of 50 by default. Use this slider to brightness up the graphics.

While you can also increase the screen brightness on your smartphone, doing so will drain more battery and may make the game look off. Therefore, we recommend using the in-game Gamma slider first.

How to find PlayStation Plus movies in the Sony Picture Core PS4 and PS5 App

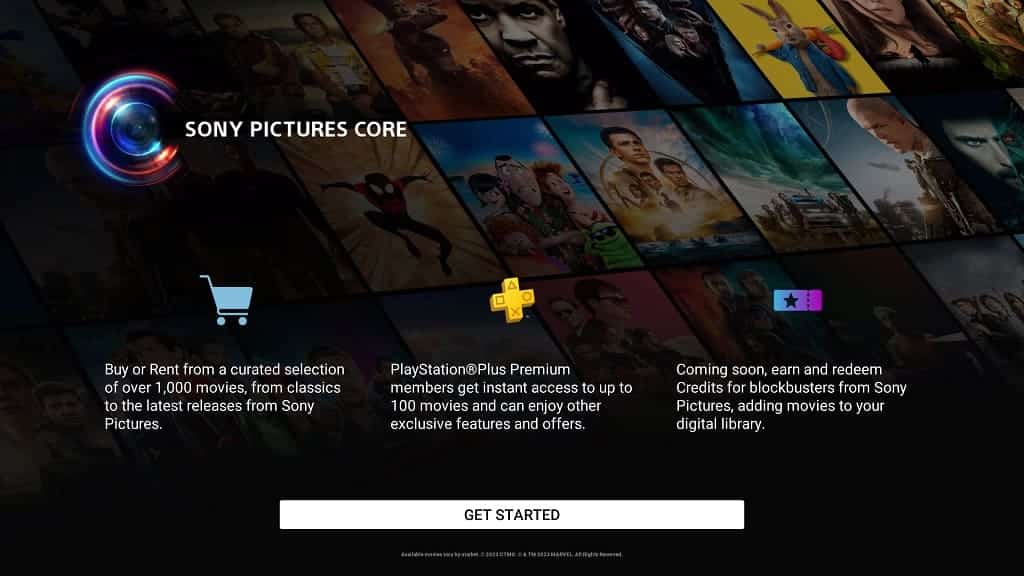
If you haven’t heard already, you can watch up to 100 movies at no additional costs if you are a PlayStation Plus member. To see how you can locate these films, you can take a look at this guide from Seeking Tech.

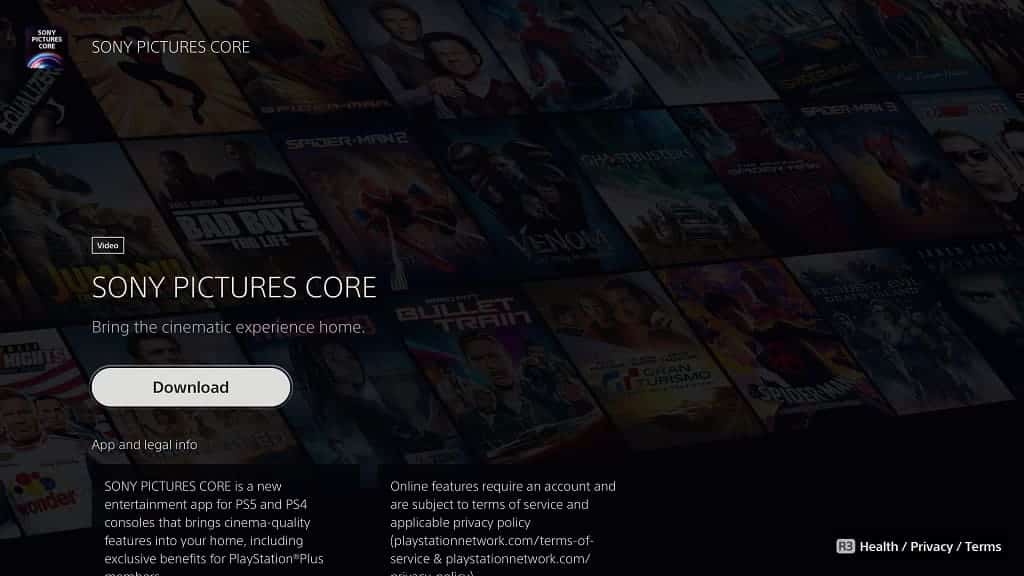
1. If you haven’t done so already, make sure you download the Sony Picture Core App from the PlayStation Store of your PlayStation 4 or PlayStation 5.

2. Next, you should also make sure that you are signed into the console with the correct PlayStation Network account that is subscribed to PlayStation Plus. Keep in mind that this offer is only for subscribers to PlayStation Plus Deluxe and PlayStation Plus Premium.

If you have PlayStation Plus Essential or PlayStation Plus Extra instead, then you need to upgrade to the highest tier.

3. Once you have everything set up, open the Sony Picture Core App.

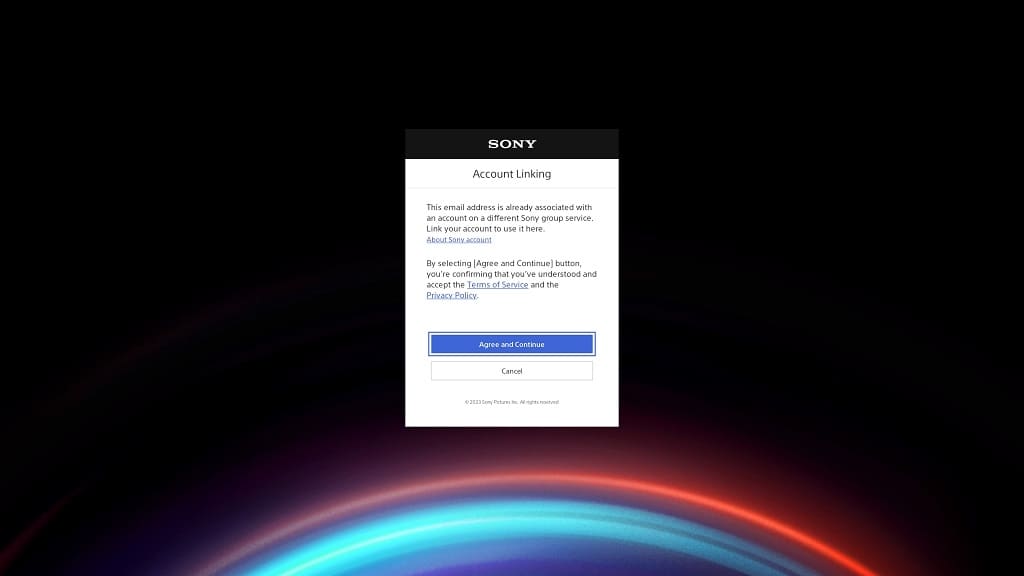
4. If you haven’t logged into the application previously, then the application will walk you through the process, which includes linking your PSN account.

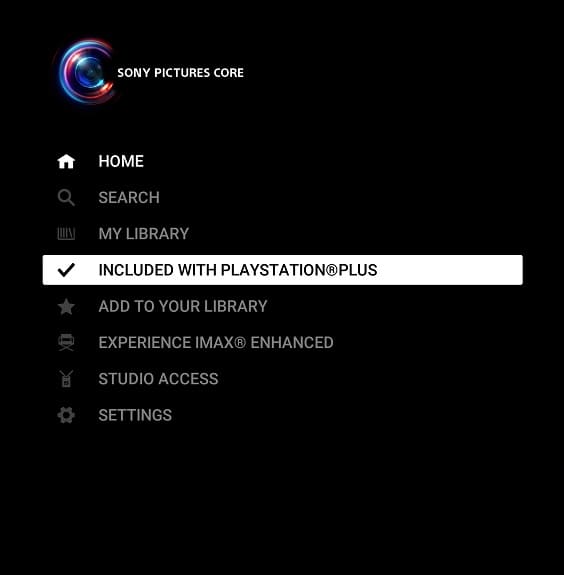
5. Once you are logged into your account, you should now be in the home page. Here, you can use the left analog stick or the left directional pad button to open the left-side menu.

6. Select the Included with PlayStation Plus option.

7. You should now see a full list of movies that you can watch for free as long as you remain a PlayStation Plus Deluxe and PlayStation Plus Premium member.

Unfortunately, there is currently no way you can sort the listing.

How to find change the audio quality in the Sony Picture Core PS4 and PS5 App

The Sony Picture Core App for the PlayStation 4 and PlayStation 5 supports multiple audio output methods. To see how you can change this setting to match your audio setup, you can check out this tutorial from Seeking Tech.

1. If you haven’t done so already, open the Sony Picture Core App on your PlayStation 4 or PlayStation 5.

2. From the home page, move to the left and then select Settings.

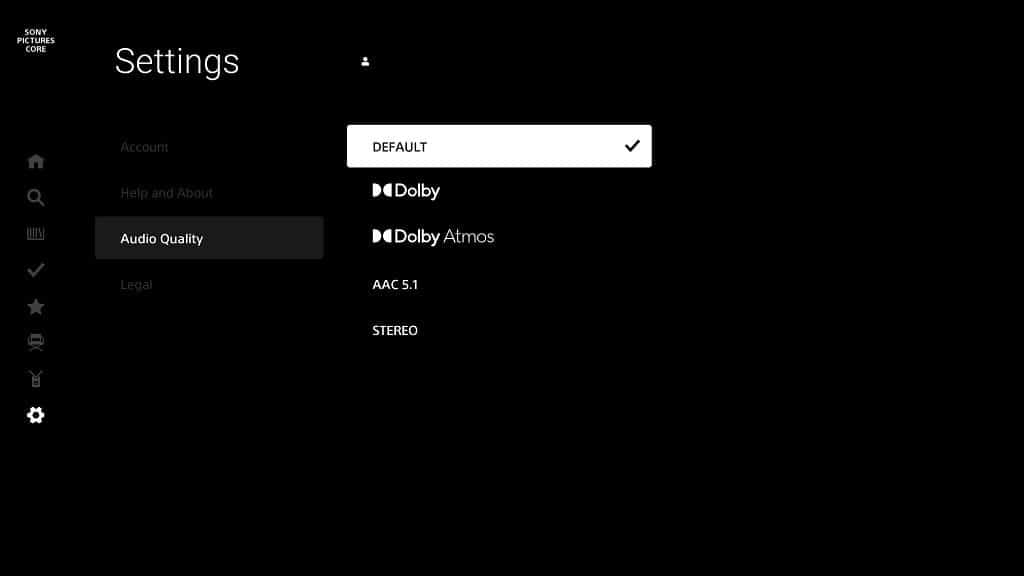
Once you get to the Settings menu, select Audio Quality in the left column.

3. You should then select Audio Quality.

4. The following options are available:

  • Default
  • Dolby
  • Dolby Atmos
  • AAC 5.1
  • Stereo


If you choose default, then the app will go with the audio setup that you selected from the system menus of your PS4 or PS5.

5. After changing the audio quality, press the Circle button a few times to exit the Settings menu and return to the home screen of the application.

How to fix Monster Hunter Now empty map issues

You may notice that the map is not loading properly when playing Monster Hunter Now. You can check out this troubleshooting article at Seeking Tech to see how you can get it to properly populate.

1. For the first potential solution, you can try restarting the game to re-establish its connections.

2. If a restart did not help, then make sure you close any other apps you have opened on your smartphone as these may be conflicting with Monster Hunter Now.

3. If you are playing over a Wi-Fi connection, then switching over to mobile data may fix the empty map issue.

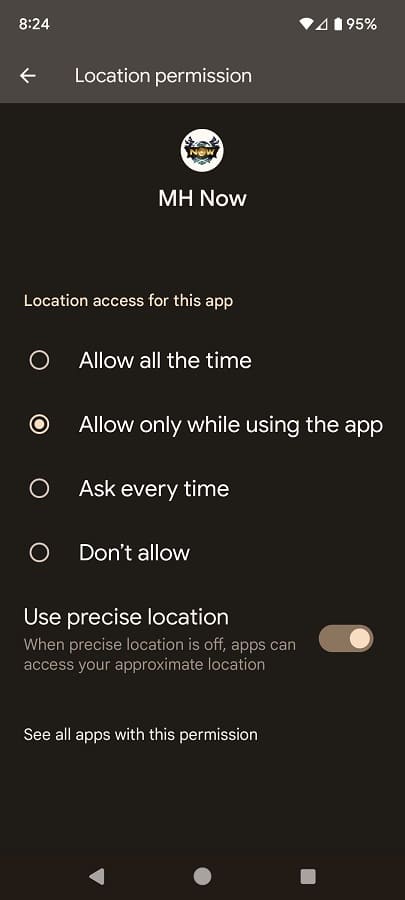
4. You should also make sure that you have “precise location” tracking enabled for the game as it should help improve the tracking accuracy.

On Android, for example, you need to do the following:

  • Go to the App Info screen for Monster Hunter Now.
  • Tap Permissions.
  • Tap Location.
  • Make sure that “Allow all the time” or “Allow only while using this app” is selected from the “Location access for this app section.”
  • You should also make sure that the “Use precise location” setting is enabled.

5. You should check to see if there is a new update to download for Monster Hunter Now as a new patch may improve the map feature in the game.

6. If you still can’t get the map to work, then you can try uninstalling and then reinstalling the app.

How to fix Monster Hunter Now ‘location permissions not set’ error

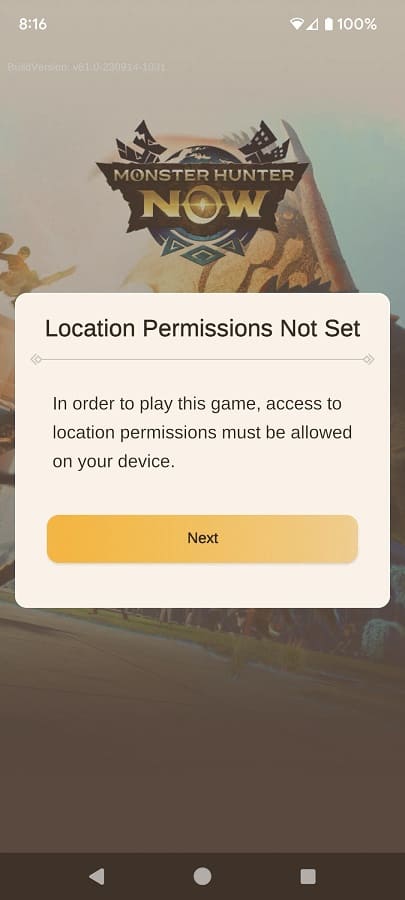
When playing Monster Hunter Now, you may experience the following error message:

Location Permissions Not Set

In order to play this game, access to location permissions must be allowed on your device.

To see how you can potentially fix this issue for the Monster Hunter mobile spin-off, you can take a look at this troubleshooting article from Seeking Tech.

1. For the first potential fix, you should check that you have the correct Location setting set for the game.

On iOS, you need to set Location to either “Always” or “While Using the App” for Monster Hunter Now.

On Android, the Location Permission needs to be set to either “Allow all the time” or “Allow only while using the app.”

2. If your Location settings are correct, then you can try closing any other opened or background-running apps on your smartphone.

3. Phones use Bluetooth, GPS and/or Wi-Fi to determine your general location. So, if there is some sort of wireless interference, then you may not be able to play Monster Hunter Now.

In this case, you can try moving into a different area to see if you can get better wireless signals.

4. Restarting your phone may also help as doing so will reset the wireless connections that are used to determine your location.

5. You can also try deleting and then re-installing Monster Hunter Now.