How to reduce flashing lights in Quake II remaster

You may notice that there are flashing lights in the Quake II remaster. If you find that this is distracting and/or uncomfortable, then you can check out this guide at Seeking Tech to see how you can reduce or disable this feature.

1 To start off, you need to head over to the Options menu in the first-person shooting game. This can be done from either the main menu or pause menu.

2. In Options menu, you need to select Accessibility.

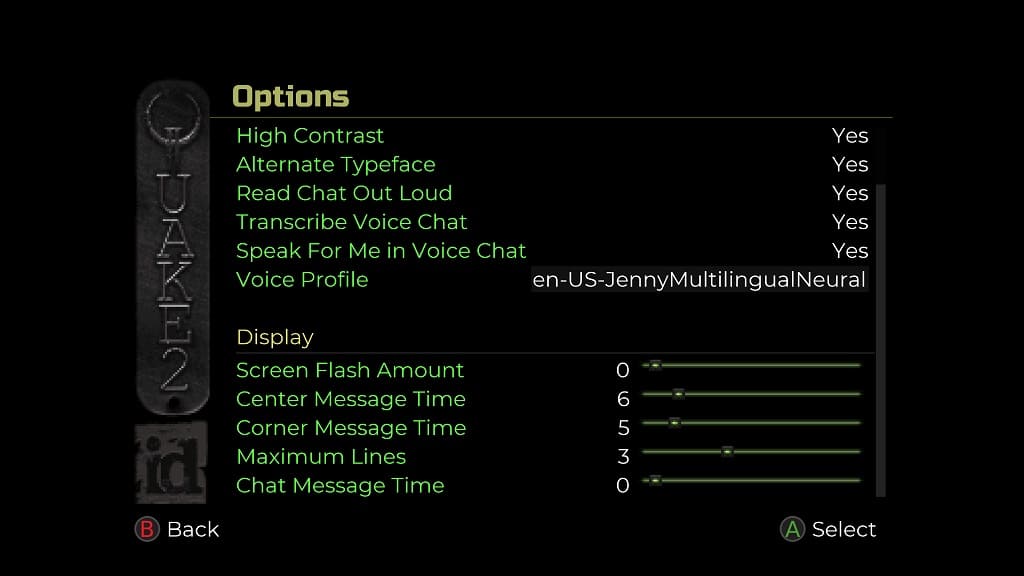
3. On the next screen, you should see the Screen Flash Amount slider.

By default, this is set to 100, which is the maximum value. You are able to decrease in increments of 5.

If you want to completely disable flashing lights, you need to set the Screen Flash Amount to 0.
4. There are other lighting effects that you might want to change if you find that the lighting in the game is still too distracting and/or uncomfortable after reducing or disabling the screen flashing.

If you go to the Display section in the Options menu, you will be able to turn off Bloom Lighting, Muzzle Flashes, Color Lightmaps as well as other graphical features in the remastered version of Quake 2.

How to add multiplayer bots to Quake II remaster

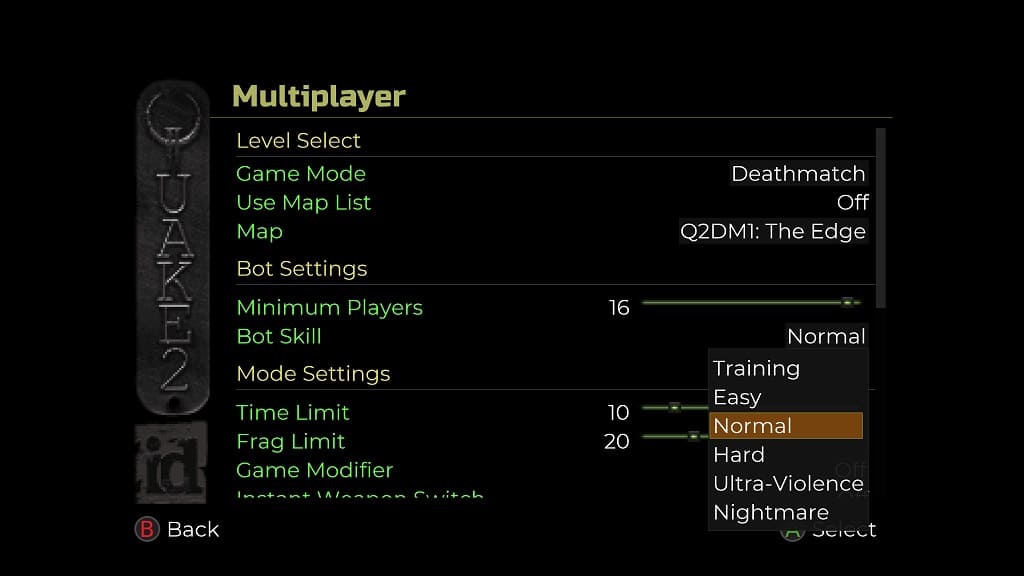
You are able to play the Deathmatch, Team Deathmatch and Capture the Flag modes in the Quake II remaster with bots. To see how you can fight against the computer-controlled characters, you can take a look at this guide from Seeking Tech.

1. Go to the main menu of Quake II remaster if you aren’t there already.

2. From there, select Multiplayer.

3. If you are playing with others locally, then you should make sure that you connect additional controllers before you select Continue.

4. On the next screen, you need to select Local, LAN or Online.

5. In the Match Configuration section on the next menu, select the “Change settings…” option.

6. Make sure that the Game Mode is set to Deathmatch, Team Deathmatch or Capture the Flag.

7. You should see the Bot Settings section appear.

8. For the first step, select the maximum number of players you want in the multiplayer match.

9. The Bot Skill option should then appear. Select it to change the skill level of the computer-controlled characters to any of the following:

  • Training
  • Easy
  • Normal
  • Hard
  • Ultra-Violence
  • Nightmare

10. Change any other settings from the same screen and then back out to the previous menu.

11. Finally, select the Play option to start the multiplayer match with bots.

How set up co-op mode in Quake II remaster

You are able to play through the levels in Quake II remaster cooperatively with other players. To see how you can properly do so in the first-person shooting videogame, you can check out this article from Seeking Tech.

How to enable co-op mode

In order to enable cooperative mode in the Quake II remaster, you need to take the following steps:

1. Select Multiplayer from the main menu.

2. In the Multiplayer screen, you should see the number of controllers connected. If you are playing with others locally, make sure you connect any other controllers you have before you select the Continue option.

3. On the next screen, you can choose to play Local, LAN or Online.

4. Eventually, you should see a screen showing the next match type. Here, you need to select the “Change settings…” option.

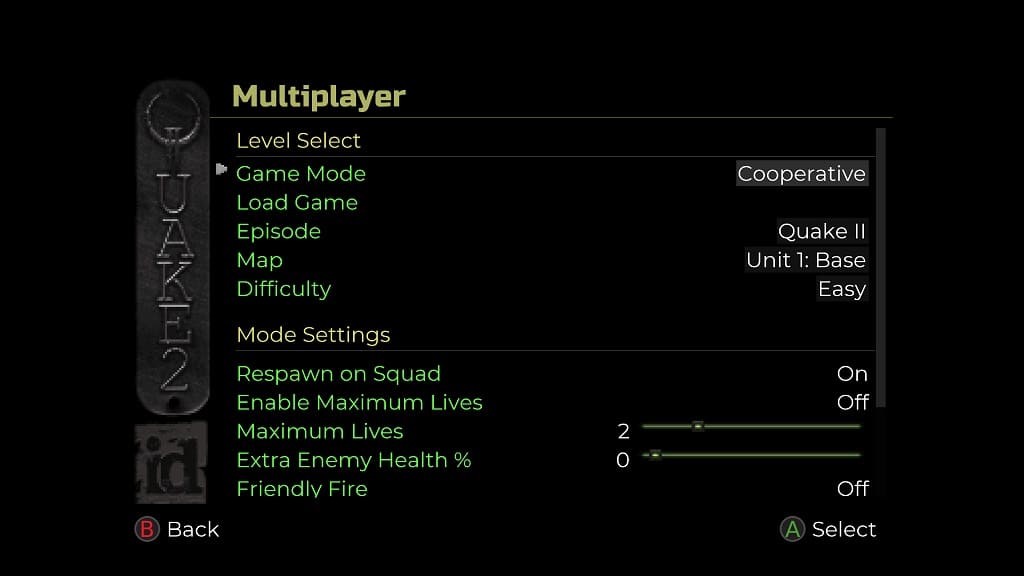
5. In the next screen, change the Game Mode to Cooperative.

6. You should then be able to select the Episode, Map and Difficulty.

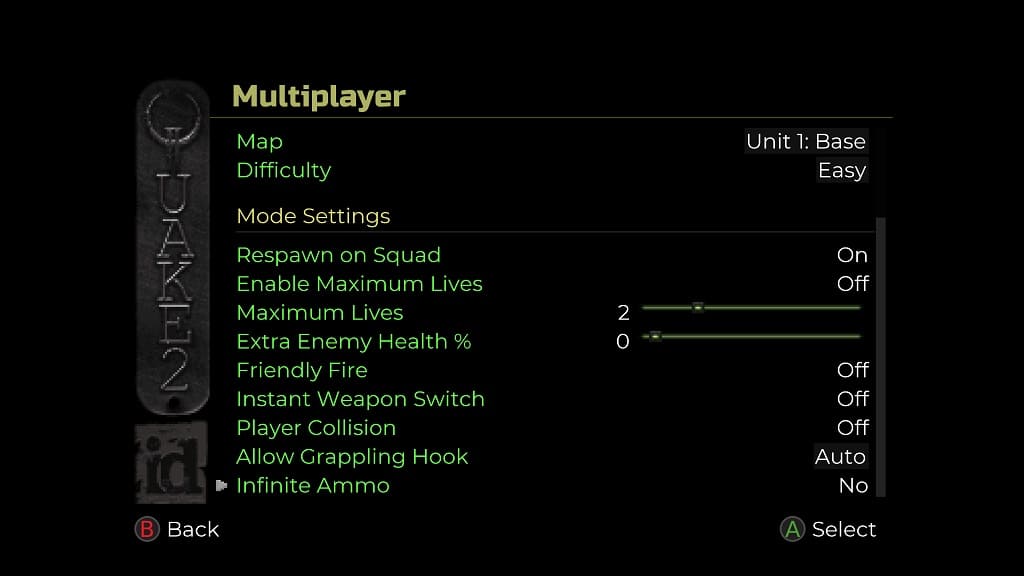
7. At the bottom of the screen, you can also change the following customization options: Respawn on Squad, Enable Maximum Lives, Maximum Lives, Extra Enemy Health Percentage. Friend Fire, Instant Weapon Switch, Player Collision, Allow Grappling Hook, Infinite Ammo.

How does respawning work in Quake II remaster?

In order to respawn your teammate in co-op mode, you need to do either of the following:

1. Clear out all of the enemies in an area.

2. Find a safe place where there are no nearby enemies.

Once the game detects that you are in a safe zone, then your teammates should respawn next to you if you have the “Respawn on Squad” setting enabled previously.

How to change the splitscreen split direction in Quake II remaster

The Quake II remaster allows you to play with others locally via splitscreen. If you would like to change the way your screen is divided up, then you can check out this tutorial from Seeking Tech.

1. For the first step, you need to make your way over to the Options menu.

If you are currently playing the game, then you need to bring up the Game menu first and then select Options. If you are in the title screen, you can simply select Options from there.

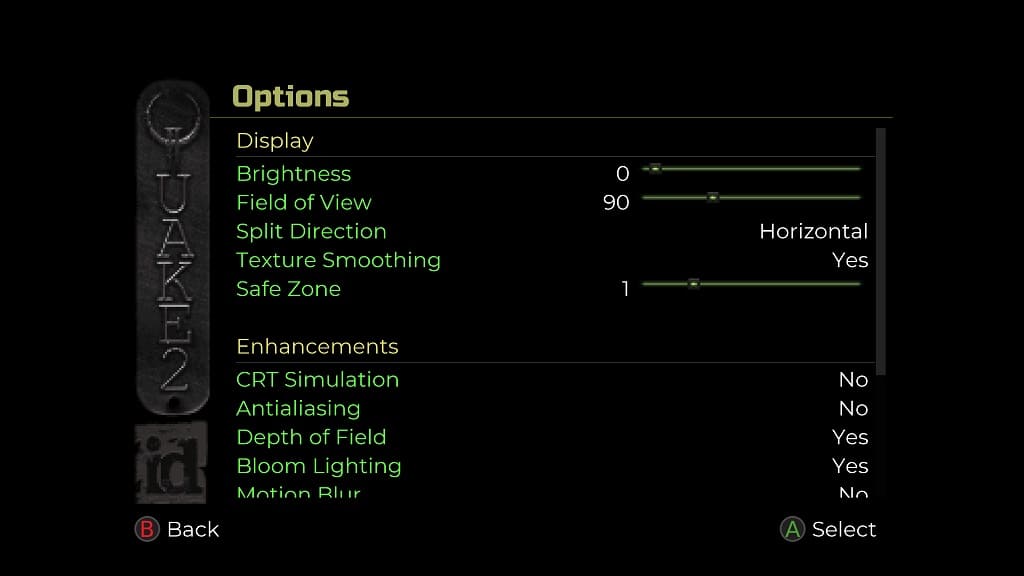
2. Next, you need to select Display.

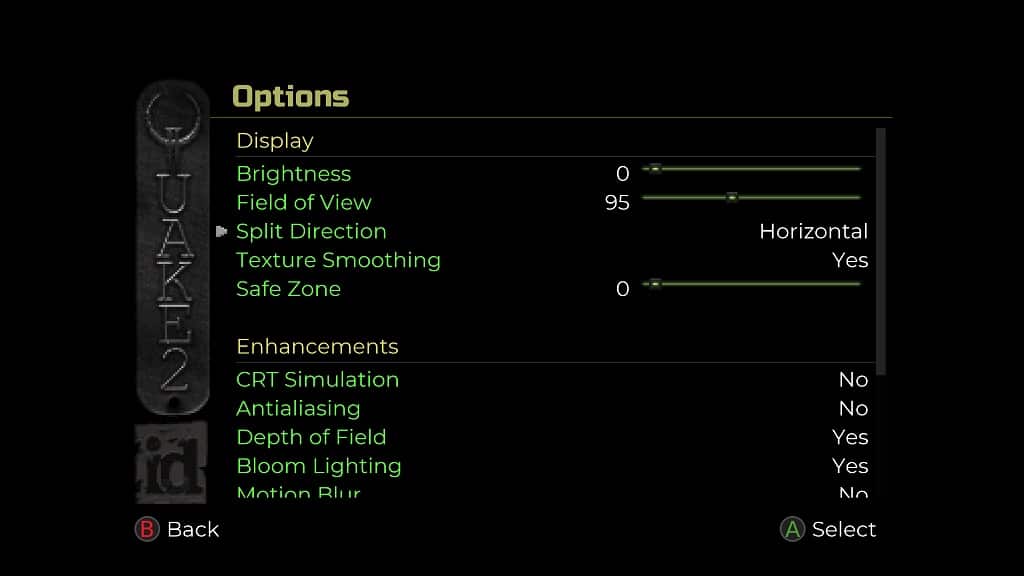
3. You should see the Split Direction section appear near the top. It should be in between Field of View and Texture Smoothing.

4. By selecting Split Direction, you can choose either Horizontal or Vertical.

Horizontal will split the screen where the top and bottom sides are each dedicated to one player if you are playing a two-player session locally.

The Vertical option will split the screen in a way so that the left and right sides are each dedicated to one player.

The Quake II remaster supports splitscreen support for up to 4 players on the PlayStation 4, PlayStation 5, Xbox One and Nintendo Switch. The PC, Xbox Series S and Xbox Series X versions support up to 8 players when it comes to local play.

How to access the Quake II 64 and Call of the Machine levels in Quake II remaster

The Quake II remaster comes with levels from the Quake II 64 videogame as well as the new Call of the Machine expansion. To see how you can play these extra stages, you can take a look at this tutorial from Seeking Tech.

1. If you haven’t done so already, make sure you head over to the main menu.

If you are playing through a level, then you need to bring up the pause screen, save your progress and then select the End Game option.

2. From the Main Menu, select Single Player.

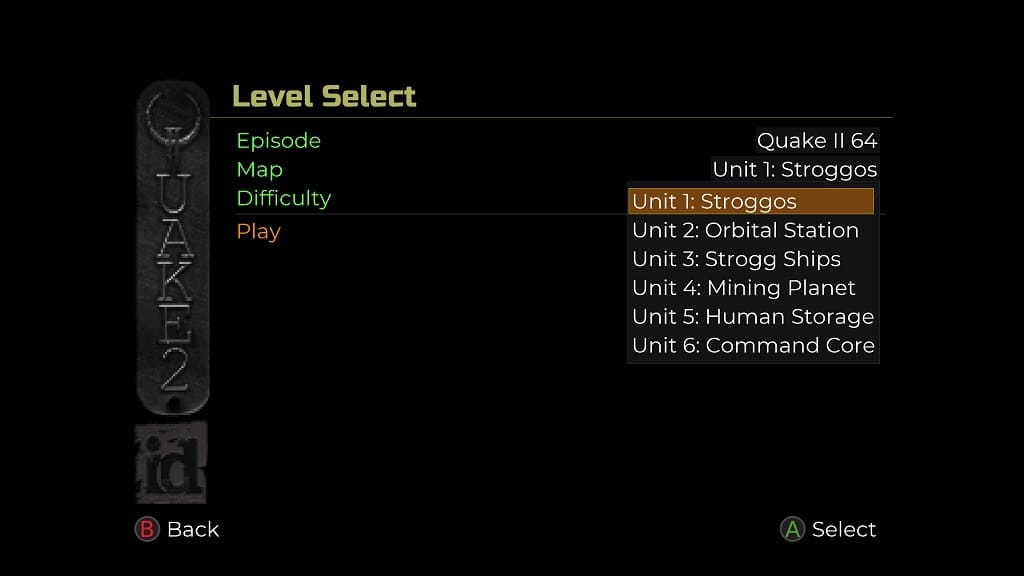
3. Once you get to the Game menu, select Level Select.

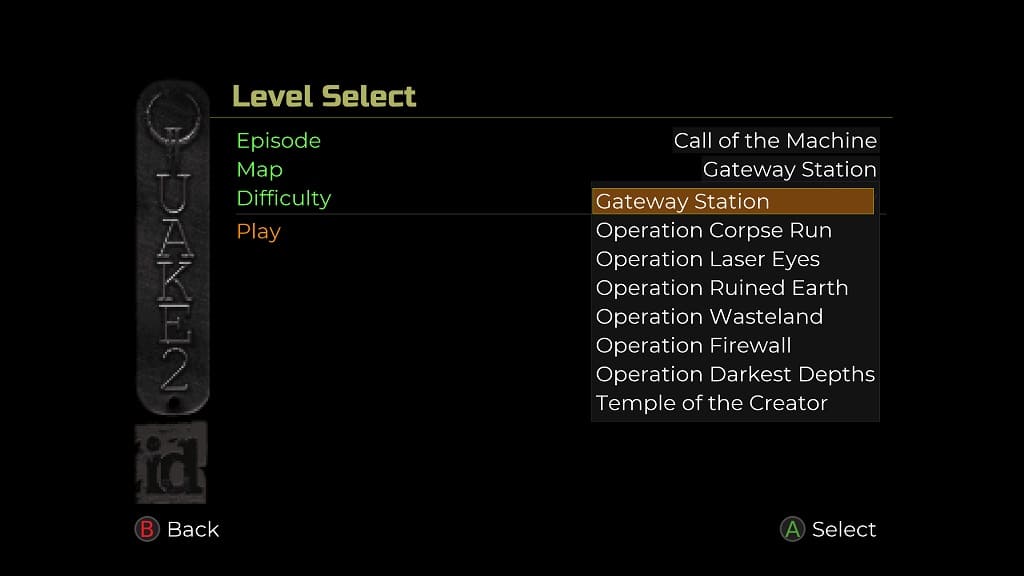
4. In the Level Select Screen, select Episode.

5. You should see a drop-down list. This should include Call of the Machine and Quake II 64. Select either of those.

6. If you are looking for a specific map within these episodes, then you can select the Map option.

The Call of the Machine episode comes with the following maps:

  • Gateway Station
  • Operation Corpse Run
  • Operation
  • Laser Eyes
  • Operation Ruined Earth
  • Operation Wasteland
  • Operation Firewall
  • Operation Darkest Depths
  • Temple of the Creator

The Quake II 64 episode includes the following levels:

  • Unit 1: Stroggos
  • Unit 2: Orbital Station
  • Unit 3: Strogg Ships
  • Unit 4: Mining Planet
  • Unit 5: Human Storage
  • Unit 6: Command Core

By default, you will start on the first map when you switch over to the Call of the Machine aor Quake II 64 episodes.

7. In the Level Select Screen, you can also change the Difficulty setting.

8. Once you are ready, select the Play option to play the map you selected from the Call of the Machine and Quake II 64 episodes.

How to prevent motion sickness while playing Quake II remaster

You may start to feel a little nauseated when playing the PC, PS4, PS5, Xbox One, Xbox Series or Nintendo Switch versions of Quake II.

To see how you can prevent yourself from getting motion sick in this remaster of the classic first-person shooter, you can take a look at this troubleshooting article from Seeking Tech.

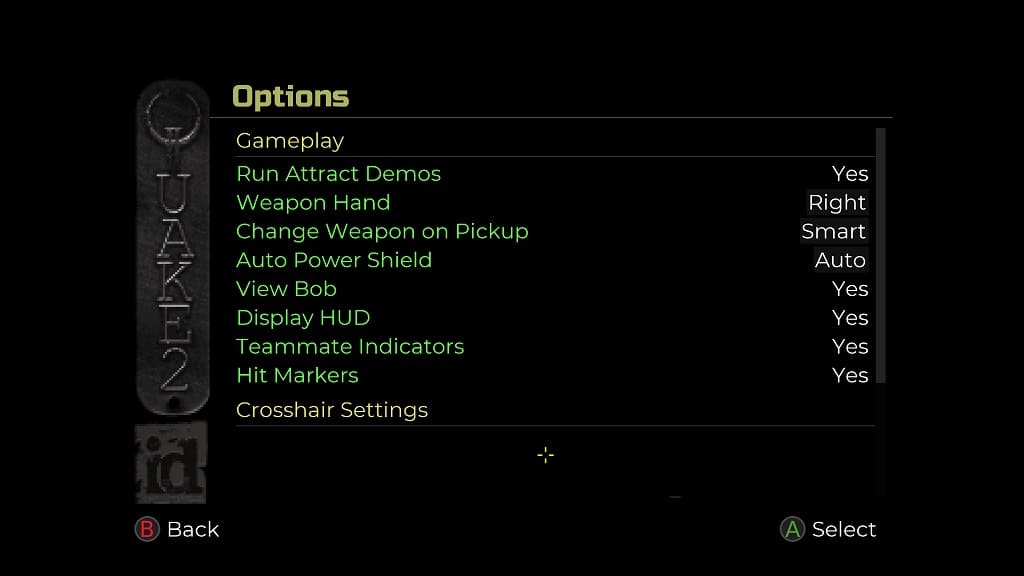
1. For the first potential solution, you can try disabling View Bob. By doing so, the camera will not shake around when you are moving in Quake II. In order to do so, you need to take the following steps:

  • Open the Options menu from either the main menu or pause menu.
  • Inside of Options, select Gameplay.
  • In the Gameplay section, make sure to set View Bob to No.

2. You can also try changing the field of view as seeing more of the levels may help alleviate your nausea by doing the following:

  • Open the Options menu.
  • Select Display from the Options screen.
  • You should see the Field of View slider in the Display section. We suggest that you try slowly increasing the FoV first to see if you feel less nauseated.
  • If that doesn’t help, then you can try decreasing the slider to see if you end up feeling better.

How to change graphical effects in Quake II remaster

The Quake II remaster features numerous graphical features that you can mess around with. If you desire, you are able to mimic the look of the original version of the first-person shooter.

To find out how you can change the graphics settings for this videogame, you can check out this tutorial from Seeking Tech.

1. To start off, you need to navigate over to the Options menu. You should be able to get there from the title or pause screen.

2. From the Options menu, select Display.

3. In the Display section, you should see the Texture Smoothing option, which is enabled by default. If you would like, you can try playing the Quake II remaster with this disabled if you prefer a more pixelated look.

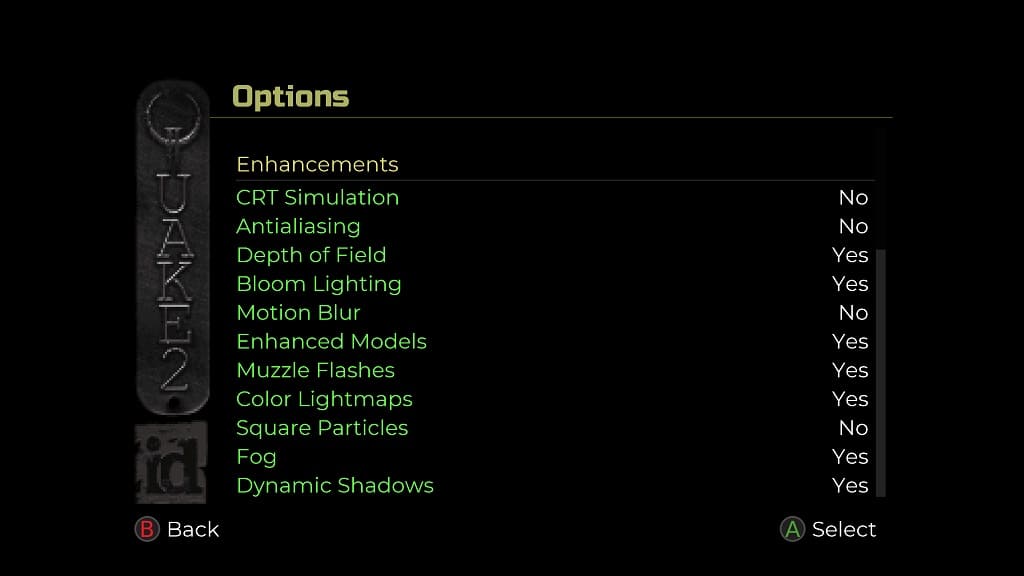
4. From the same screen, you can scroll down to the Enhancements section, which shows the following options:

  • CRT Simulation – This will add a filter that mimics the display of a cathode-ray tube monitor.
  • Antialiasing – When enabled, this will smooth out any jaggy edges that may appear in the game.
  • Depth of Field – This will make objects that are closer appear sharper when compared to the background.
  • Bloom Lighting – This intensifies the lighting in the levels.
  • Motion Blur – This adds blurring to objects in motion.
  • Enhanced Models – By default, the Quake II remaster uses upgraded character models. If you want to play the game using the original models, then you can disable this feature.
  • Muzzle Flashes – This adds flash lighting effects when a weapon is fired.
  • Color Lightmaps – The new version of the game added new light maps that enhance the lighting. If you prefer how the game looks originally, then you can turn this off.
  • Square Particles – This will make some of the particle effects to be square shaped.
  • Fog – This adds fog effects.
  • Dynamic Shadows – This makes the shadow effects act more naturally.

How to disable crossplay in Quake II remaster

By default, the Quake II remaster support cross-platform play. As a result, players from the PC, PlayStation 4, PlayStation 5, Xbox One, Xbox Series and Nintendo Switch platforms are able to play online multiplayer matches with each other.

If you want an even playing field, then you might want to turn off crossplay. To find out how you can properly do so, you can take a look at this article from Seeking Tech.

1. To begin, you need to make your way to the Options menu if you aren’t there already. This can be done from the title screen or pause screen.

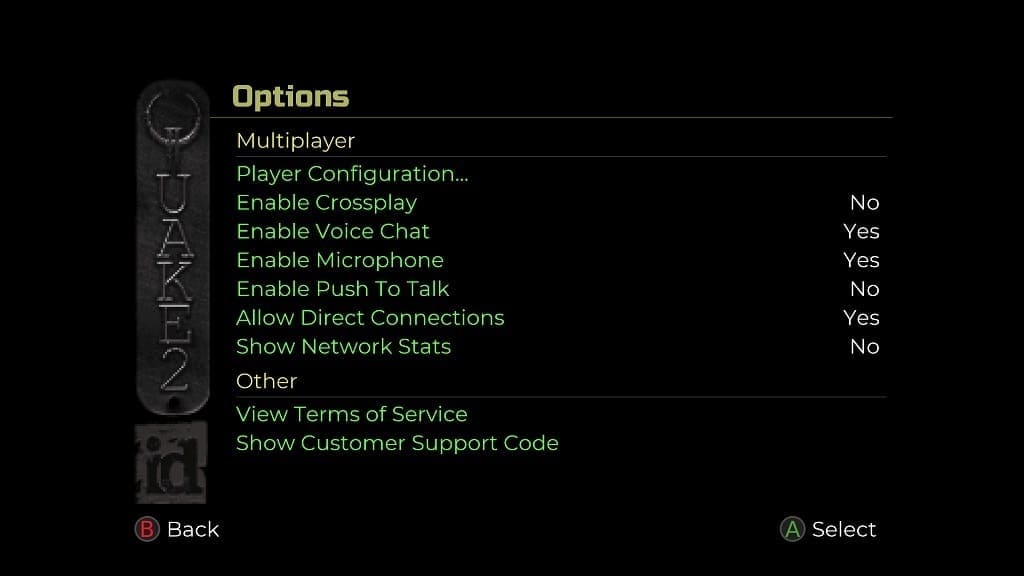
2. Inside of Options, you first need to select Multiplayer.

3. Afterwards, scroll down to the Enable Crossplay option in the Multiplayer section.

4. By default, the Enable Crossplay option is set to Yes. To disable this feature, make sure you set it to No.

5. The next time you try to join or create an online multiplayer match, your session should be limited to players that are playing on the same platform.

How to fix Quake II remaster aiming issues

You may notice that the aiming feels off when playing the Quake II remaster with a controller. To see how you can make shooting your weapon feel more natural, you can check out this guide from Seeking Tech.

1. To start off, you need to navigate over to the Options menu. This can be done from either the main menu or pause menu.

2. Once you get to Options, you need to select Input.

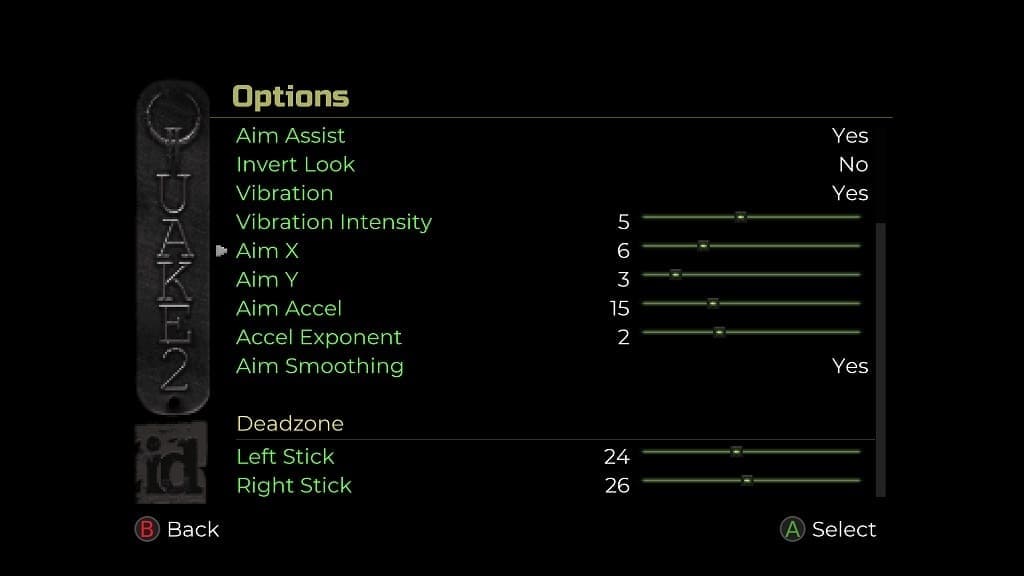
3. Scroll down on the next screen and you should see the following options in the Controller section:

  • Aim X (default value: 6)
  • Aim Y (default value: 3)
  • Aim Accel (default value: 15)
  • Accel Exponent (default value: 2)

You can also choose whether or not to use Aim Smoothing, which is enabled by default.

4. Further down the same screen, you should see the Deadzone section as you can adjust the dead zones for both the left and right analog sticks.

5. We recommend changing one setting at a time and then testing it out in the game. If your aim still feels off, then you can return to the options > Controller menu again to make more adjustments.

It may take multiple attempts to get the aiming reticle to feel natural in the Quake II remaster.

How to disable vibration in Quake II remaster

The Quake II remaster has vibration enabled by default if you are playing with a PlayStation, Xbox or Nintendo Switch controller. If you find that the rumble is too intense and/or distracting, then you can check out this guide to see how you can disable this feature.

1. For the first step, you need to open the Options menu from either the title screen or pause screen.

2. Inside of the Options menu, you need to select Input.

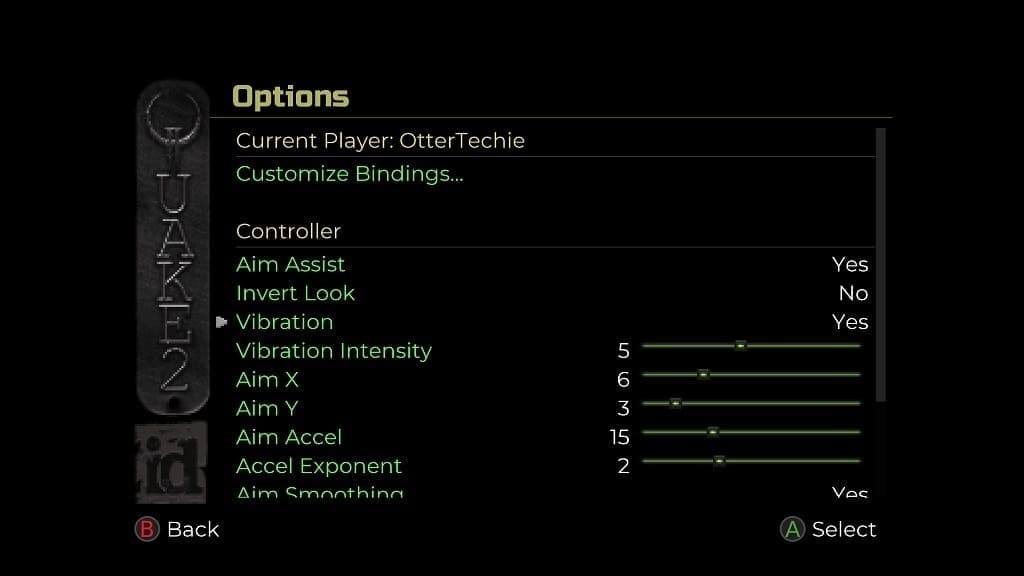
3. Next, you need to scroll down to the Controller section.

4. You should see the Vibration setting, which is set to Yes by default. To complete disable haptics, you need to set this to No.

Alternatively, you can keep the Vibration setting enabled and then change the Vibration Intensity. By default, this setting is set to 5.

To decrease the intensity, you can move the slider to the left. To increase, you can move the slider to the right. The Vibration Intensity setting has a range of 1 to 10.

5. Once you are done changing the rumble feature, you should back out of the Options menu.

When you start playing the Quake II remaster again, you should notice the change in controller haptics.