The Quake II remaster features numerous graphical features that you can mess around with. If you desire, you are able to mimic the look of the original version of the first-person shooter.
To find out how you can change the graphics settings for this videogame, you can check out this tutorial from Seeking Tech.
1. To start off, you need to navigate over to the Options menu. You should be able to get there from the title or pause screen.
2. From the Options menu, select Display.
3. In the Display section, you should see the Texture Smoothing option, which is enabled by default. If you would like, you can try playing the Quake II remaster with this disabled if you prefer a more pixelated look.

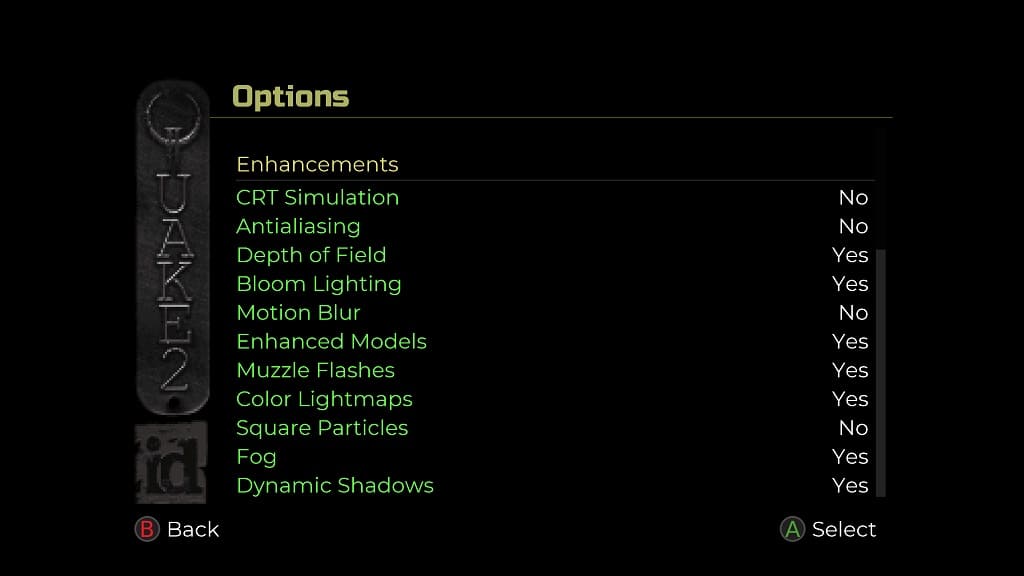
4. From the same screen, you can scroll down to the Enhancements section, which shows the following options:
- CRT Simulation – This will add a filter that mimics the display of a cathode-ray tube monitor.
- Antialiasing – When enabled, this will smooth out any jaggy edges that may appear in the game.
- Depth of Field – This will make objects that are closer appear sharper when compared to the background.
- Bloom Lighting – This intensifies the lighting in the levels.
- Motion Blur – This adds blurring to objects in motion.
- Enhanced Models – By default, the Quake II remaster uses upgraded character models. If you want to play the game using the original models, then you can disable this feature.
- Muzzle Flashes – This adds flash lighting effects when a weapon is fired.
- Color Lightmaps – The new version of the game added new light maps that enhance the lighting. If you prefer how the game looks originally, then you can turn this off.
- Square Particles – This will make some of the particle effects to be square shaped.
- Fog – This adds fog effects.
- Dynamic Shadows – This makes the shadow effects act more naturally.