How to automatically skip quest cutscenes in Granblue Fantasy: Relink

A cinematic will play out by default anytime you start and end a quest in Granblue Fantasy: Relink. If you get tired of seeing these same cutscenes over and over again, then you can check out this guide at Seeking Tech to see how you can disable them.

1. To start off, open the main menu. This can be done by pressing the Options button if you are playing with a DualSense or DualShock 4.

2. From the Main Menu, select System and then Game Options.

3. On the left side of the screen, select Gameplay.

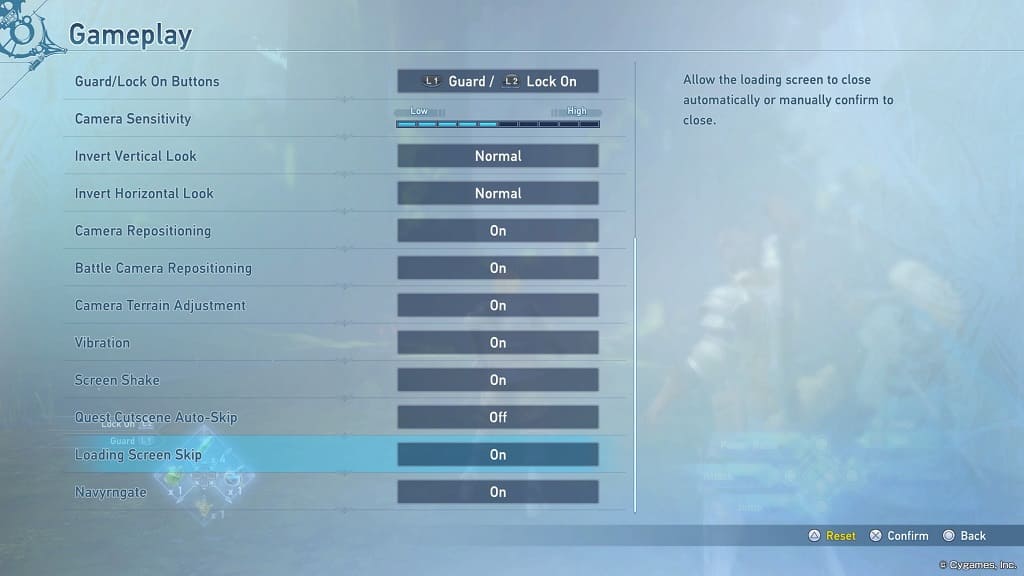
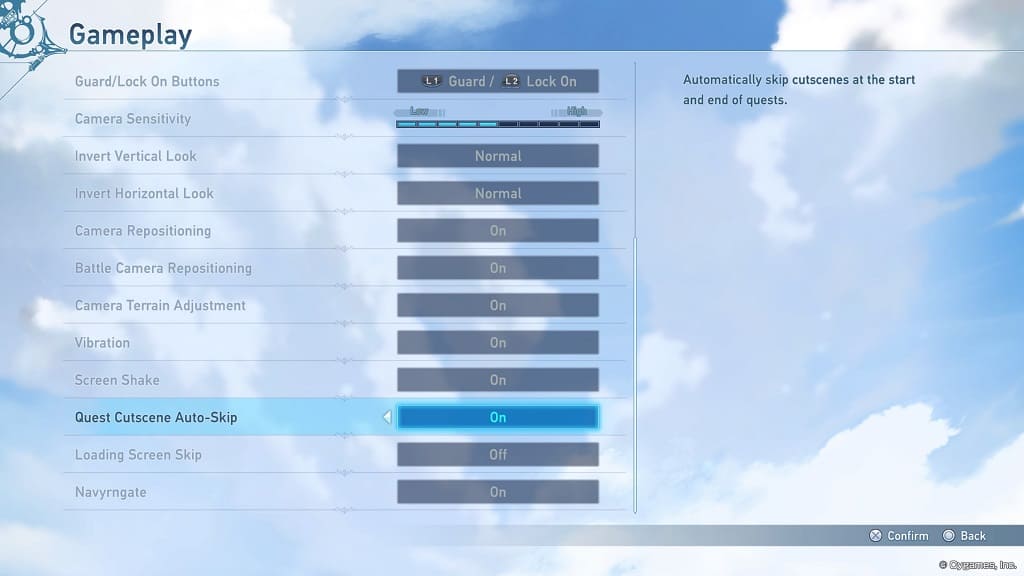
4. On the right side move the cursor down to Quest Cutscene Auto-Skip. It should show the following description:

Automatically skip cutscenes at the start and end of quests.

Make sure that the Quest Cutscene Auto-Skip is set to On.
Cinematics should no longer be played when entering and leaving quests.

How to skip loading screen confirmations in Granblue Fantasy: Relink

By default, Granblue Fantasy: Relink requires you to manually control when to close a loading screen. If you want this process automated, then you can check out this guide at Seeking Tech to see how you can properly do so.

Method #1:

For the first method, wait until you get a loading screen. On the bottom left corner, you should see the button layout to Auto Skip.

If you are playing with a DualShock 4 or DualSense controller, for example, then you need to press the Options button.

By doing so, all future loading screen should automatically be skipped.

Method #2:

For the second method, head to open the Main Menu, select System and then Game Options. From there, go to Gameplay and then move the cursor down to Loading Screen Skip. It should show the following description:

Allow the loading screen to close automatically or manually confirm to close.

Make sure that the Loading Screen Skip setting is set to On.

How to turn off motion blur in Granblue Fantasy: Relink

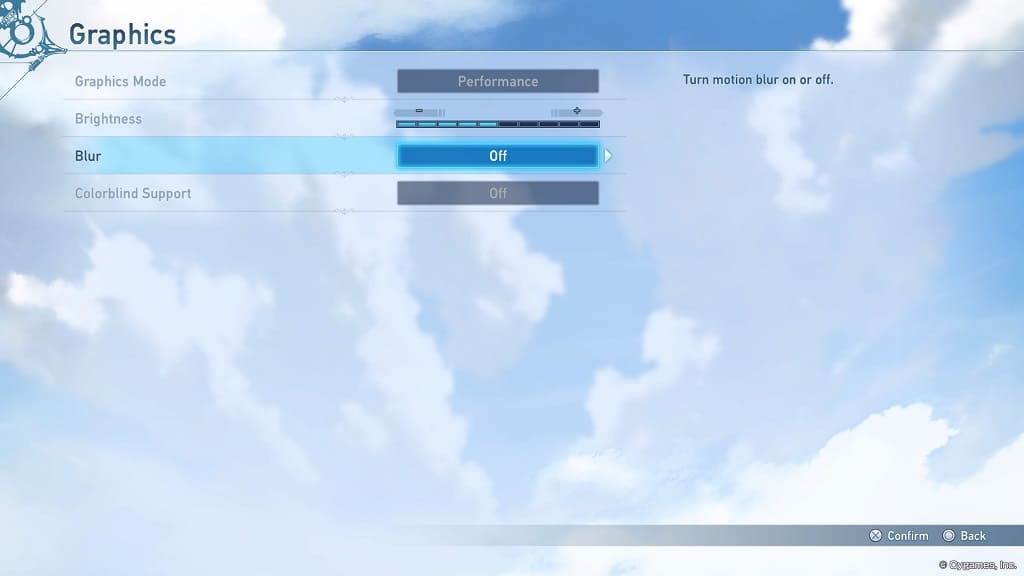
Granblue Fantasy: Relink has motion blur enabled by default. If you don’t like the blurring in this game, then you can check out this guide at Seeking Tech to see how you can disable it.

1. Open the main menu in the game. If you are playing with a PlayStation controller, then this can be done by pressing the Options button.

2. From there, you need to select System.

3. Afterwards, select Game Options.

4. You then need to select Graphics from the Game Options menu.

5. On the same screen, make sure that Blur is set to Off.

Exit the main menu and your new settings should be applied in Granblue Fantasy: Relink.

How to turn off full screen status effects in The Last of Us Part II Remastered

When you take damage in The Last of Us Part II Remastered, you will see blood effects splatter on the screen. If you are at low health, then red fog will surround the borders. To turn off both of these, you can check out this guide at Seeking Tech.

1. To start off, you need to open the pause menu and then select Options.

2. Inside of Options, select Accessibility and then Motion Sickness.

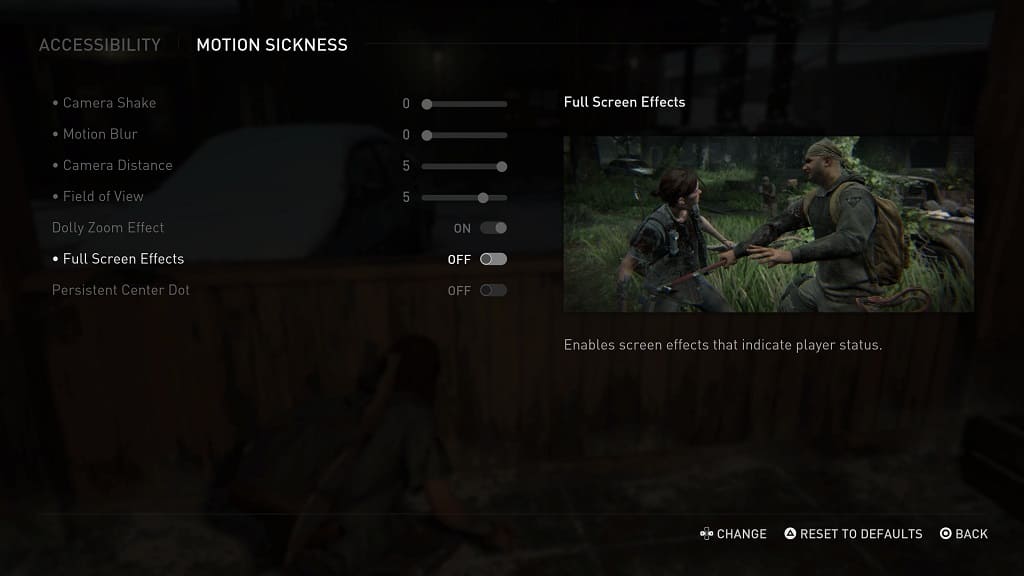
3. Once you get to the Motion Sickness menu, move the cursor down to Full Screen Effects. You should see the following description:

Enables screen effects that indicate player status.

On the right side of the screen, you should see a sample screenshot that show how the game would look like whether or not you choose to use this feature.

4. Make sure that the Full Screen Effects set to Off.

You should no longer see any blood splatter or red border fog on the screen when you take damage in The Last of Us Part II Remastered.

How to prevent motion sickness in The Last of Us Part II Remastered

You may start to feel nauseated while playing The Last of Us Part II Remastered. To see how you can prevent yourself from feeling motion sick, you can take a look at this article from Seeking Tech.

1. For the first step, you should open the pause menu by pressing the Options button during gameplay.

2. From there, select Options.

3. Next, you need to select Accessibility.

4. Afterwards, select Motion Sickness.

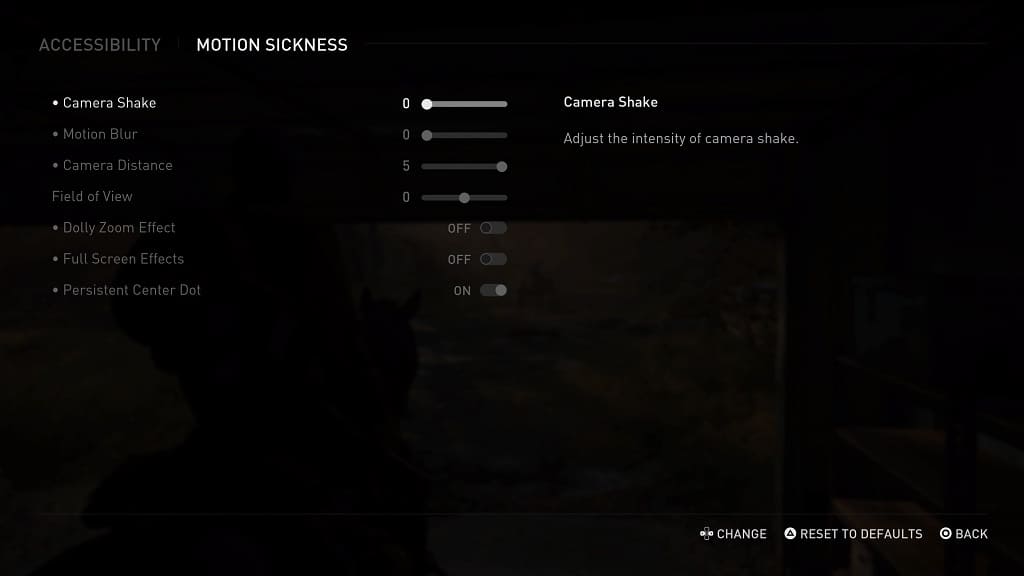
5. In the Motion Sickness menu, you will be able to reduce or completely disable the Camera Shake and Motion Blur effects.

6. Furthermore, you can also try adjusting the Camera Distance and Field of View.

7. You can also disable the Dolly Zoom Effect, which causes the camera to zoom in while moving backwards at the same time.

8. Furthermore, you can also turn off the Full Screen Effects, which adds blood to the entire when you take damage.

9. One last option is the Persistent Center Dot, which adds a white dot in the center of the screen that your eyes can focus on.

10. We recommend that you play around with these settings to see if you are able to reduce your motion sickness triggers in The Last of Us Part II Remastered.

How to enable gyro aiming The Last of Us Part II Remastered

Gyro aiming can be very helpful in The Last of Us Part II Remastered as it allows you to make slight adjustments when it comes to aiming your weapons. If you want to take advantage of this motion control feature, you can check out this guide at Seeking Tech to see how you can enable or customize it.

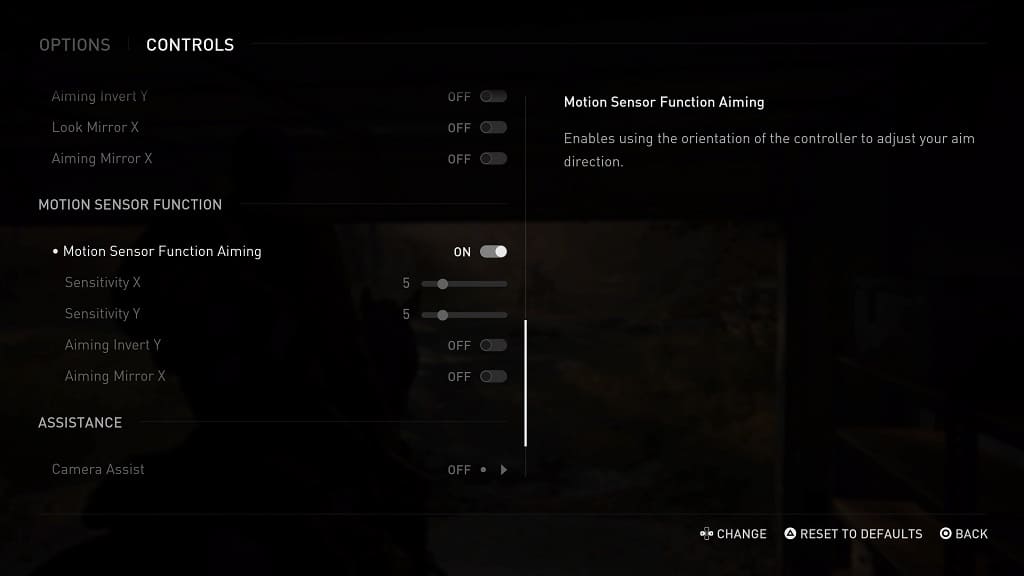
1. Inside of the game, open the pause menu and then select Options > Controls.

2. Next, scroll down to the Motion Sensor Function section.

3. From there, make sure that Motion Sensor Function Aiming is turned on.

4. In the same section, you will be able to adjust the Sensitivity X and Sensitivity Y settings as well as invert the Y and X axis movements.

We recommend that you try out the gyro aiming in the game first, and then return to this menu to re-adjust if necessary.

How to enable story progressing marker in The Last of Us Part II Remastered

You may have difficult time finding where you need to go next in The Last of Us Part II Remastered in order to progress the story. Not to mention that the game will lock you out of the previous area without warning you, blocking you off from exploration.

For these reasons, you may want to consider enabling the story progression marker.

1. To start off, open the pause menu and then navigate over to Options.

2. From the Options screen, select Accessibility.

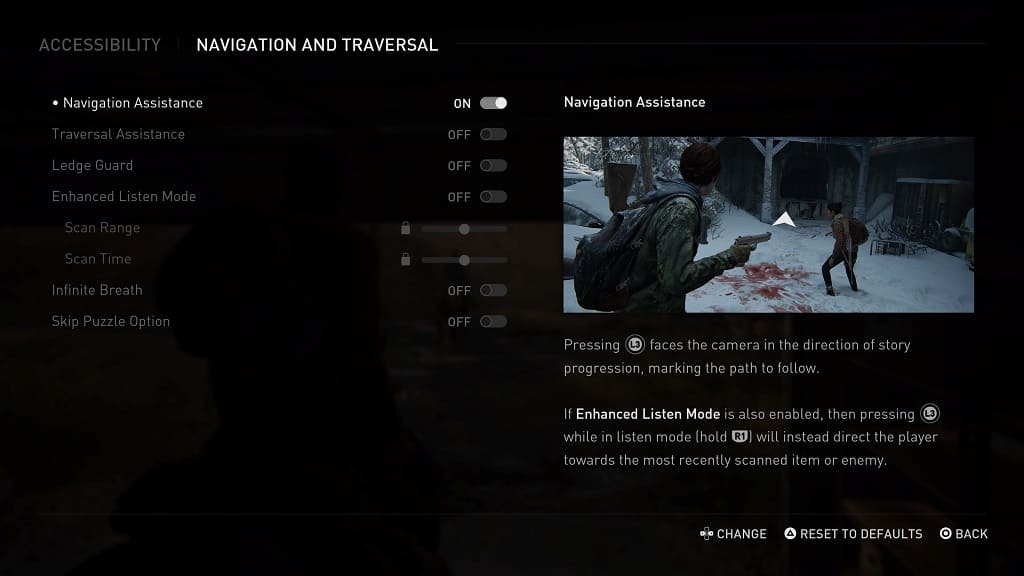
3. Next, you need to select Navigation and Traversal.

4. From the Navigation and Traversal menu, you should see the Navigation Assistance setting, which has the following description:

Pressing L3 faces the camera in the direction of the story progression, marking the path to follow:

If Enhanced Listening Mode is also enabled, then pressing L3 while in listen mode (hold R1) will instead direct the player towards the most recently scanned items or enemy.

Make sure that Navigation Assistance is set to On.

How to move the camera distance back in The Last of Us Part II Remastered

You may find the camera position to be too close in The Last of Us Part II Remastered. To see how you can move the distance back, you can check out this guide at Seeking Tech.

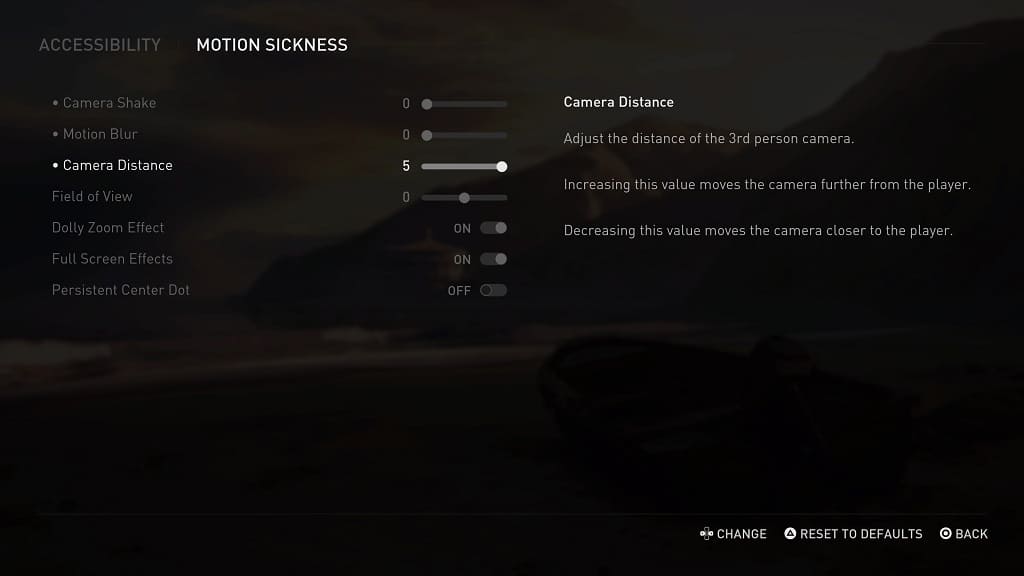
1. In the game, open the pause menu and then go to Options > Accessibility > Motion Sickness.

2. From the Motion Sickness screen, move the cursor down to Camera Distance. You should see the following description:

Adjust the distance of the 3rd person camera. Increasing this value moves the camera further from the player. Decreasing this value moves the camera closer to the player.

To move the camera angle backer, move the Camera Distance slider to the right.

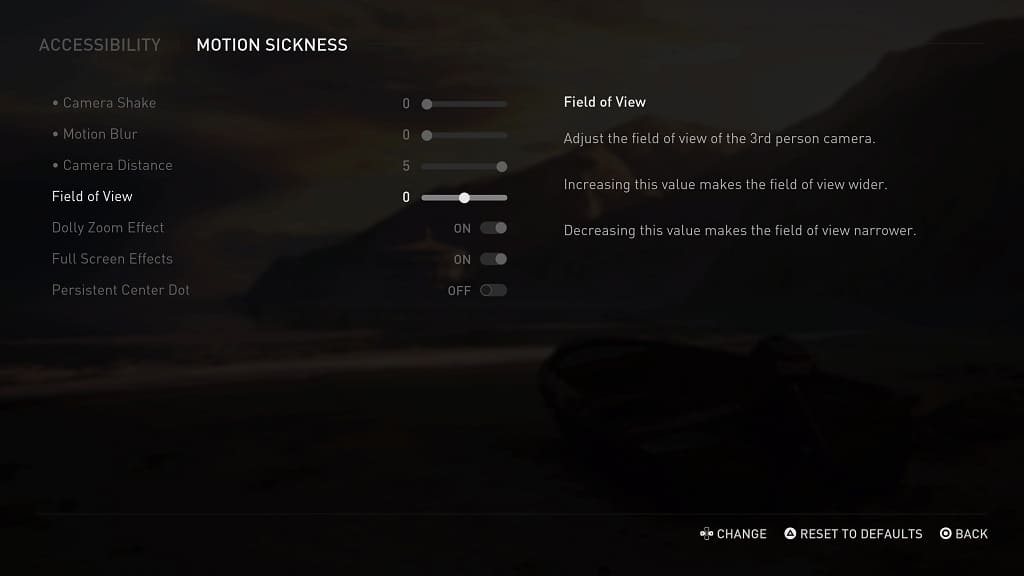
3. Afterwards, move the cursor down to Field of View, which has the following description:

Adjust the field of view of the 3rd person camera. Increasing this value makes the field of view wider. Decreasing this value makes the field of view narrower.

To make the field of view display more of the surrounding area, move the Field of View slider to the right.

While you can adjust this setting all the way to 10, you will see the following warning:

The recommended Field of View setting is between –5 and +5.

Therefore, we suggest that you go no higher than 5.

How to fix input lag issues in The Last of Us Part II Remastered

You may notice that there is a bit of input lag while playing The Last of Us Part II Remastered. To see how you can make the game feel more responsive, especially when it comes to aiming, you can take a look at this troubleshooting article from Seeking Tech.

1. To start off, you should check to see if you have Game Mode or Game Optimizer Mode enabled on your TV or monitor. These picture settings will reduce latency when it comes to playing games like The Last of Us Part II Remastered.

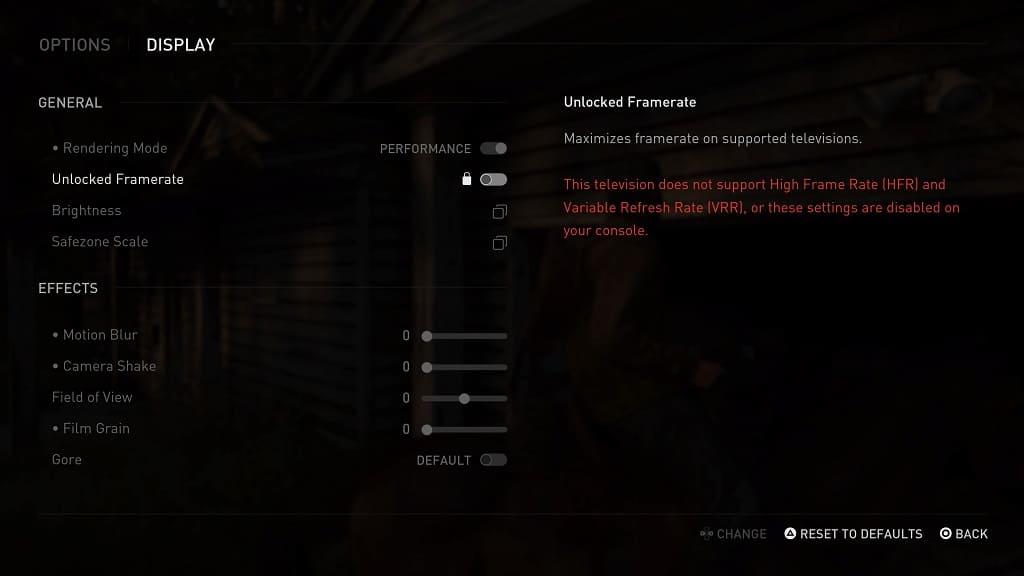
2. Increasing the frame rate of the game should also lower the input delay. To do so, open the pause menu and then go to Options > Display.

From there, make sure that Rendering Mode is set to Performance. If possible, you should also enable Unlocked Framerate.

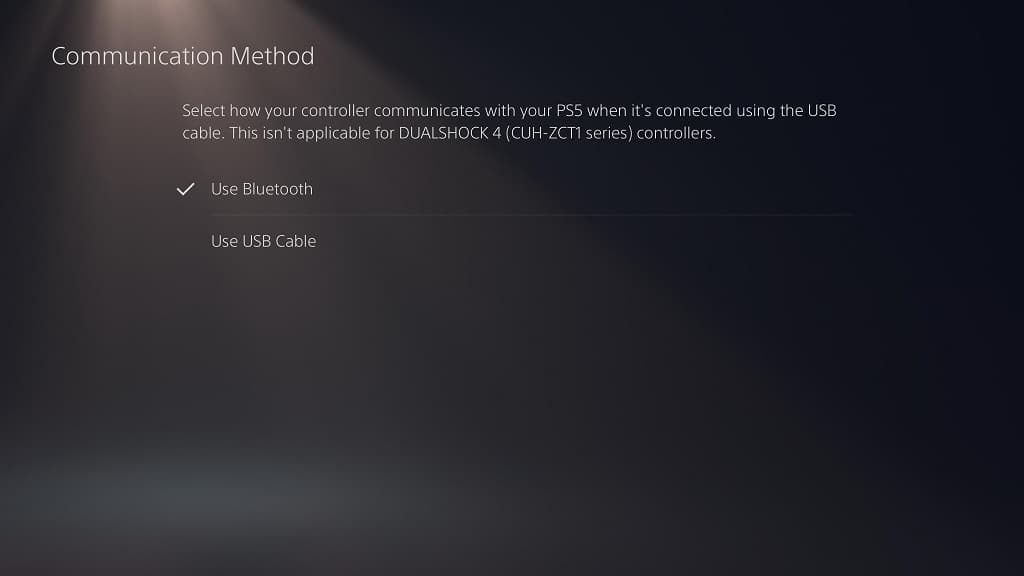
3. You may also want to consider plugging in the DualSense to the USB port of your PS5 as doing so should also help lower the input lag.

If you decide to use a wired connection, go to the PS5’s Settings menu and then select Accessories > Controller (General) > Communication Method > Use USB Cable.

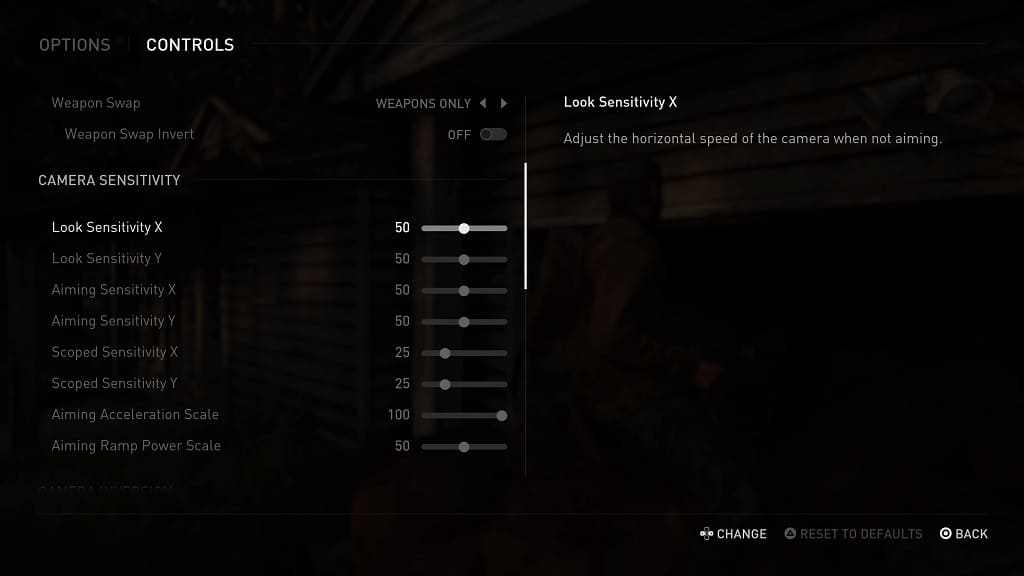
4. If the aiming still does not feel responsive, open the pause menu in the game and then select Options > Controls. Afterwards, scroll down to the Camera Sensitivity section. You should be able to adjust the following settings:

  • Look Sensitivity X
  • Look Sensitivity Y
  • Aiming Sensitivity X
  • Aiming Sensitivity Y
  • Scoped Sensitivity X
  • Scoped Sensitivity Y
  • Aiming Acceleration Scale
  • Aiming Ramp Power Scale

Test out each of these and then re-adjust, if necessary, until the aiming feels perfect.

How to fix HDR and brightness issues in The Last of Us Part II Remastered

The Last of Us Part II Remastered may appear to be overly bright in some scenes while extremely dark in others. To see how you can potentially fix the HDR and brightness issues in this game, you can take a look at this troubleshooting article from Seeking Tech.

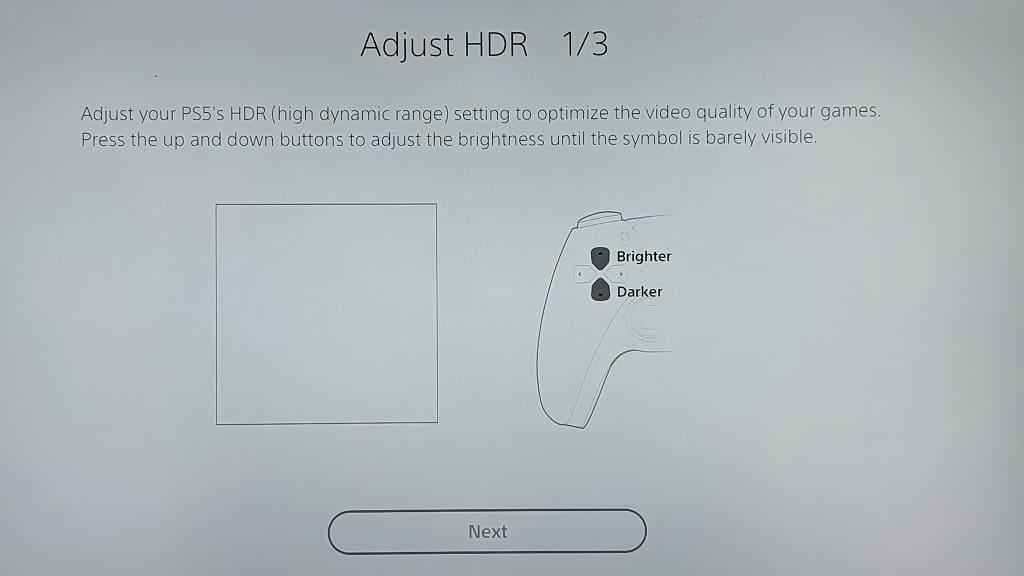
1. For the first step, you can try re-calibrating the HDR brightness output of your PS5.

In order to do so, open the console’s Settings menu and then go to Screen and Video > Video Output > Adjust HDR. The instructions on the screen will walk you through the calibration.

2. If the brightness still looks off, then you can try changing the in-game brightness settings.

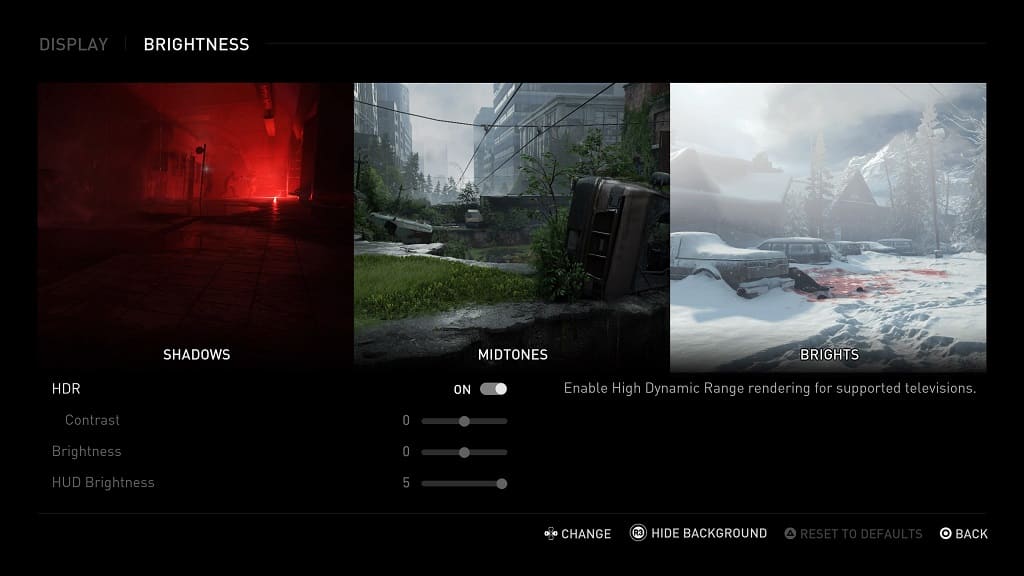
To do so, open the pause menu and then go to Options > Display > Brightness. From there, you will be able to adjust Contrast, Brightness and HUD Brightness. Use the Shadows, Midtones and Brights screens at the top for reference.

3. Also on the same screen, you can disable HDR.

If you decide to do so, you should also make sure that you have the HDR setting on your PlayStation 5 set to On When Supported. Furthermore, you should also make sure that you don’t have any Auto HDR features enabled on the settings of your TV or monitor.

4. You can also use the settings of your screen to adjust the contrast and brightness levels.

5. Some screens are better than others when it comes to brightness. So, if possible, you can try playing The Last of Us Part II Remastered on a different television set or monitor.