How to change difficulty level in Persona 5 Tactica

The combat in Persona 5 Tactica has five difficulty levels. To see how you can switch between them, you can check out this tutorial from Seeking Tech.

1. If you haven’t done so already, make sure you clear the tutorial battles in the game. Once you get to the hideout for the first time, you should be able to change the difficulty setting.

2. You should also make sure that you loaded into your save file and be in the hideout. This is because you won’t be able to change the difficulty from the title screen or during the middle of battle.

3. Once you are ready, select the Prep option from the hideout menu.

4. Next, you need to select System.

5. From the System screen, head into Settings.

6. In Settings, select Gameplay Settings.

7. You should now be able find the Difficulty setting with the following description:

Set game difficulty. If the difficulty level is set to Hard or higher, your attack may also hit your allies.
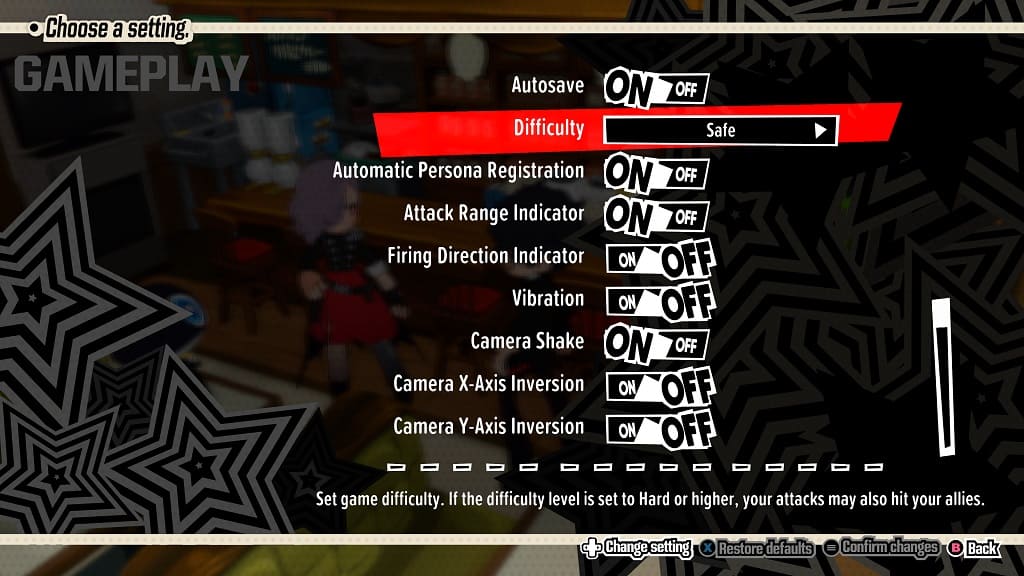
8. Use the left analog or directional pad buttons to change between any of the following options:

  • Safe
  • Easy
  • Normal
  • Hard
  • Merciless

To see what the differences are between these difficulty levels, you can check out this comparison.

9. Once you are done, confirm the change. If you are playing with a controller, then this can be done by pressing the + button on Switch, Options button on PlayStation or Menu button on Xbox.

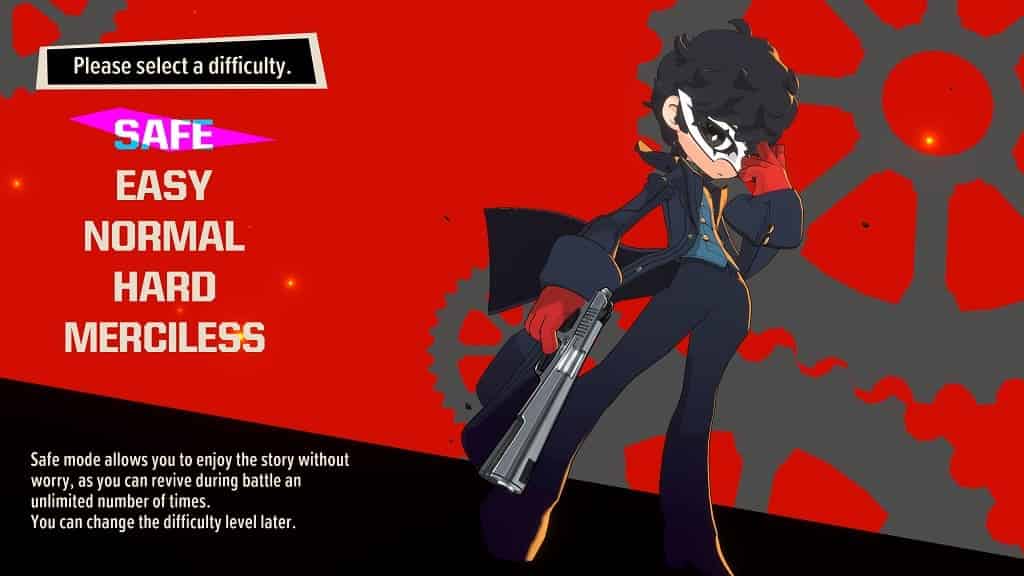
Persona 5 Tactica difficulty modes explained

Persona 5 Tactica features 5 difficultly levels. You can check out this guide at Seeking Tech to see what the major differences are between the Safe, Easy, Normal, Hard and Merciless modes.

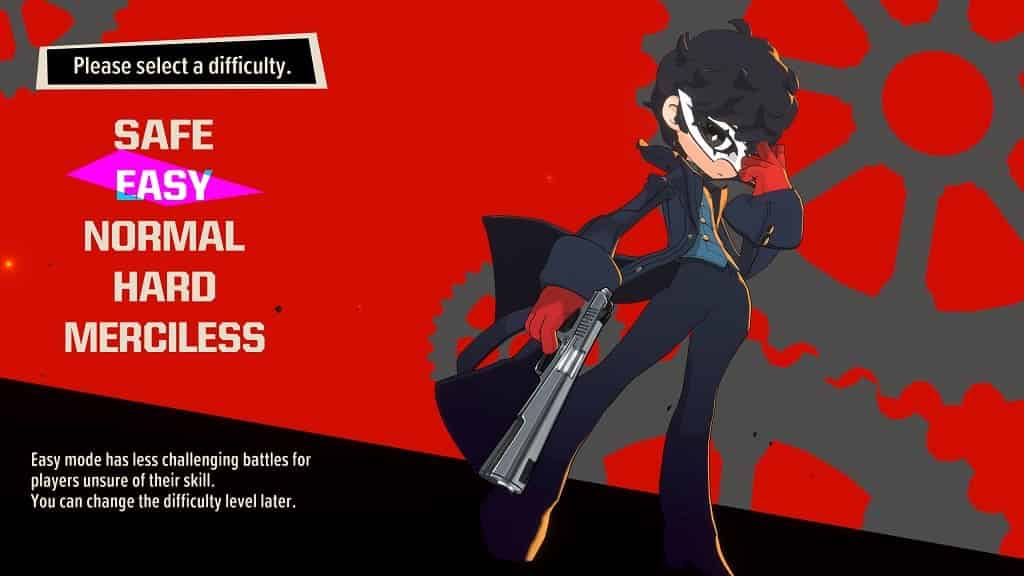
When you start a new game, you will be presented with the following options:

The Safe difficulty basically makes you invincible as you will be unlimited revies during battles. So, it is basically impossible to get a game over screen. We suggest picking this option if you just want to experience the story.

You can find the description below:

Safe mode allows you to enjoy the story without worry, as you can revive during battle an unlimited amount of times.

Easy

With the Easy difficulty, the encounters should be less stressful; however, you can get a game over screen if you aren’t careful. You can pick this if you want a little challenge but not too much.

You can check out its description below:

Easy mode has less challenging battles for players unsure of their skill.

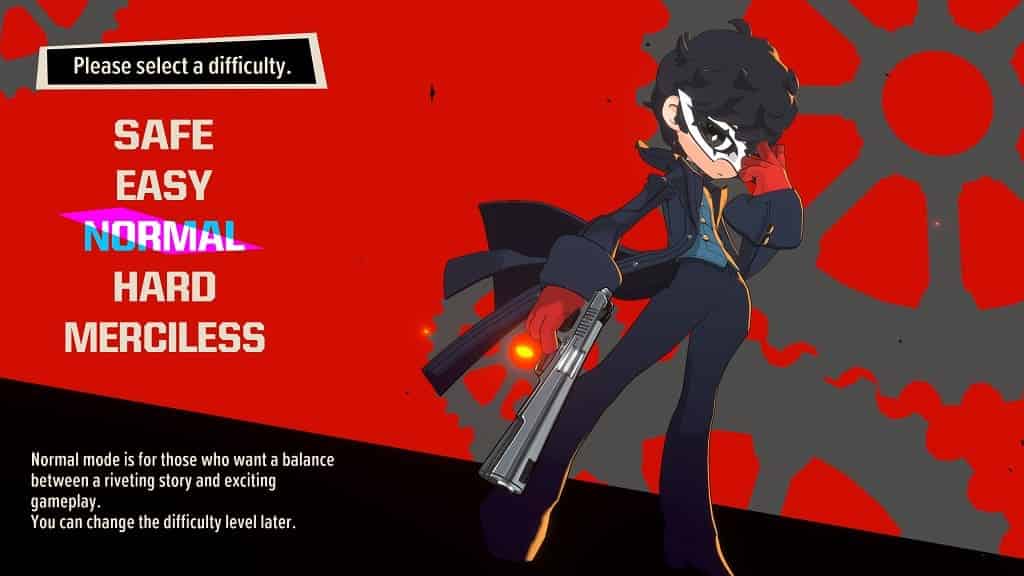
Normal

The Normal difficulty is the default one in Persona 5 Tactica. The enemies should be balanced to provide a good enough challenge that won’t be too difficult.

You can view the description below:

Normal mode is for those who want a balance between a riveting story and exciting gameplay.

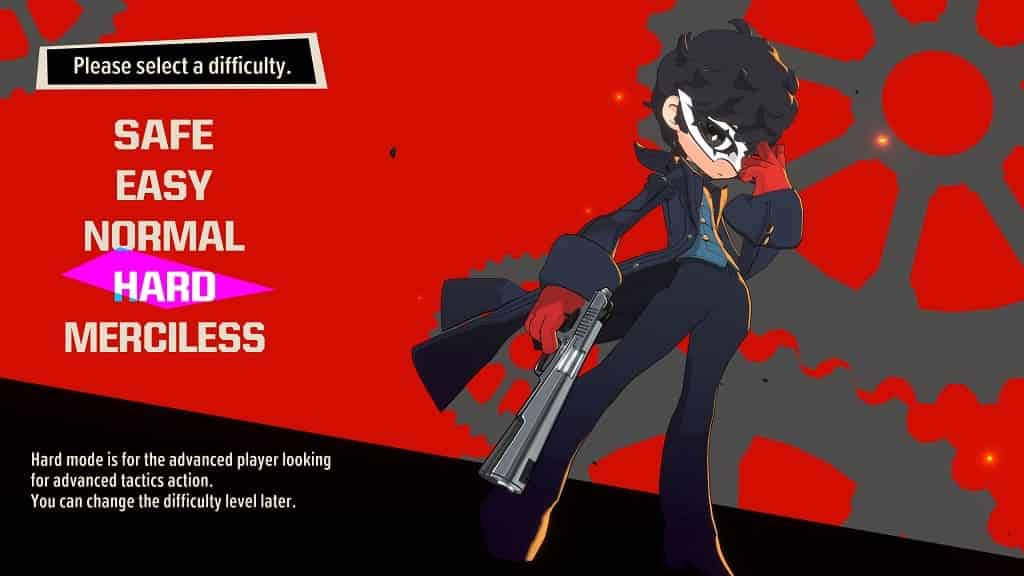
Hard

With the Hard difficulty, the battles are a little more intense. Not to mention that friendly fire is enabled as your attacks will hurt your party members if you aren’t careful enough. If you want the extra challenge, then you can try out this mode.

You can find its description below:

Hard mode is for the advanced player looking for advanced tactics action.

Merciless

Merciless is the hardest difficulty in P5T. Just like Hard, you will also need to pay extra attention to your attacks as friendly fire is turned on. Choose this mode if you want intense battles where every single move matters.

You can check out the description for this mode below:

Merciless is for those looking for the most punishing experience, where a single lapse of judgment can spell the end.

Does difficulty affect trophies and achievements in Persona 5 Tactica?

Persona 5 Tactica supports trophies on PlayStation 4 and PlayStation 5 as well as achievements on the Xbox One, Xbox Series S, Xbox Series X and PC.

There are no difficulty related trophies or achievements in the game. So, you will be able to earn the same merits if you are playing on Safe, Easy, Normal, Hard or Merciless.

How to fix Teardown HDR and brightness issues

You may find that some levels in Teardown may look a little too dark while others may be too bright. The game may have a general washed out look to it as well. To see how you can find these brightness issues for the PC, PS5, Xbox Series X and Xbox Series S game, you can check out this troubleshooting article from Seeking Tech.

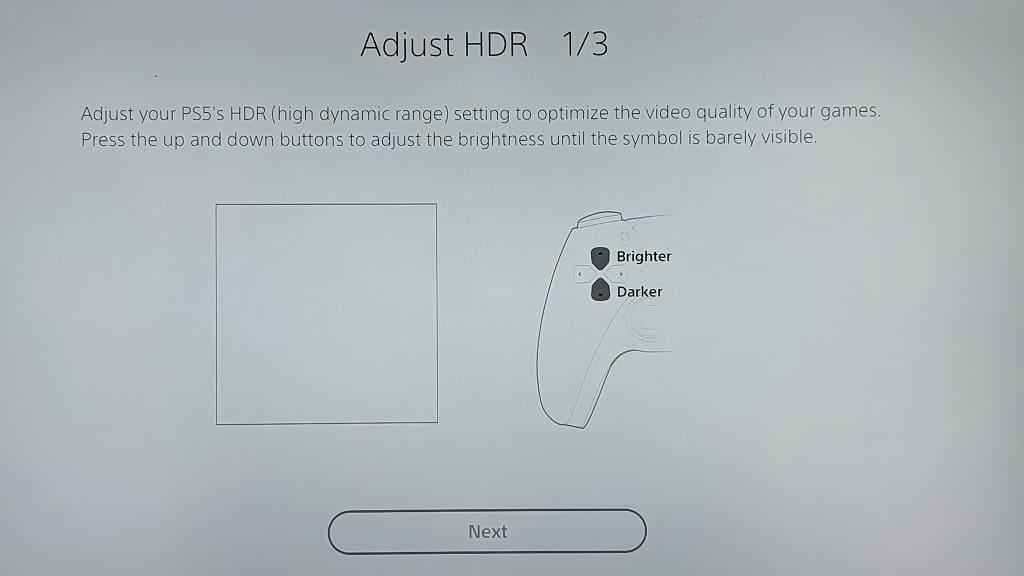
1. For the first step, you can try re-calibrating the HDR brightness output of your PC or console.

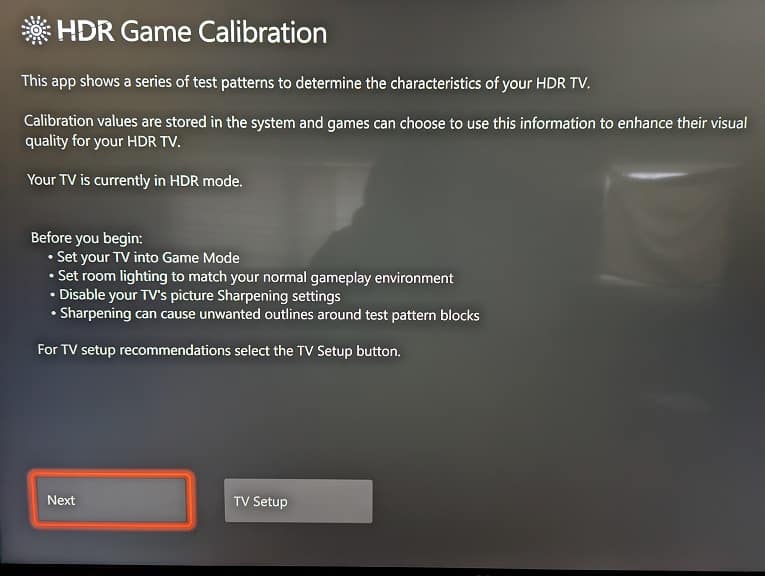
On the PS5, for example, you need to go to Settings > Screen and Video > Video Output > Adjust HDR.

For the Xbox Series consoles, head over to Settings > General > TV & display options > Calibrate HDR for gaming.

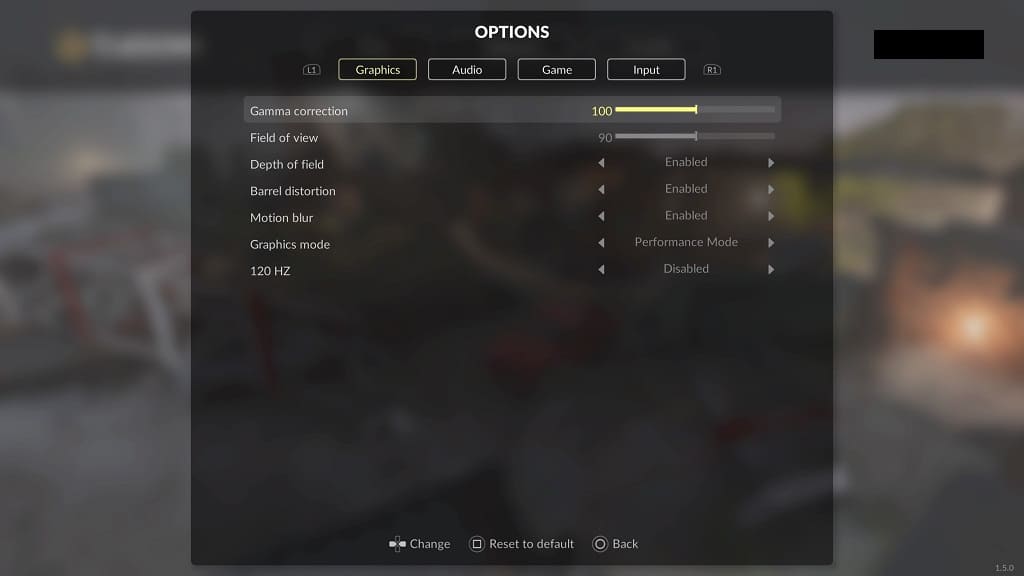
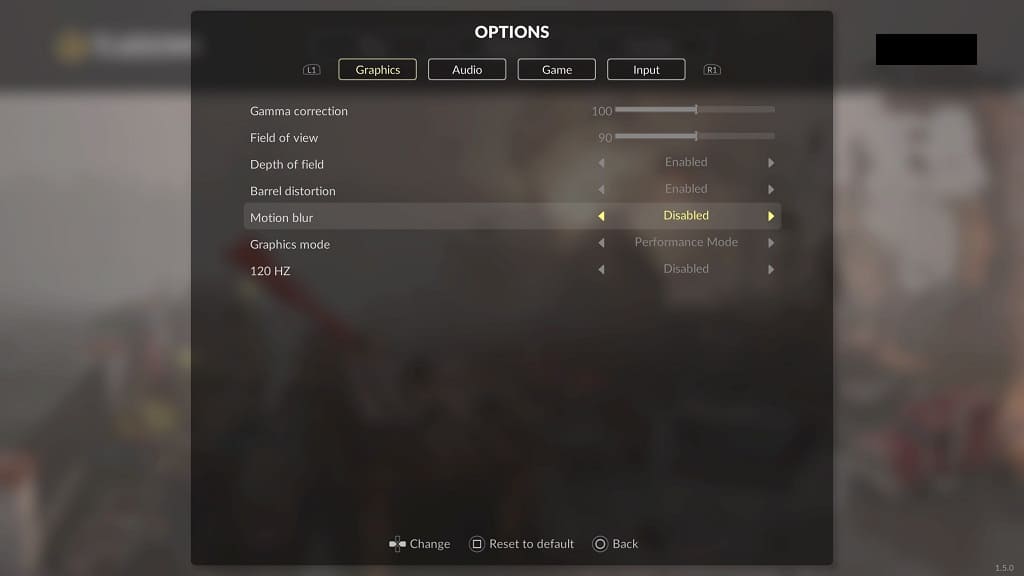
2. You can also use the in-game Gamma Correction setting from Teardown. To find it, open the Options menu in the game and then view the Graphics tab.

The Gamma Correction setting is set to 100 by default. You will be able to use the left and right directional pad buttons to increase or decrease it by a value of 10 from within a range of 50 to 150.

You may need to return to this setting when moving from a darker stage to a brighter stage of vice versa.

3. You can also look into the settings of your TV or monitor to adjust the brightness and contrast.

4. If possible, you can also try playing Teardown on a different screen to see if you can get better results.

How to fix Teardown input lag issues

You may find that the controls aren’t as responsive as you would like in Teardown. To see how you can find the input lag in this indie title, you can check out this troubleshooting guide from Seeking Tech.

1. To start off, you should make sure that you have Game Mode enabled on your television set or monitor as this will help remove most of the latency.

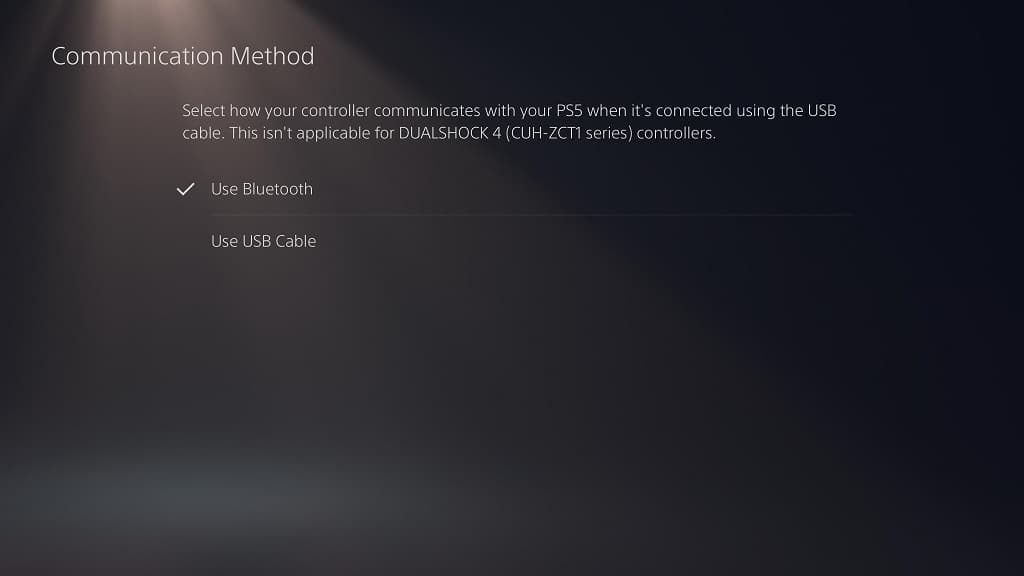
2. You should also connect the controller to your console or PC via USB as a wired communication is faster and more stable than a wireless one.

On the PS5, go to Settings > Accessories > Controller (General) > Communication Method and then make sure that Use USB Cable is selected.

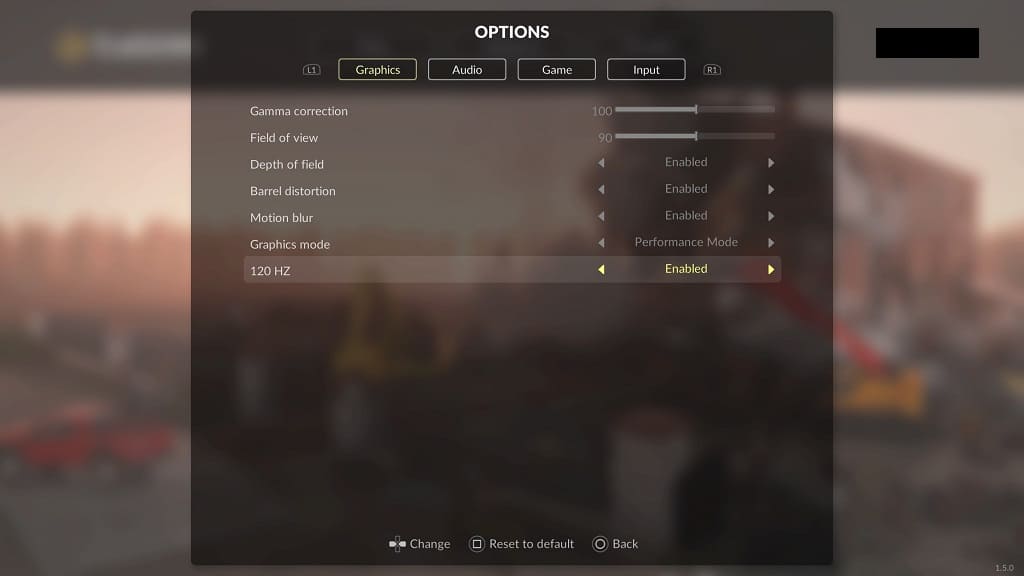
3. In Teardown, make sure you are playing in Performance Mode. If your screen supports the 120 Hz refresh rate, we suggest that you turn it on as well. At higher frame rates, the controller inputs should be more responsive.

To see how you can enable these, you can check out this tutorial.

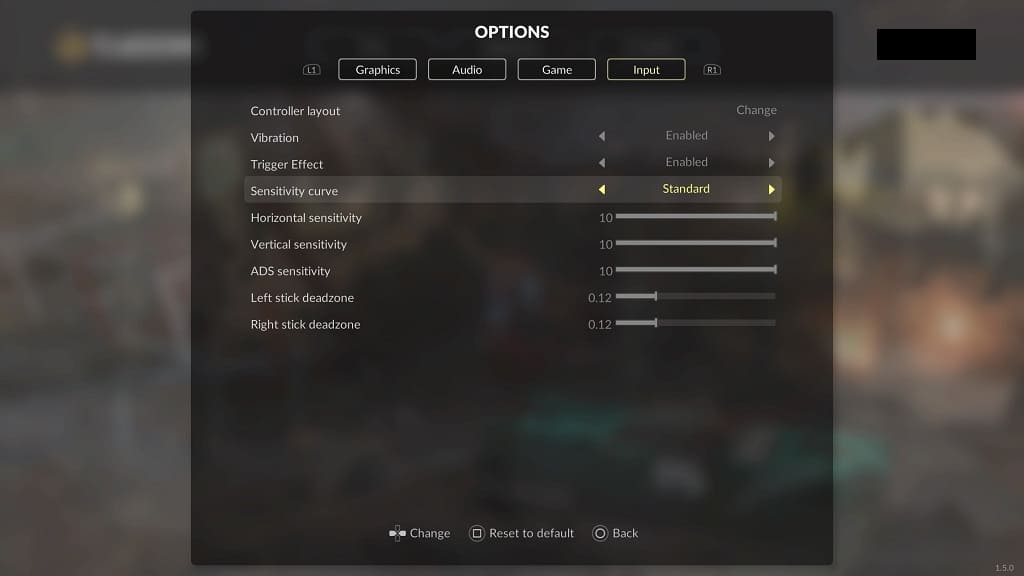
4. From the Options menu of Teardown, you can also head over to the Input tab. Once you get there, you should see the following options:

  • Sensitivity Curve
  • Horizontal Sensitivity
  • Vertical Sensitivity
  • ADS Sensitivity
  • Left Stick Deadzone
  • Right Stick Deadzone

We recommend that you play around with these settings until your analog movements feel naturally responsive.

How to play Teardown at 120 fps on PS5 and Xbox Series X

The PlayStation 5 and Xbox Series X versions of Teardown can be played at up to 120 frames per second. To see how you can properly do so in this desctrcution-themed game, you can take a look at this tutorial from Seeking Tech.

1. For the first step, you should check the settings of your television set or monitor to see how you are able to enable 120 Hz. In some cases, this is enabled by defualt.

2. Next, you need to check your console settings.

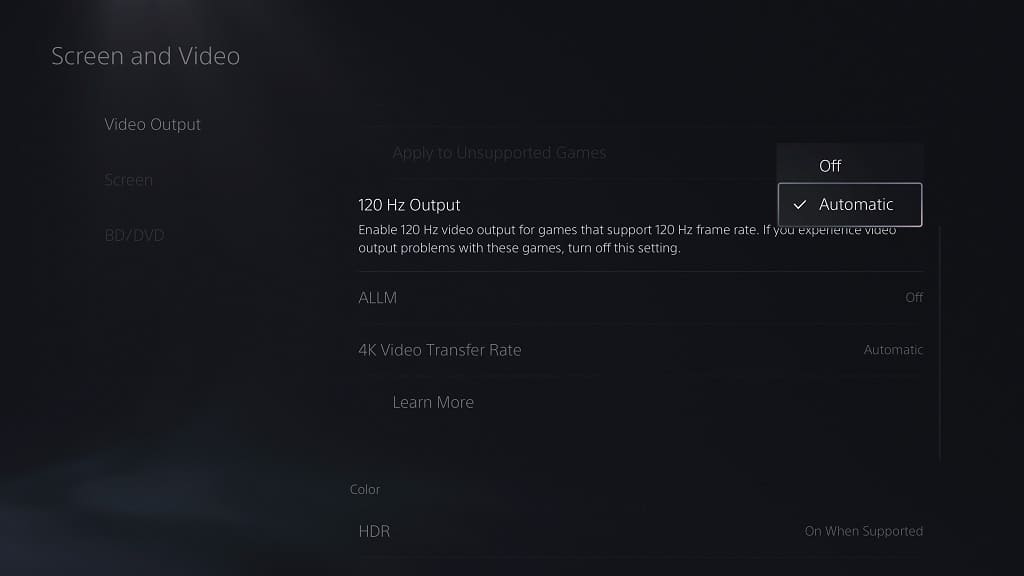
On the PS5, go to Settings > Screen and Video > Video Output and then make sure that 120 Hz Output is set to Automatic.

On the Series X, navigate over to General > TV & display options > Refresh rate and then make sure you select 120 Hz.

3. In Teardown, open the Options menu and then go to the Graphics tab. From there, set the Graphics Node to Performance Mode; otherwise, you won’t be able to see the 120 Hz option.

4. Next, make sure you set 120 Hz to Enabled from the same Options > Graphics menu.

When you play Teardown again, the game should now target 120 frames per second.

How to change the field of view in Teardown

If you find the default field of view in Teardown to be too wide or too narrow, then you can check out this guide from Seeking Tech to see how you are able to change it.

1. Begin by opening the Options menu in this game.

2. You should be viewing the Graphics tab by default. If not, then make sure you switch over to it.

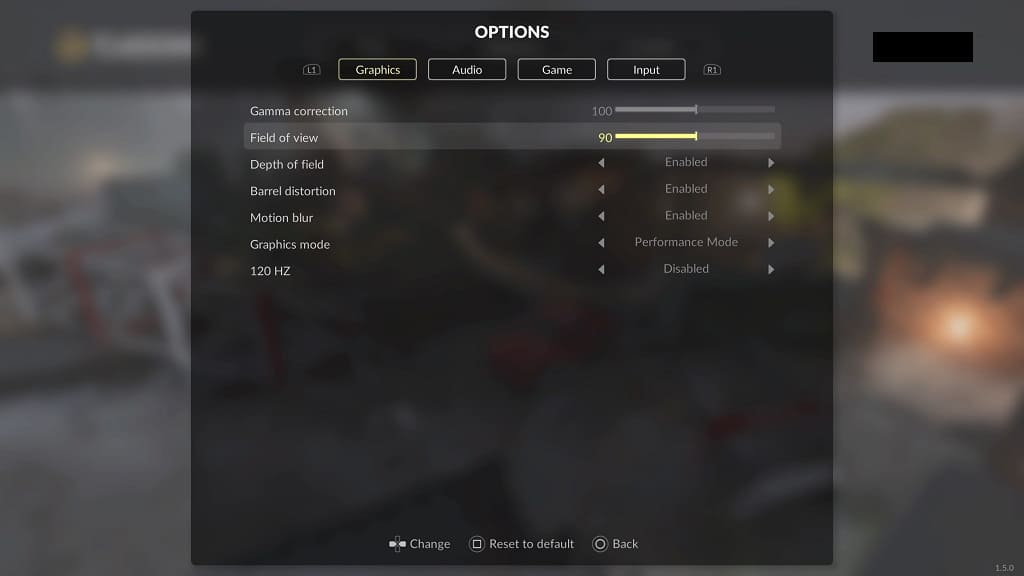
3. Move the cursor down to Field of View, which is set to 90 be default.

4. Use the left directional pad button to decrease the value in order to narrow your view. Alternatively, you can use the right directional pad to widen your view.

The Field of View setting can be changed in increments of 10 with a range of 60 to 120.

5. After you are done adjusting the FoV, exit the Options menu.

You should see your new viewing angle when you start playing Teardown again. If you don’t like the new angle, you can return to the Options > Graphics menu again to re-adjust it.

How to turn off depth of field Teardown

You may notice that the graphics looked less focused at a further distance in Teardown. If you don’t like this depth of field effect, then you can check out this Seeking Tech guide to see how you are able to turn it off.

1. Open up the Options menu in the videogame if you haven’t done so already.

2. In the Options screen, you need to be in the Graphics tab.

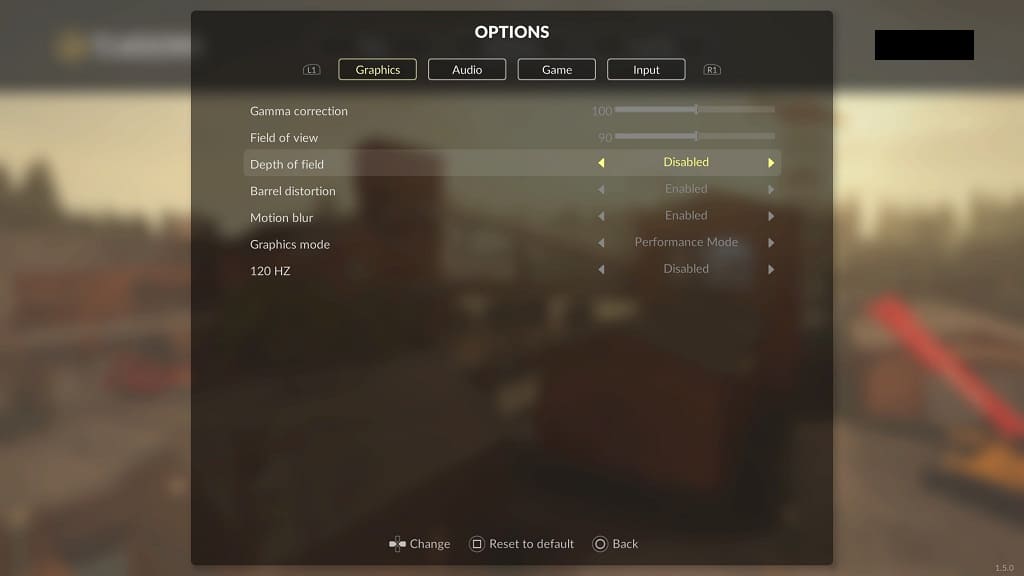
3. From there, move the cursor down to the Depth of Field setting, which is set to Enabled by default.

4. Use either the left or right directional pad button to switch it over to Disabled.

5. You can then back out of the Options menu.

When you start playing Teardown again, the depth of field should no longer be applied.

How to disable motion blur in Teardown

Motion blurring is enabled by default in Teardown. If you don’t like this visual effect, then you can check out this Seeking Tech guide to see how you can disable it in this destruction game.

1. Start off by opening the Options menu from either the main menu or pause screen.

2. Make sure you are viewing the Graphics tab in the Options menu. If you aren’t, then you can use the L1 and R1 buttons of a PlayStation controller or LB and RB buttons of an Xbox controller to switch tabs in Teardown.

3. Move the cursor down to Motion Blur in the Graphics tab.

4. By default, Motion Blur is set to Enabled. Use the left or right directional pad to switch it over to Disabled.

5. Exit the Options menu and return to playing the game. You should no longer see any motion-based blurring.

How to change difficulty the Teardown campaign mode

While Teardown does not have an easy mode, it does come with several optional “cheats” that you can enable to make the campaign easier or harder. You can check out this Seeking Tech guide to see how you can turn on these options.

1. To start off, you should head over to the Options menu from either the main menu or pause menu in Teardown.

2. In Options, switch over to viewing the Game tab.

Use the L1 and R1 buttons to change tabs on a controller with PlayStation buttons or LB and RB on a controller with Xbox buttons.

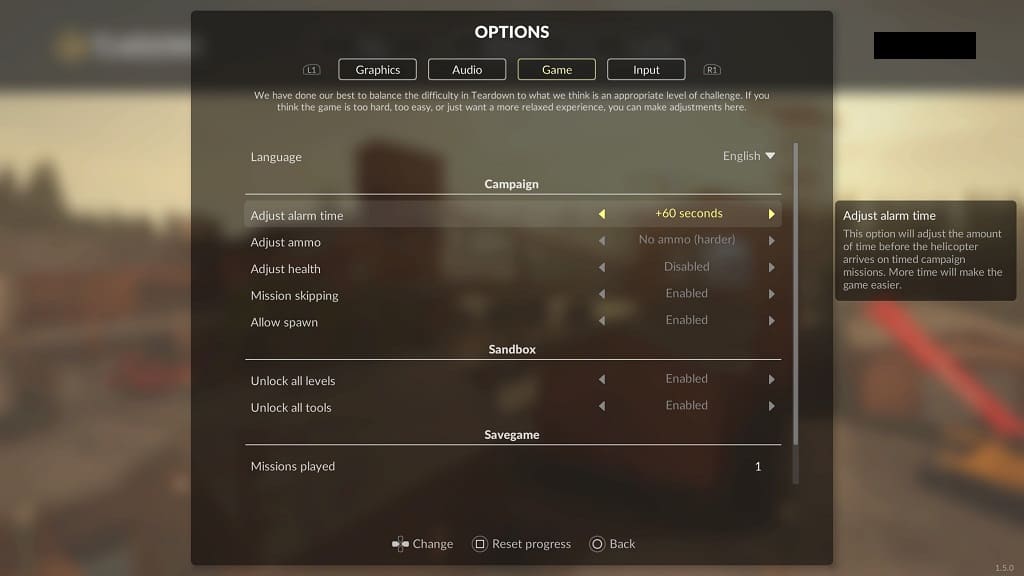
3. You should see the Campaign section located at the top of the Game tab.

4. The first of these settings in Adjust Alarm Time, which adjusts the length of time before the helicopter shows up. You can adjust it to any of the following options:

  • Disabled
  • +15 seconds
  • +30 seconds
  • +60 seconds
  • -20 seconds (harder)

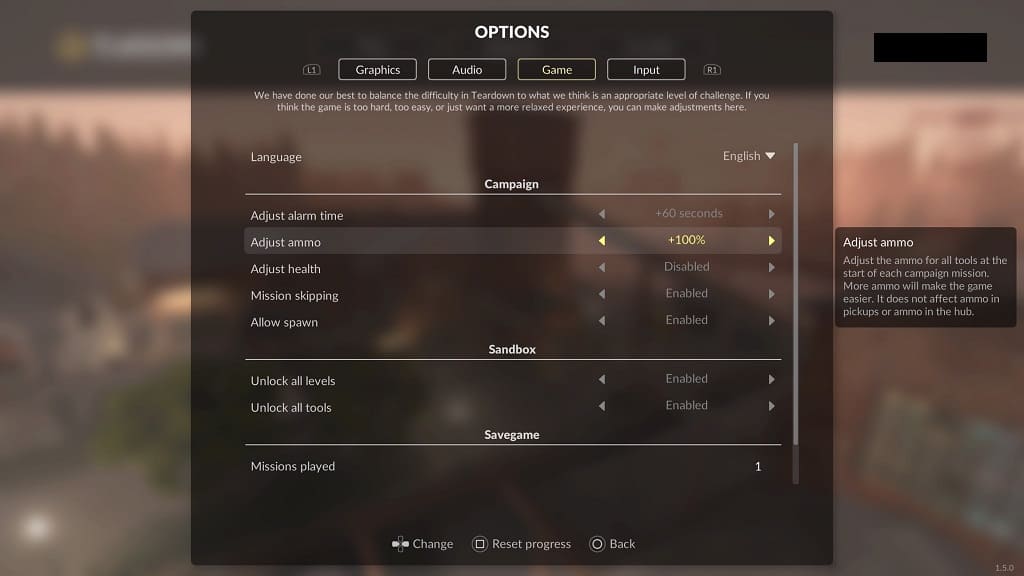
5. Next up is the Adjust Ammo setting, which adjusts the amount the ammo available at the start of the level. You should see the following options:

  • Disabled
  • +50%
  • +100%
  • No ammo (harder)

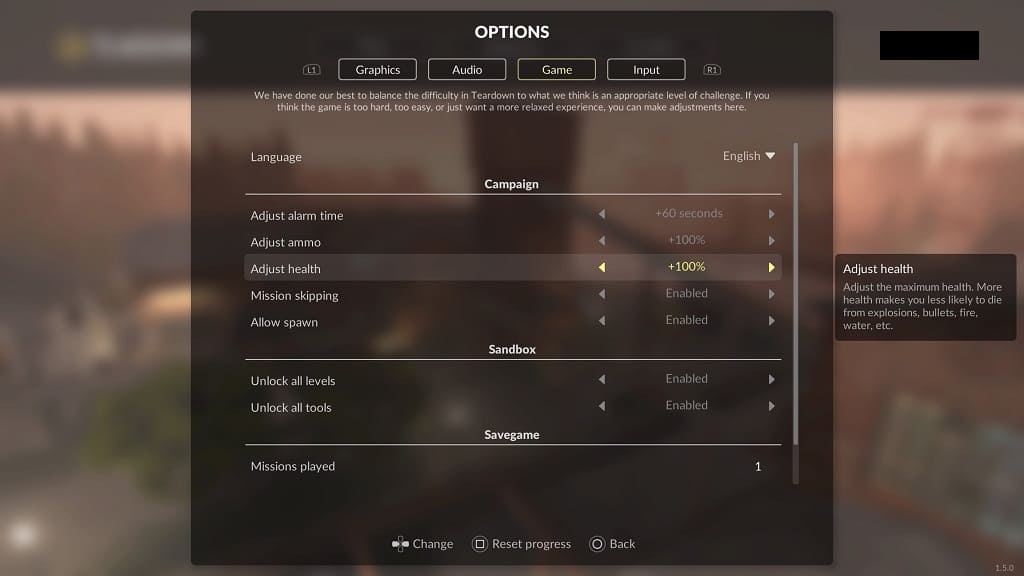
6. One last adjustable setting is the Adjust Health setting, which adjusts the maximum health of your character. You have the following options:

  • Disabled
  • +50%
  • +100%
  • -50%

7. Once you are done with the adjusting difficulty options, you can exit the Options menu and go back to playing the game.

How to enable the spawn menu in Teardown

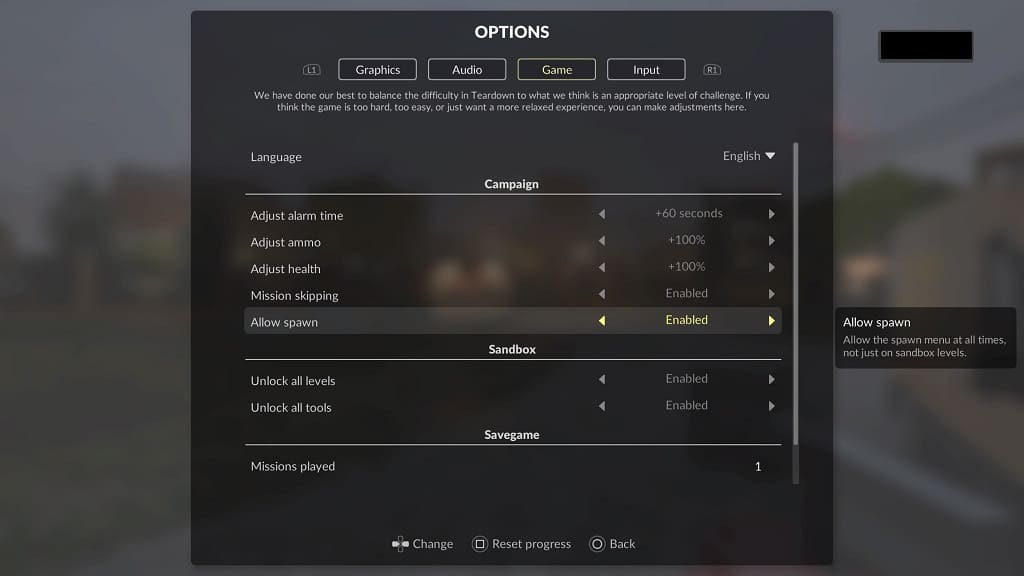
Normally, the spawn menu can only be enabled in the sandbox mode of Teardown. By enabling a setting in the Options menu, however, you will be able to use this feature in other modes.

To see how you can do so in this demolition game, you can check out this tutorial at Seeking Tech.

1. If you haven’t done so already, you need to open the Options menu in Teardown.

2. From there, you need to switch over to the Game tab. Switch tabs can be down with the L1 and R1 or LB and RB buttons if you are playing with a controller.

3. In the Game tab, you should see the Allow Spawn setting, which has the following description:

Allow the spawn menu at all times, not just on sandbox levels.

4. Use the directional pad buttons to change the Allow Spawn setting from Disabled to Enabled.

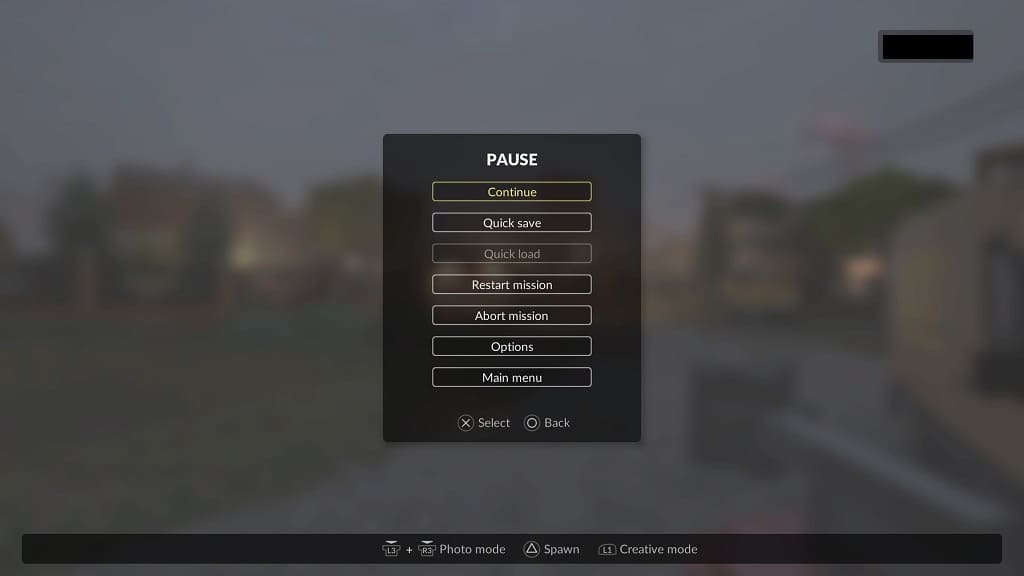
5. You can then exit the Options menu.

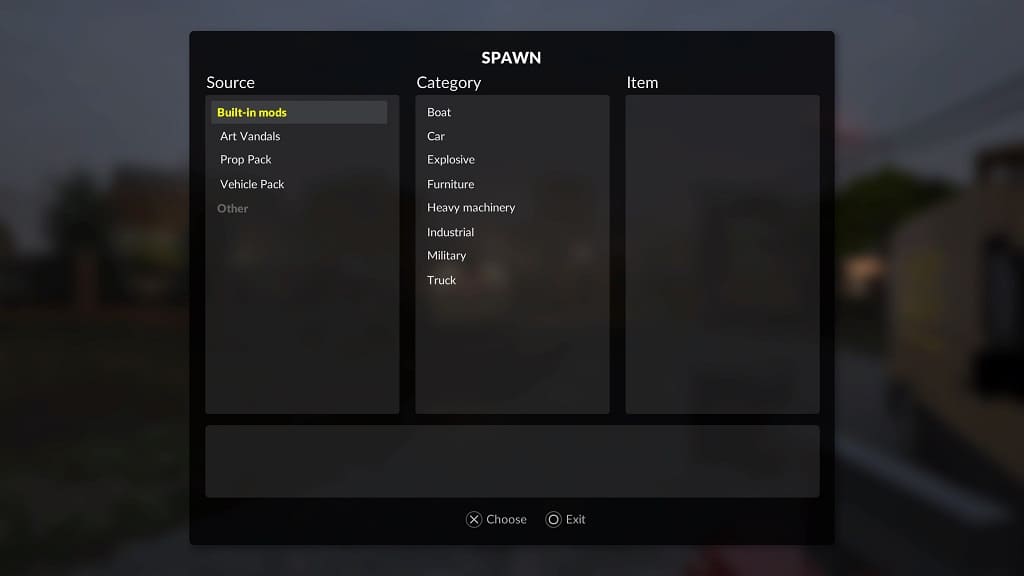
6. To open the spawn menu while playing through a level, bring up the pause menu. You can then open the menu by pressing the Triangle or Y button.

In the spawn screen, you need to select the Source first and then the Category before choosing which item you want to spawn into the level.