How to play Red Dead Redemption at 60 fps on PS5 and PS4 Pro

Thanks to a new update, you can now play Red Dead Redemption at 60 frames per second on the PlayStation 5 or PlayStation 4 Pro. To find out how you can enable this graphics mode for the port, you can take a look at this tutorial from Seeking Tech.

1. To start off, make sure you downloaded the latest patch for RDR1 if you haven’t done so already. This is because the 60 fps mode was added to the game with version 1.3.

In order to manually download the update, move the menu cursor to the Red Dead Redemption icon on the home screen menu of your PS5 or PS4 Pro. Afterwards, press the Options button on the DualSense or DualShock 4. You should then be able to select the Check for Update option.

2. With the game updated, select Options from the pause menu.

You can bring up the pause screen by pressing the Options button on the controller during gameplay.

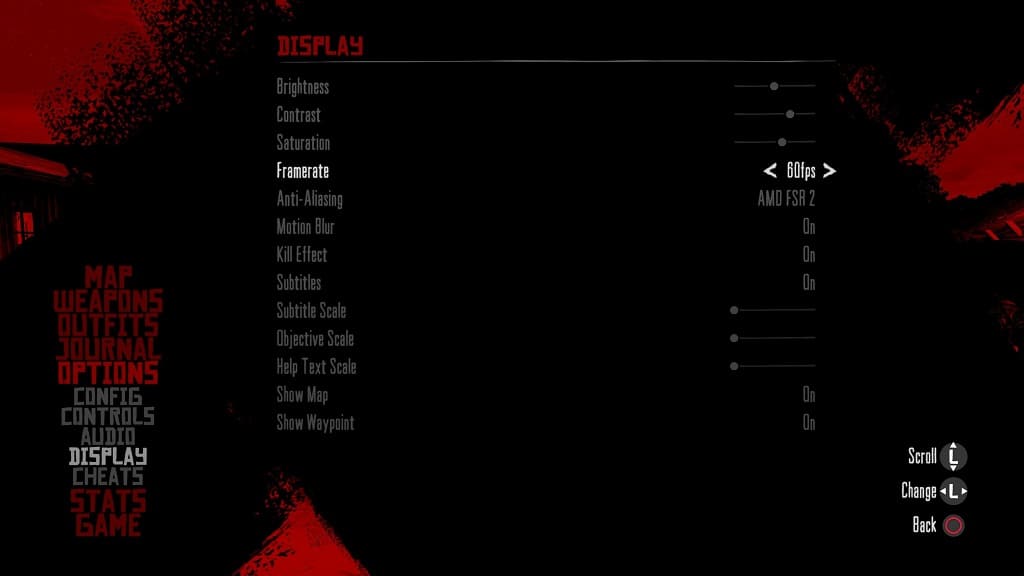
3. In the Options menu, go to the Display section on the left column.

4. On the right side of the same screen, you should see the newly added Framerate setting.

5. Make sure that Framerate is set to 60fps.
6. Exit the Options menu and then return to playing Red Dead Redemption.

You should be able to notice the smoother action with the frame rate boost. Based on our own experience, RDR1 maintains a stable 60 fps on the PlayStation 5.

How to fix Red Dead Redemption brightness issues on PS4 and Switch

You may notice that some parts in the PlayStation 4 or Nintendo Switch versions of Red Dead Redemption may look overly bright, too dark or washed out. To see how you can fix these brightness issues with this open-world western game, you can check out this guide from Seeking Tech.

1. It should be noted that the PlayStation 4 version of Red Dead Redemption does not support HDR.

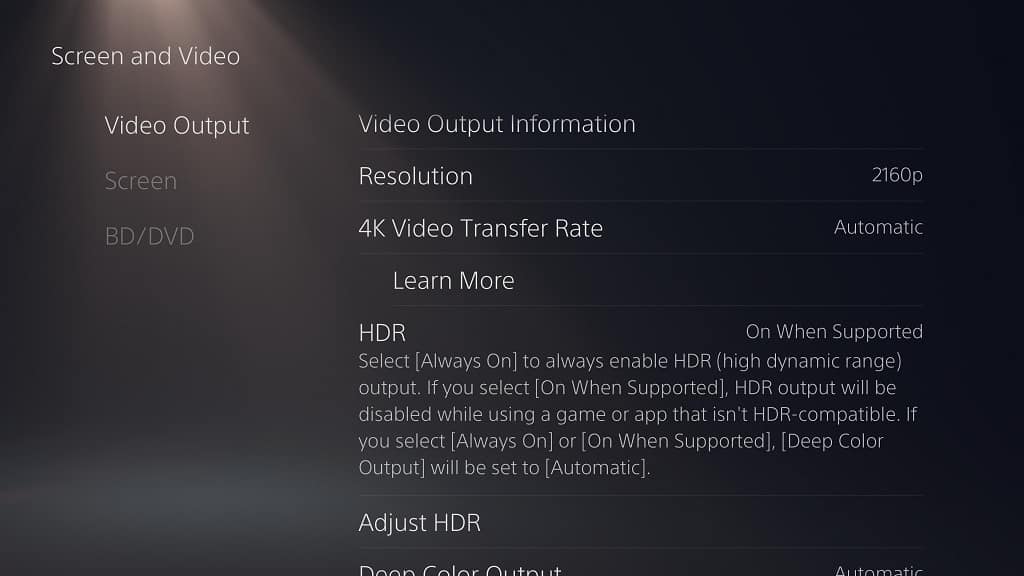
If you are playing the game via backwards compatibility on a PlayStation 5 console, then you should make sure that you disable Auto HDR; otherwise, the colors may end up looking off.

To disable this feature, go to the Settings menu of your PS5 and then navigate over to Screen and Video > Video Output. From there, make sure the HDR setting is set to On When Supported.

2. You can also use the in-game menu in Red Dead Redemption. You can do so by taking the following steps:

  • During gameplay bring up the pause screen by pressing the Options button on the DualSense/DualShock 4 or the + button on the Nintendo Switch Joy-Con/Pro Controller.
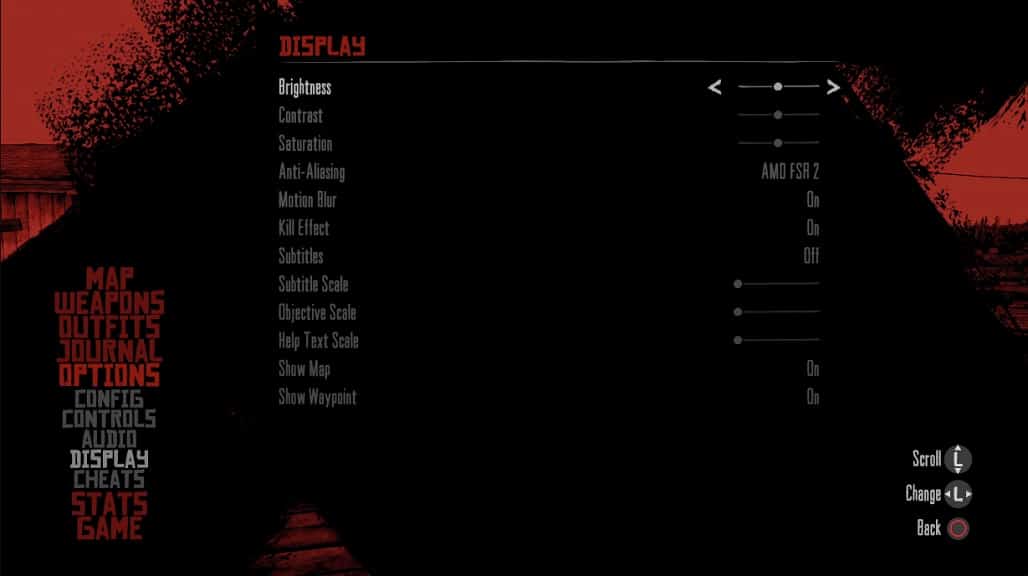
  • From the pause screen, select Options and then Display.
  • You should then be able to adjust the Brightness, Contrast and Saturation levels.
  • You may need to return to this menu often when going from a light area to a dark area and vice versa.

3. Of course, you can also adjust the brightness on your screen.

If you are playing RDR in portable mode on your Nintendo Switch, then you should be able to adjust the brightness of handheld’s screen from its system menus.

How to flip shoulder buttons and analog controls in RDR on PS4 and Switch

The PlayStation 3 version of Red Dead Redemption uses the L1 button to aim and R1 button to shoot. With the PlayStation 4 and Nintendo Switch ports, the default controls have been changed so that you need to use the L2/ZL button to aim and R2/ZR button to fire your weapon.

To see how you can flip the shooting controls for the PS4 and Nintendo Switch version, as well as how you can flip the analog sticks, you can check out this guide from Seeking Tech.

How to flip the shooting controls in Red Dead Redemption

In order to flip the shooting controls in the PlayStation 4, you need to take the following:

1. Press the Options button on the PlayStation controller or the + button on the Nintendo Switch controller during gameplay to pause the game.

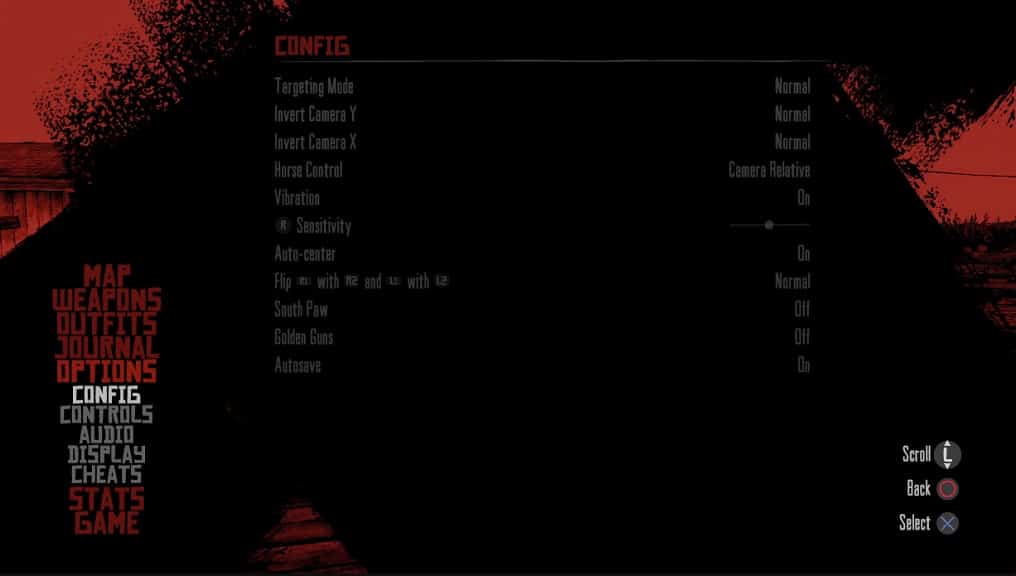
2. Select Options and then Config.

3. On the right side of the screen, you should be able to find the Flip R1 with R2 and L1 with L2 option if you are playing the PlayStation 4 version.

If you are playing the Nintendo Switch port, then you should be able to change the Flip R with ZR and L with ZL.

How to flip the left and right analogs in RDR

To flip the left and right analog controls so that the left analog will be used for aim/controlling the camera and the right analog will be used to move your character, you need to do the following:

1. Open the pause.

2. Select Options and then Config.

3. From the right side of the same screen, you can turn on the Southpaw setting if you are left hand dominant.

How to change text size in Red Dead Redemption on PS4 and Switch

With the PlayStation 4 and Nintendo Switch ports of Red Dead Redemption, you are able to change the display text sizes for subtitles, objectives and on-screen tutorials. To see how you can make the fonts appear bigger, you can take a look at this tutorial from Seeking Tech.

1. For the first step, you need to bring up the pause menu by pressing the Options button on the PlayStation gamepad or + button on the Nintendo Switch gamepad.

2. From there, you need to select Options from the left column.

3. Afterwards, select Display.

4. On the right side of the same screen, you should see sliders for the following:

  • Subtitle Scale
  • Objective Scale
  • Help Text Scale

To increase the size of the fonts, you need to move the sliders to the right.

5. Once you are done changing the scale, exit out of the pause menu and then return to playing RDR1.

If the text size still looks off to you, then you can return to the aforementioned Options > Display section in the pause menu to make additional adjustments until you are satisfied.

If you are playing the Nintendo Switch version, then you may need to change the display text when alternating between handheld and docked modes or vice versa.

How to disable vibrations in PS4 and Switch version of Red Dead Redemption

By default, controller vibrations are enabled in the PlayStation 4 and Nintendo Switch port of Red Dead Redemption. This feature adds an extra layer of immersion to the open-world western game as your hands will be able to feel certain actions.

If you find that the rumble to be too distracting and/or causing the controller’s battery to drain faster than usual, then you can check out this guide from Seeking Tech to see how you are able to disable it.

1. For the first step, you need to open the pause screen.

In order to do so with the DualShock 4 or DualSense, you need to press the Options button. For the Nintendo Switch version, you need to press the + button.

2. Inside of Settings, you need to select Options.

3. Underneath Options, you should then select Config.

4. On the right side of the screen, you should see the Vibration setting if you are playing the PlayStation 4 version of the game on a PS4, PS4 Pro or PS5 console.

If you are playing the game on a Nintendo Switch system, then you should see the HD Rumble setting.

By default, the Vibration and HD Rumble settings are set to On. To disable the haptic feedback, make sure that you set these to Off.

5. Back out of the pause menu and then return to your game. You should notice that your controller will no longer vibrate.

How to disable motion blur in PS4 and Switch versions of Red Dead Redemption

The PlayStation 4 and Nintendo Switch versions of Red Dead Redemption use motion blur. If you find that this visual effect to be a little distracting and/or causing visibility issues, then you can check out this tutorial to see how you can disable the feature.

What is motion blur?

Motion blur can help games appear to run smoother.

For the uninformed, the new ports of Red Dead Redemption top out at a maximum of 30 fps on both the PlayStation 4 and Nintendo Switch. Even if you play the open-world western on a PlayStation 4 Pro or PlayStation 5, the frame rate will still be limited to 30 at the maximum.

So, if you decide to leave motion blur turned on, this may help with compensating for the low frame rate. With that said, this visual effect will make the game look blurry when you are moving and/or adjusting the camera angle.

How to turn off motion blur

If you want to try playing RDR1 without motion blur, then you need to take the following steps:

1. To start off, you need to press the Options button on the DualShock 4/DualSense or + button on the Nintendo Switch controller to open the pause menu during gameplay.

2. From there, you need to select Options and then Display.

3. Inside the Display menu, you should see the Motion Blur setting. To disable this graphical option, make sure you set it to Off.

4. Exit out of the pause menu and then return to playing Red Dead Redemption. You should notice that there should no longer be any blurring when you are moving your character and the in-game camera.

How to change the anti-aliasing method in PS4 version of Red Dead Redemption

The PlayStation 4 version of Red Dead Redemption lets you switch between FXAA and AMD FSR 2. To see how you can change between these anti-aliasing methods, you can take a look at this tutorial from Seeking Tech.

What is anti-aliasing?

Anti-aliasing helps smooth out jaggies that may appear on certain objects. These visual distortions are more likely to appear in games that have a low native resolution.

FXAA vs. AMD FSR 2 in RDR

When it comes to Red Dead Redemption, we found that using the default AMD FSR 2 anti-aliasing method results in a sharper looking game with less jaggies when compared to FXAA.

Keep in mind that the PlayStation 4 version of Red Dead Redemption can also be played on the PlayStation 4 Pro and PlayStation 5 consoles. By doing so, you should get even better image quality with AMD FSR 2 enabled.

How to change the anti-aliasing method

If you want to change how anti-aliasing in the PS4 port of Red Dead Redemption, then you need to take the following steps:

1. Press the Options button on the controller during gameplay to bring up the pause menu.

2. In the pause menu, select Options.

3. Under the Options menu, you then need to select Display.

4. On the right side of the same screen, you should see the Anti-Aliasing option. By default, this is set to AMD FSR 2. You will be able to switch it from AMD FSR 2 to FXAA or vice versa.

5. Once you are done changing this setting, exit the pause menu and then test out the new anti-aliasing method in the game. If you prefer how the game looks previously, then you can switch back to the first anti-aliasing setting from the aforementioned Options > Display menu.