How to delete your audio clips in the ChatGPT Android App

If you use the speech-to-text feature in the ChatGPT Android App, then your voice will be recorded. To see how you can delete your audio clips from this mobile application, you can take a look at this tutorial from Seeking Tech.

Before we begin, it is important to note that the ChatGPT servers won’t save your audio recording. Instead, the clip is only used to be transcribed through the Whisper API and then subsequently deleted.

With that said, the recording may still be stored on the cache on your phone or device. In order to delete these files, you can take the following steps:

1. Open the Settings App on your Android device.

2. From the front page of Settings, navigate to Google > Manage your Google Account.

3. In the Google Account menu, select the “Data & privacy” tab and then select Web & App Activity.

4. Select Manage all Web & App Activity.

5. You should then see your list of audio activities that are saved on your Android device, which should include recordings from the ChatGPT Android App.

You can select and delete any of the clips in this menu.

6. If you don’t want any of your future audio recordings to be saved on your device at all, then you can go back to the Settings > Google > Manage your Google Account > Data & privacy > Web & App Activity menu.

From there, make sure that the “Include voice and audio activity” is not selected.
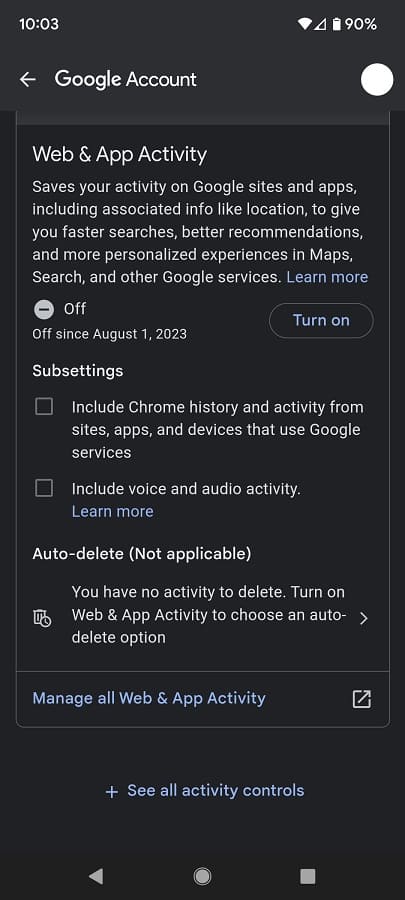
By doing so, your Android device should no longer save any audio recordings from ChatGPT and other applications.

How to change ChatGPT Android App speech-to-text language

The ChatGPT Android App supports multiple languages when it comes to its speech-to-text transcribing feature. To see how you can change the detected voice input language for this mobile application, you can take a look at this article from Seeking Tech.

1 To begin, you need to open the ChatGPT Android App if you haven’t done so already.

2. Inside of the app, tap the hamburger icon that should appear on the top left side of the screen to bring up a menu that appears on the left edge.

3. From that menu, you need to tap Settings.

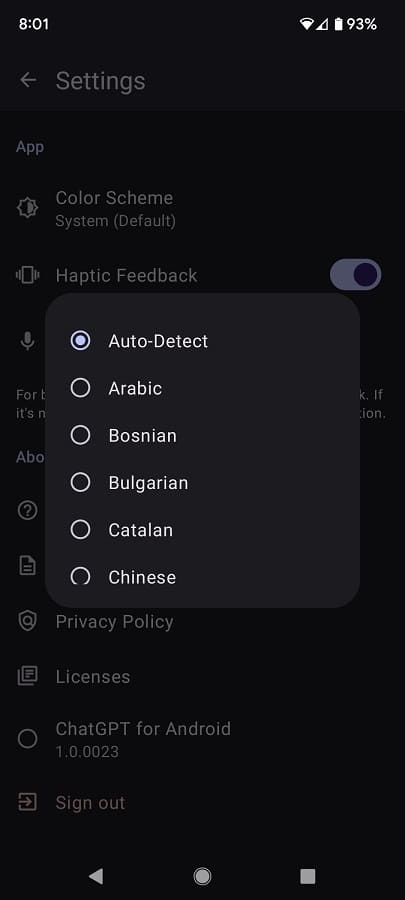
4. You should see Main Language in the Settings menu. This is set to Auto-Detect by default as it will automatically detect what language you are speaking when you are using the speech-to-text.

With that said, the Auto-Detect setting may not be as accurate as changing Main Language to a specific option.

5. If you want the ChatGPT Android App to detect a specific language, then you need to select the Main Language option from the Settings menu.

Afterwards, you should be able to select any of the following supported languages:

  • Arabic
  • Bosnian
  • Bulgarian
  • Catalan
  • Chinese
  • Croatian
  • Czech
  • Danish
  • Dutch
  • English
  • Finnish
  • French
  • Galician
  • German
  • Greek
  • Hindi
  • Hungarian
  • Indonesian
  • Italian
  • Japanese
  • Korean
  • Macedonian
  • Malay
  • Norwegian
  • Polish
  • Portuguese
  • Romanian
  • Russian
  • Slovak
  • Spanish
  • Tagalog
  • Tamil
  • Thai
  • Turkish
  • Swedish
  • Ukrainian
  • Vietnamese

How to find your chat history in the ChatGPT Android App

You are able to find your previous chat sessions in the ChatGPT Android App. To see how you can locate your inquiry history, you can take a look at this guide from Seeking Tech.

1. Make sure you open the ChatGPT Android App if you haven’t done so already.

2. For the next step, you need to head over to the Settings menu of the mobile application.

You can do so by tapping the hamburger icon on the top left side of the screen. Afterwards, select Settings from the menu that pops up from the left side of the screen.

3. You should be able to see and select History.

If you don’t see this option, then it means that the account you used to sign into the ChatGPT Android App doesn’t have any previous chats saved. This could be due to them being deleted. It may also be due to you turning off the Chat History & Training setting.

4. In the History screen, you should see your previous chat sessions in descending order with the most recent ones appearing on the top of the list.

This menu should also show your ChatGPT sessions from other devices as long as you are using the same account and have the aforementioned Chat History & Training setting enabled on the Android App as well as the other devices.

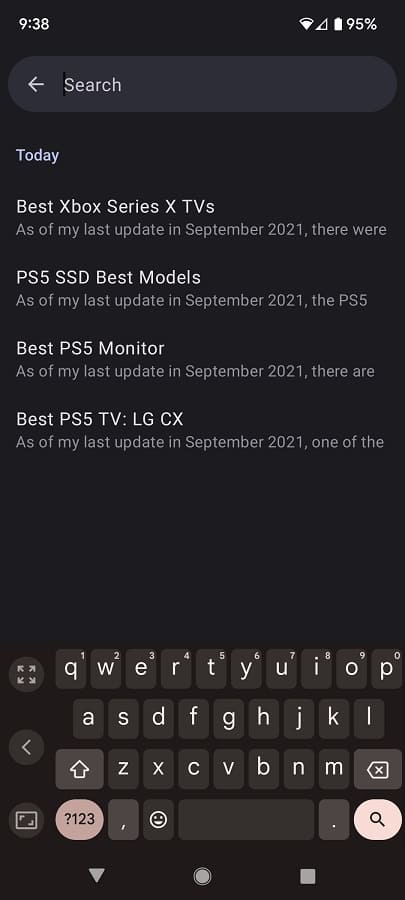
You can use the search bar located on the top of this screen to look for specific texts in your history.

How to switch to dark theme or light theme in the ChatGPT Android App

The ChatGPT Android App can be viewed in a dark or light theme. To see how you can change display modes for this mobile application, you can check out this tutorial from Seeking Tech.

1. If you haven’t done so already, open the ChatGPT Android App from your phone or smart device.

2. With the application opened, tap the hamburger icon located on the top left side of the chat session screen.

3. A menu should appear from the left edge of the screen. Here, you need to select Settings.

4. Inside of the Settings menu, select Color Scheme.

5. In the small pop-up window, you can select any of the following:

The “System Default” option will display the same theme as your device’s system menu. If you are using a dark theme for your Android operating system, then the ChatGPT App will be using dark mode. If you set your Android OS to a light theme, then the mobile application will display in light mode. For the uninformed, you can change your Android theme by going to the operating system’s Settings menu and then selecting Display > Dark Theme.

The “Light” option will display dark text over a white background, which makes it easier to read during the daytime and under bright lights.

The “Night” option will display light-colored text over a dark background, which makes it easier on the eyes at nighttime and low light conditions.

How to enable speech-to-text in the ChatGPT Android App

The ChatGPT Android App features speech-to-text as you can use the microphone of your phone or smart device to talk to the A.I. of the mobile application. To see how you can turn this on, you can check out this tutorial from Seeking Tech.

1. For the first step, you need to open the ChatGPT Android App if you haven’t done so already.

2. During a chat session, you should see a microphone icon to the left of the Message field. Tap it to enable voice input.

3. If you did not previously enable the Microphone permission for this application, then you should see the following message:

Allow ChatGPT to record audio?

In this notification, you need to select the “While using the app” option to enable speech-to-text for the current and future chat sessions. If you only want to use voice input just this one time, then you can select the “Only this time” option instead.

4. Next, you should see a purple box pop up from the bottom of the screen indicating that your phone or smart device is currently recording your voice input.

Put the microphone close to your mouth and then ask your question.

5. To stop the recording, tap the purple box.

6. The ChatGPT Android App will then send the recording to the Whisper API to be transcribed your voice input into text.

6. Once the text has shown up in the Message field, tap the up arrow to input the text to the chat session in order to get ChatGPT to respond to your inquiry.

How to fix ChatGPT Android App network error issue

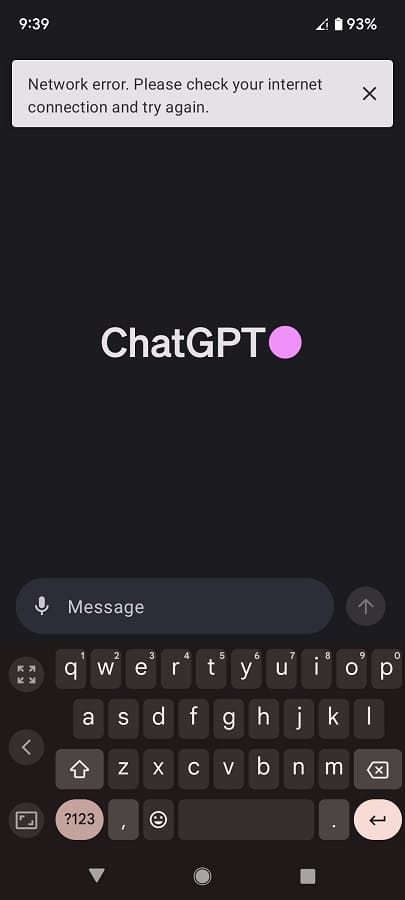
When trying to use the ChatGPT Android App, you may end up getting the following message:

Network error. Please check your internet connection and try again.

To see how you can fix this issue, you can check out this troubleshooting article from Seeking Tech.

1. For the first potential solution, you should check to see if your phone or smart device is properly connected to the internet.

In order to do so, head over to the Settings menu of the Android operating system. From there, select Network & internet > Internet.

If there is an issue with your internet, then you can try moving to a location with a stronger signal. If you are using Wi-Fi at home, then you can try power cycling your home network in order to refresh the internet connect with your internet service provider.

2. If the internet connection appears to be fine, then you can try restarting your smartphone or device. This will refresh its internet connection.

3. If you have other applications opened at the same time, then they may be causing a conflict with the online elements of the ChatGPT Android App. Therefore, you can try closing any opened or background running apps.

4. The ChatGPT servers could also be down. To see if there are any issues, you can check out the official Open A.I. Twitter page.

If there are server issues, then you might need to wait until that are functioning normally again in order to get rid of the network errors while using the Android App.

How to report responses in ChatGPT Android App

If you find that ChatGPT is sending you bad responses in the Android App, then you can report it to Open A.I. To find out how you can use this feature to get better answers in the future, you can check out this tutorial from Seeking Tech.

1. To start off, you need to open the ChatGPT Android App if it hasn’t been opened yet and then head to the chat session with the questionable response.

In order to view your chat history, tap the icon with the three horizontal lines on the top left side of the screen. You then need to select History from the menu that slid in from the left. You should then be able to find your prior chat session with ChatGPT.

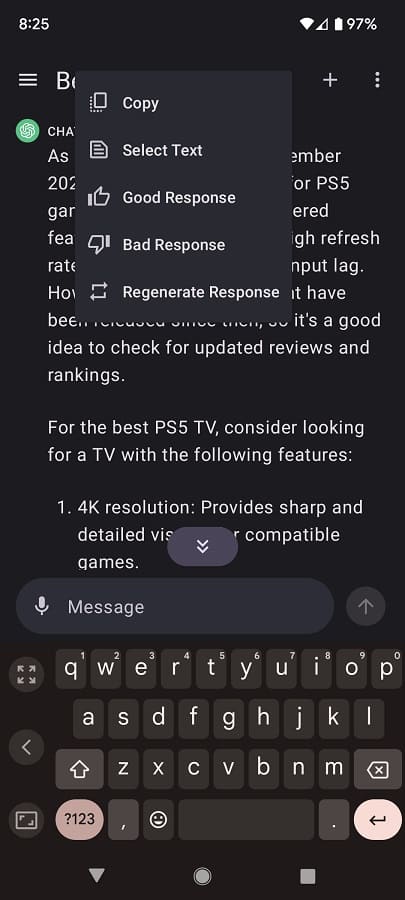
2. In the chat session, tap and hold a response from ChatGPT. This should bring up a small window menu.

3. In the small window menu, you can select the Bad Response option to report that you did not like the answer provided by the A.I.

If you find the response useful, then you can select the Good Response option instead.

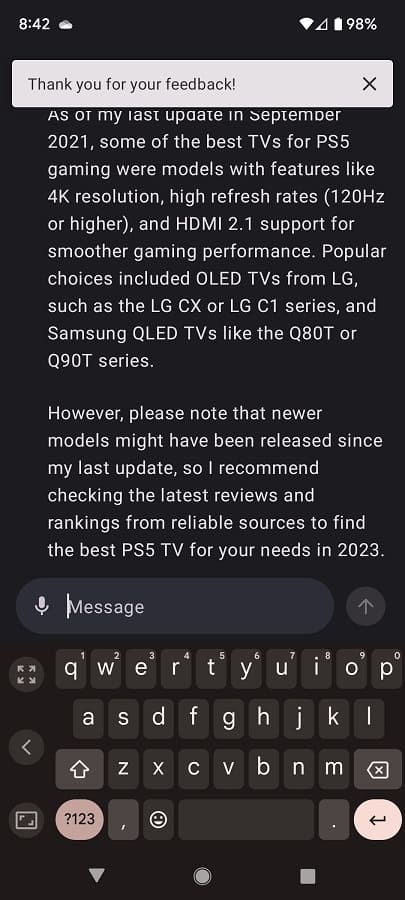
4. Once the report has been sent, you should message saying the following:

Thank you for your feedback.

Hopefully, you will get better answers for your ChatGPT inquires in the future.

How to regenerate a response in the ChatGPT Android App

If you don’t like an answer generated from the ChatGPT Android App, then you are able to get it to create a fresh response. The new answer may be written differently and could even contain new information.

To see how you can regenerate a new response from this mobile application, you can take a look at this tutorial from Seeking Tech.

1. In order to regenerate a response from the mobile app, you should make sure that you are in a chat session.

If you want to view a past answer, then you need to tap the hamburger icon located on the top left side to bring up the menu from the left side. Afterwards, select History and find your previous chat session with the ChatGPT A.I.

2. In a chat session, scroll down to any of the responses made by ChatGPT.

3. Tap and hold the response to bring up a small pop-up window.

4. You should see the Regenerate Response option located at the bottom of the pop-up menu. Make sure you select it.

The A.I. should now provide a different answer to your question. You can try generating the same response over and over again until you get something that satisfies your needs.

How to disable data sharing in ChatGPT Android App

By default, the ChatGPT Android App has data sharing enabled as your chat history is stored and used to train the A.I. module. If you would rather not share your questions and responses, then you can check out this guide at Seeking Tech to see how you can disable this feature.

Before we start, it is important to note that disabling data sharing on one device won’t be applicable to the other devices where you use ChatGPT. Therefore, if you previously disabled this feature on the ChatGPT website, then you still need to turn off the same feature on the ChatGPT Android App if you don’t want your questions or responses to be shared when using the A.I. on the mobile application.

1. In order to disable data sharing, you should first open the ChatGPT Android App if you haven’t done so already.

2. Next, you need to tap the hamburger icon on the top right corner in the app. This should make a menu appear on the left side of the screen.

3. From that menu, you need to select Settings.

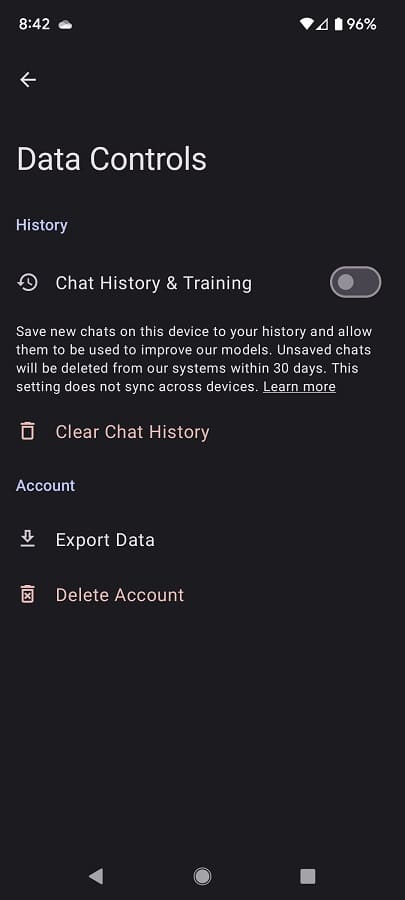
4. Inside of the Settings menu, select the Data Controls option from the Account section.

5. In the Data Controls screen, tap the switch next to Chat History & Training in order to turn off data sharing. The switch should be greyed out.

Any new questions and responses will no longer be saved by the servers and will be deleted within 30 days unless it has been manually saved. With that said, your prior chat history will still be saved and used for A.I. model training if you have the Chat History & Training setting previously enabled.

It is also important to note your questions and/or responses from the ChatGPT Android App may still get reviewed or monitored if the content is deemed to be abusive.

How to disable motion blur in Remnant 2

By default, motion blur is enabled in Remnant 2. If you find that this blurring effect is making it hard to see and concentrate in this third-person shooting role-playing game, then you can check out this tutorial at Seeking Tech to see how you can disable this feature.

1. If you haven’t done so already, make sure you download the latest patch for Remnant 2 as the ability to toggle motion blur on or off was added post launch.

To manually update on the PS5, move the menu cursor over to the game’s icon on the home screen menu of the console. You then need to press the Options button on the DualSense and then select the Check for Update option.

On the Xbox Series X or Xbox Series S, you need to move the menu cursor over to the Remnant 2 icon from either the guide or home menu of the system. You then need to press the Menu button on the Xbox controller, select “Manage game and add-ons” and then select Updates.

2. With the game updated, you need to press the Options button on a PlayStation controller or Menu button on the Xbox controller during gameplay to open the in-game menu.

3. From there, use the L2/R2 buttons or LT/RT buttons to navigate towards the System tab and then select Options.

4. Inside the Options menu, make sure you are viewing the Video tab.

If you aren’t then you can use the L2/R2 buttons or LT/RT buttons to change tabs until you get to that location.

5. On consoles, the Motion Blur setting should be in between the Brightness and Performance Mode settings.

6. Make sure that Motion Blur is set to off and then exit out of the System > Options menu.

When you return to your game, you should no longer notice any exaggerated motion blurring.