If you are playing Lego Fortnite with a compatible controller, then you can enable gyro aiming. This allows you to aim and move the camera by moving your controller around. Once you get used to it, you should end up having better precision.
To see how you can enable, as well as customize this helpful feature, you can check out this tutorial from Seeking Tech.
1. For the first step, open up the Settings menu in Lego Fortnite.
2. From there, you need to head over to the Touch and Motion tab. You can change tab by pressing L1 and R1 on a PlayStation controller or LB and RB on a Nintendo Switch controller.
3. You should see the Gyro Aiming setting at the very top of the screen. Make you set it to On.
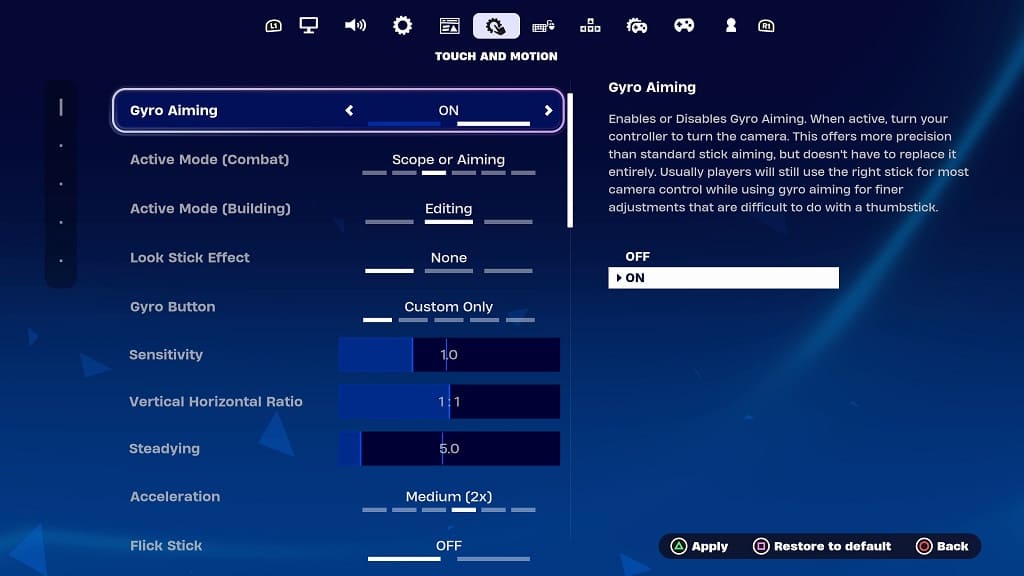
4. Below it, there are a bunch of customization options that you can play with to fine tune motion aiming:
Active Mode (Combat):
- None
- Scope Only
- Scope or Aiming
- Scope, Aiming, Harvesting
- Scope, Aiming, Firing
- Always
Active Mode (Building):
- None
- Editing
- Always
Look Stick Effect:
- None
- Disables
- Enables
Gyro Button:
- Custom Only
- Reload / Interact
- Toggle Pickaxe
- Crouch / Slide
- Reset Camera
Acceleration:
- Legacy
- Off
- Low (1.5X)
- Medium (2X)
- High (4X)
- Custom
Flick Stick:
- Off
- On
There are also sliders for Sensitivity, Vertical Horizontal Ratio and Steadying.
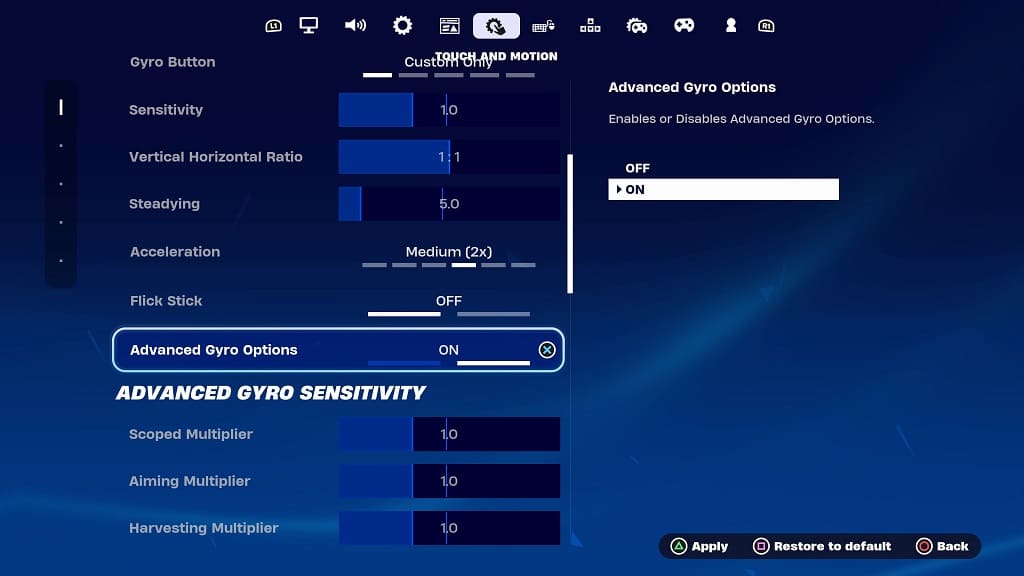
5. In the same screen, you can also turn on Advanced Gyro Options, which unlocks a bunch of other settings that you can adjust.
6. Once you are done, you need to apply the settings by pressing Triangle on the PlayStation or X on the Nintendo Switch controller.