How to adjust The Last of Us Part II Remastered vibrations settings

The Last of Us Part II Remastered on the PlayStation 5 fully utilizes the subtle haptic feedback of the DualSense controller. To see how you can adjust the vibrations in this action-adventure title, you can take a look at this guide from Seeking Tech.

1. Open the Options menu from the main menu or pause menu.

2. From there, go to the DualSense section.

3. Next, scroll down to the Vibration section.

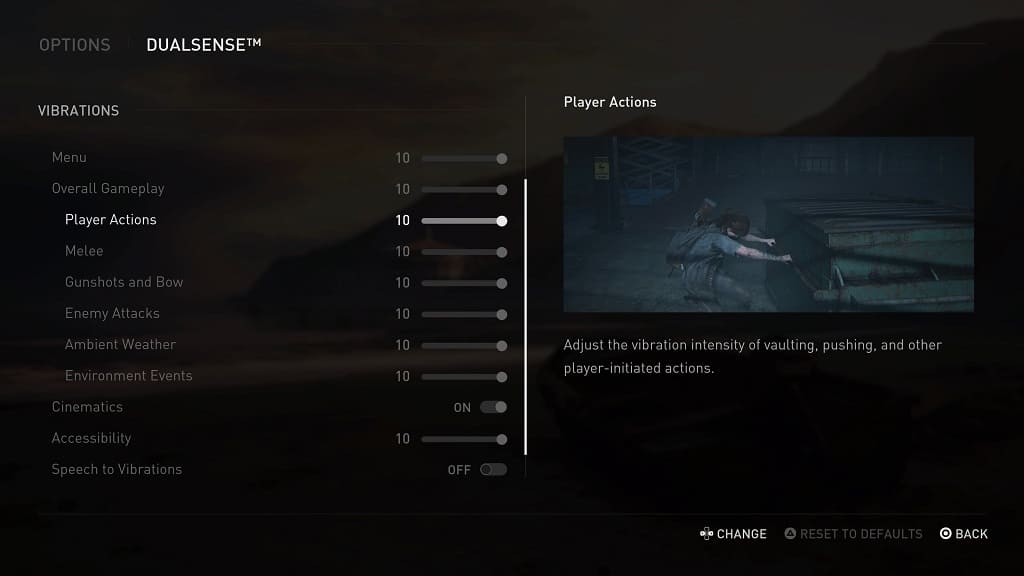
4. You should be able to adjust the rumble intensity for the following:

  • Menu
  • Overall Gameplay
  • Player Actions
  • Melee
  • Gunshots and Bow
  • Enemy Attacks
  • Ambient Weather
  • Environment Events
  • Accessibility
  • Speech to Vibrations Intensity

To completely disable vibrations for any of the above events, you need to move the slider all the way down to 0.

On the same screen, you can also choose to enable or disable rumble for Cinematics and Speech to Vibrations.

How to adjust The Last of Us Part II Remastered adaptive trigger settings

The Last of Us Part II Remastered takes full advantage of the DualSense controller, including utilizing the adaptive trigger. To see how you can when you want to feel the resistance of the L2 and R2 buttons, you can take a look at this tutorial from Seeking Tech.

1. To start off, head to the Options menu. This can be done from the main menu or pause screen.

2. In Options, select DualSense.

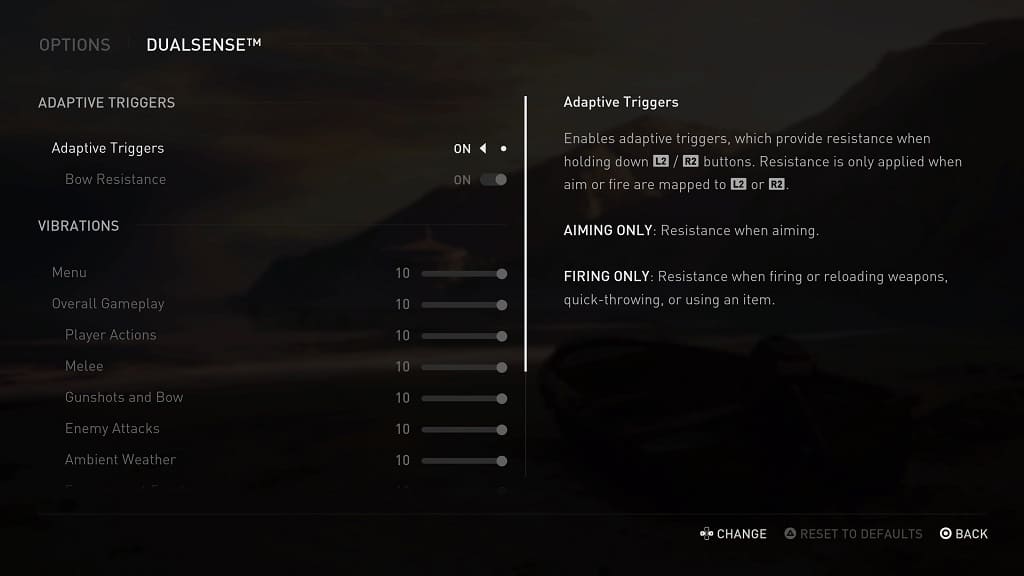
3. You should see the Adaptive Triggers section at the top of the screen.

4. Move the cursor down to Adaptive Triggers. By default, this setting is set to On. You can also change it to Aiming Only or Firing Only. To completely disable this feature, select the Off option.

5. You can then move the cursor down to Bow Resistance, which is set to On by default. To disable adaptive triggers when using a bow, you need to set this setting to Off instead.

Keep in mind that if you set the Adaptive Triggers setting to Off or Aiming Only, then the Bow Resistance setting will automatically be disabled.

How to play The Last of Us Part II Remastered lost levels

The Last of Us Part II Remastered features three lost levels. To see how you can access these unfinished stages, you can take a look at this tutorial from Seeking Tech.

1. To start off, make sure you are in the main menu of the game.

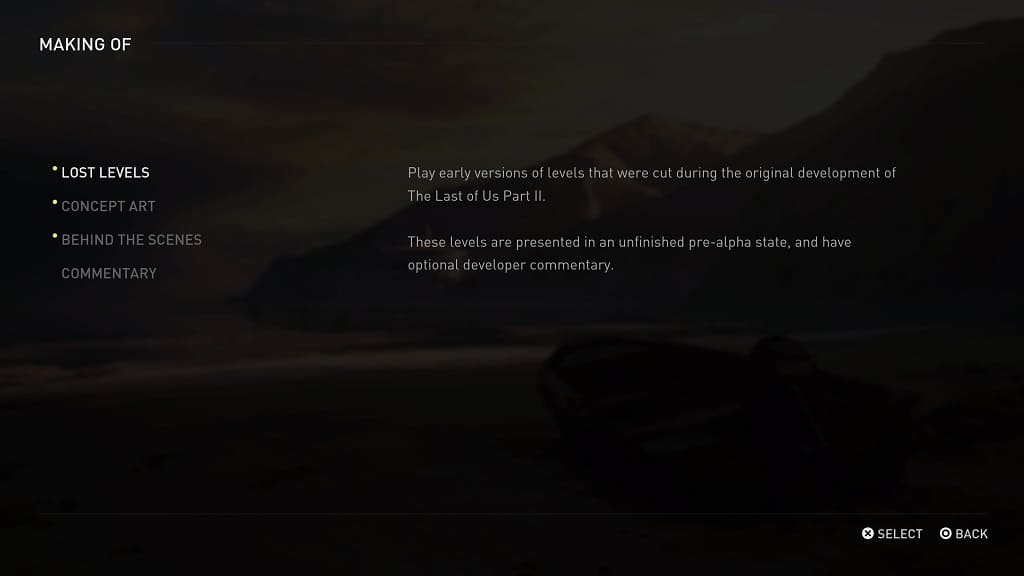
2. From there, select the “Making Of” option.

3. In the “Making Of” menu, select Lost Levels.

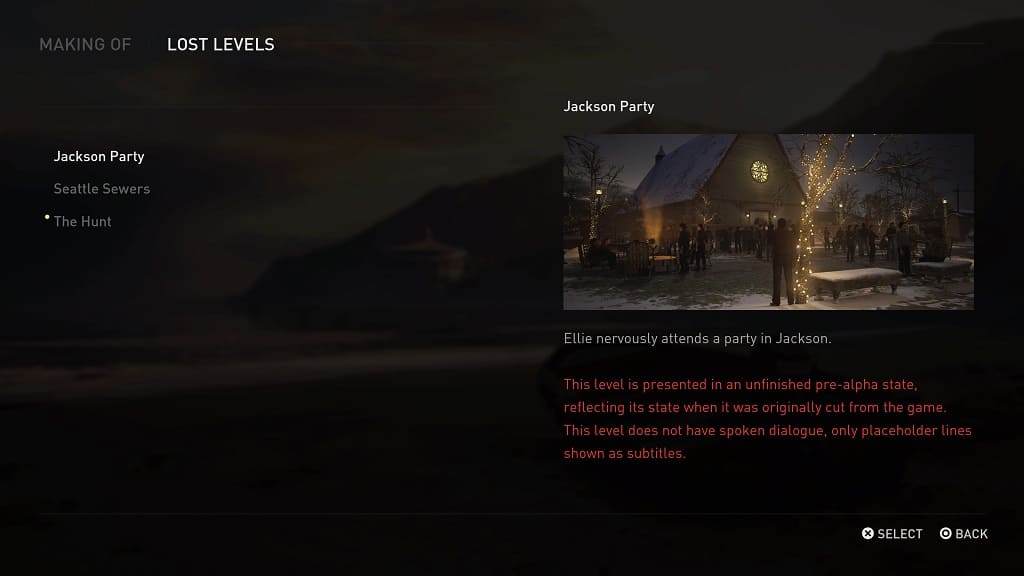
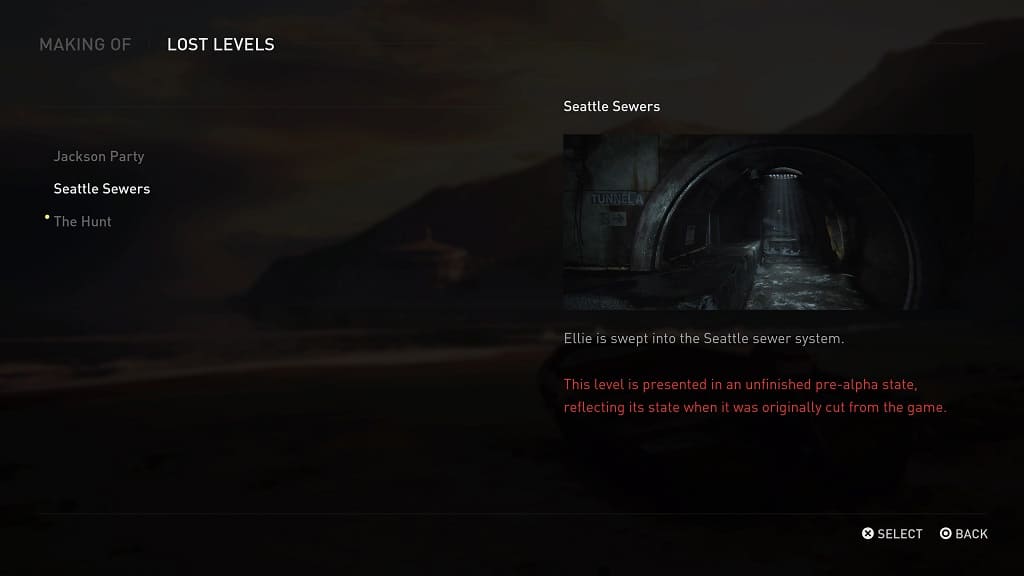
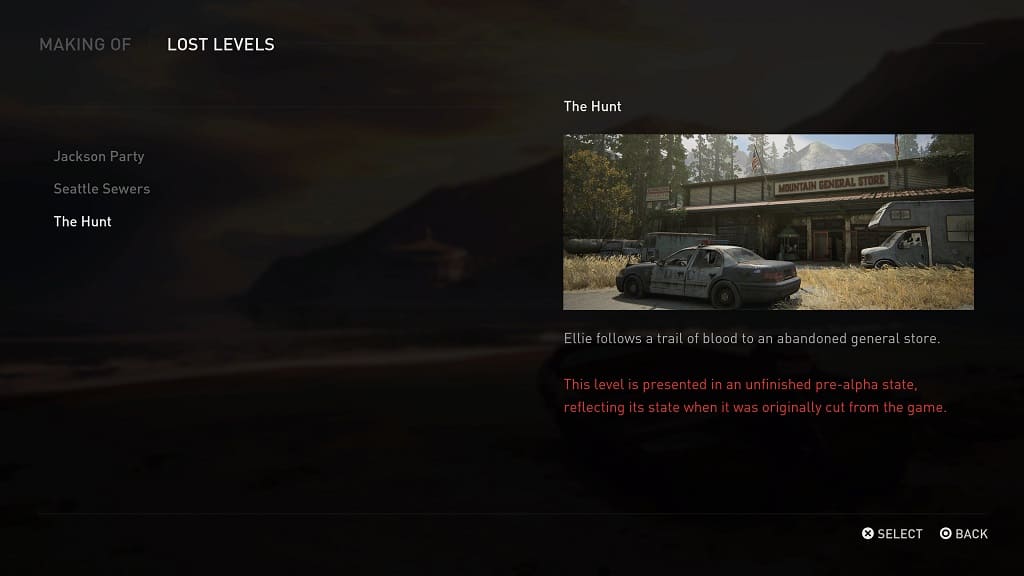
4. On the next screen, you should see the Jackson Party, Seattle Sewers and The Hunt levels.

On the right of the screen, you should see a short description of the stage along with a warning text saying that it is in a pre-alpha state. For the Jackson Party level, there is also additional text explaining that it does not have spoken dialogue.

5. Once you pick a level, you will be taken to a new screen.

Here, you can choose whether or not you want to enable developer commentary or the introduction video.

When you are ready, select the Start option to start playing the lost level.

How to make dodging and parrying easier in Prince of Persia: The Lost Crown

If you are having a hard time trying to dodge and parry in Prince of Persia: The Lost Crown, then you can check out this guide to see how you can increase the timing windows for these actions.

1. If you haven’t done so already, make your way to the Options menu.

You can do so by pausing the game, heading over to the System tab and then selecting Options.

2. From there, switch over to the Difficulty tab.

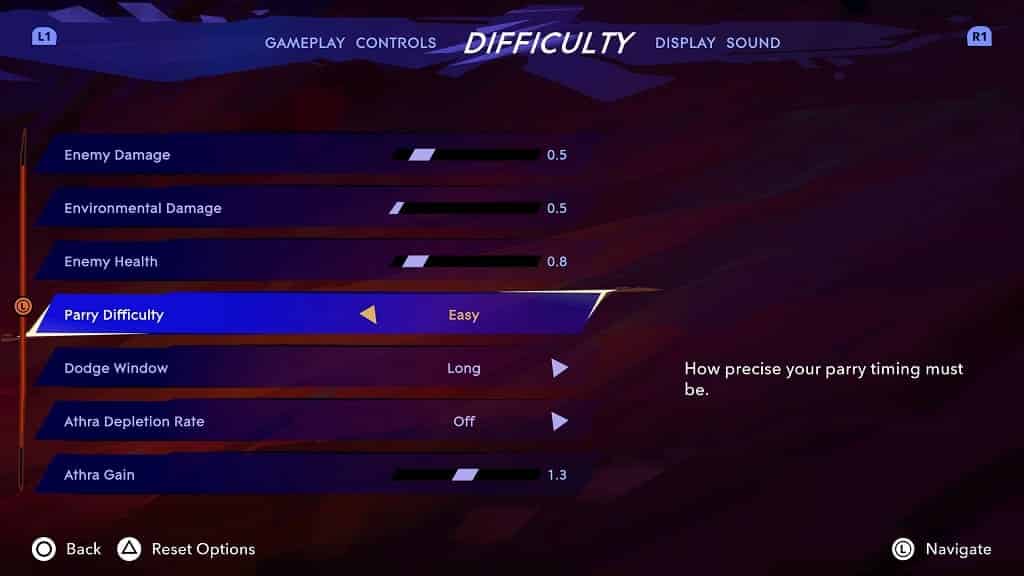
3. Scroll down and then move the cursor to Parry Difficulty. You should see the following description:

How precise your parry timing must be.

Make sure that this setting is set to Easy.

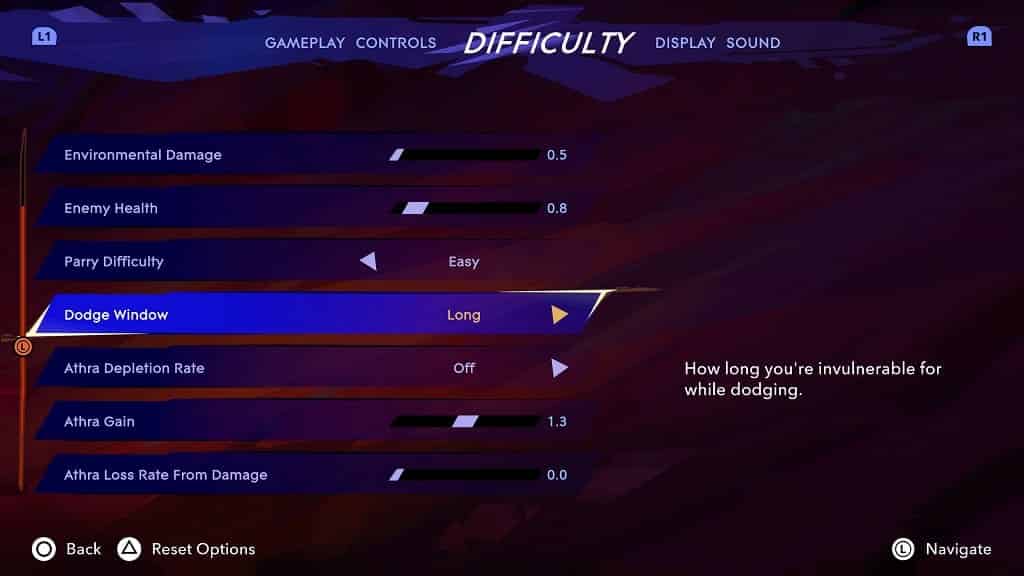
4. Next, move the cursor down to Dodge Window, which has the following description:

How long you’re invulnerable for while dodging.

Make sure that this setting is set to Long.

Exit the Options menu and return to your game. The new dodging and parrying settings should be applied.

How to make aiming and targeting easier in Prince of Persia: The Lost Crown

If you have issues trying to target and/or aim at enemies in Prince of Persia: The Lost Crown, then you can check out this guide at Seeking Tech to see how you can make these actions easier.

1. To start off, open the pause menu, head over to the System tab and then select Options.

2. In the Options screen, make sure you are viewing the Gameplay tab.

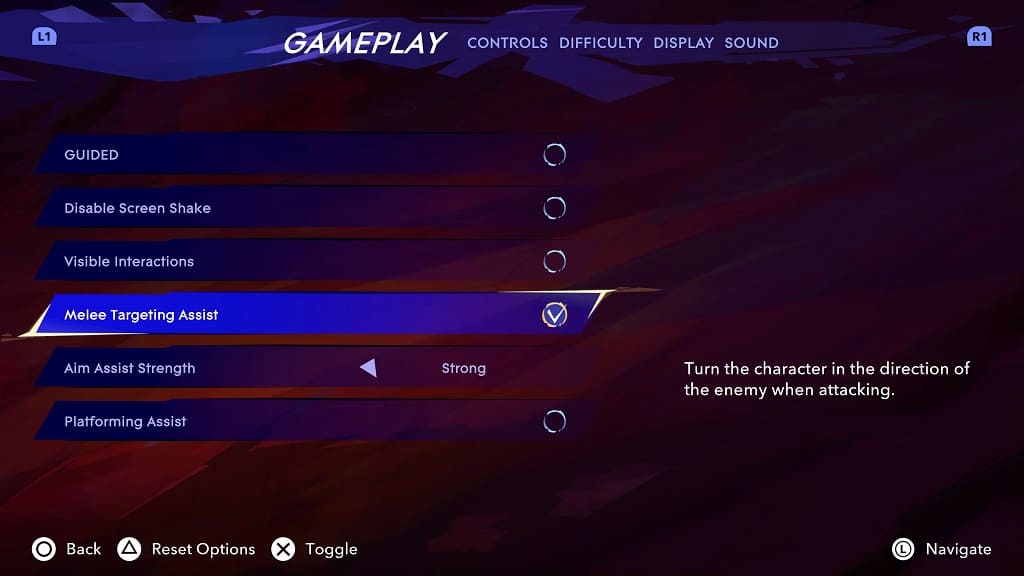
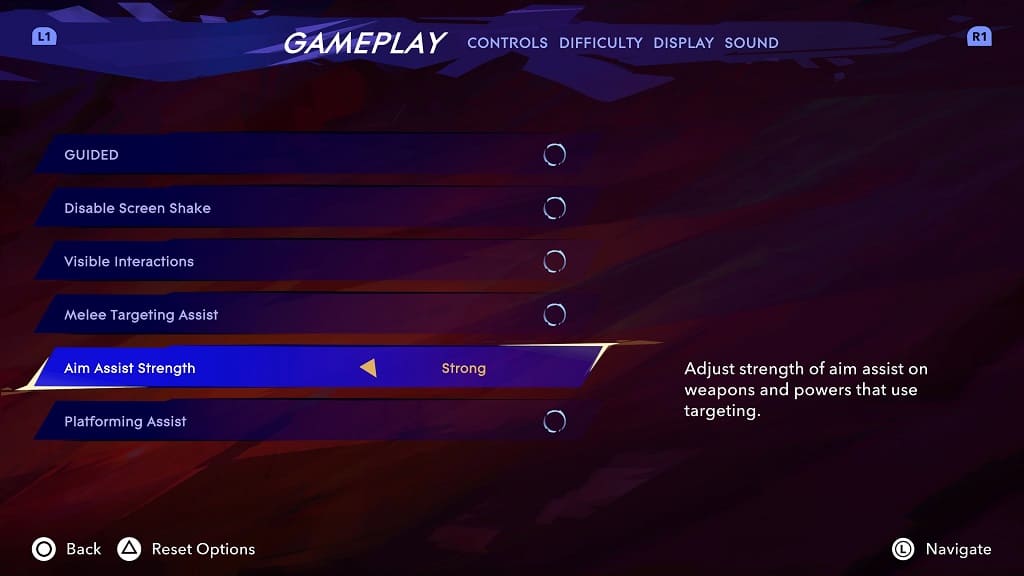
3. Move the menu cursor down to Melee Targeting Assist. It should have the following description:

Turn the character in the direction of the enemy when attacking.

Enable this setting so that you don’t have to worry about which direction your character is facing when executing a melee attack.

4. Move the cursor further down to Aim Assist Strength. You should see the following description:

Adjust strength of aim assist on weapons and powers that use targeting.

Make sure this setting is set to Strong if you have problems aiming.

Afterwards, exit the pause menu and then return to playing The Lost Crown. The assists should be applied to the game.

How to disable vibrations in Prince of Persia: The Lost Crown

If you are playing Prince of Persia: The Lost Crown with a compatible controller, then it will vibrate on certain actions. If you want to decrease the rumble intensity, or disable it altogether, then you can check out this tutorial from Seeking Tech.

1. To start off, open the pause menu, head over to the System tab and then select Options.

2. Inside of Options, you need to switch over to the Controls tab.

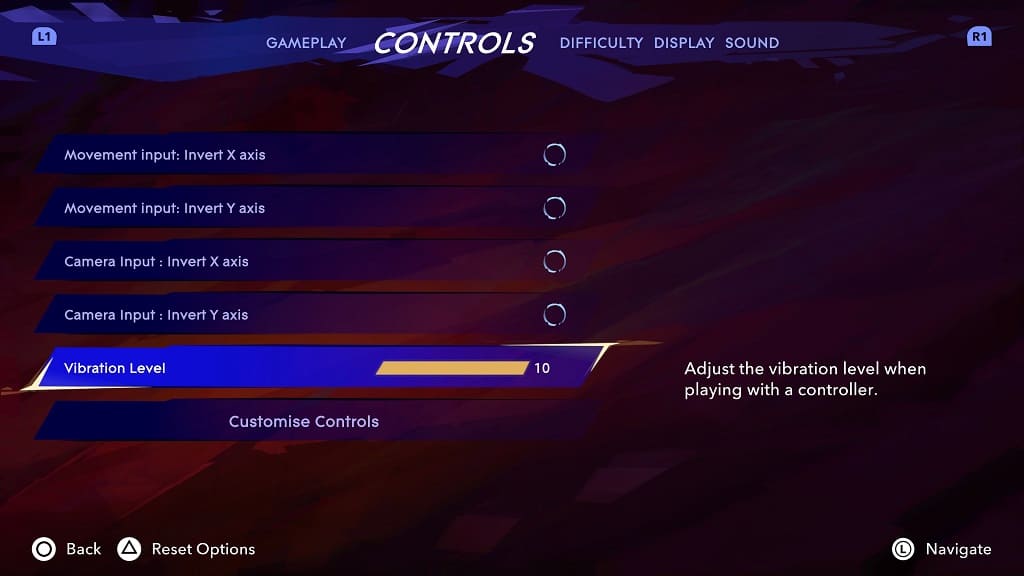
3. You should be able to find Vibration Level, which has the following description:

Adjust the vibration level when playing with a controller.

4. By default, this setting is set to 10.

To decrease it, move the slider to the left in increments of 1.

To fully disable haptic feedback in Prince of Persia: The Lost Crown, make sure that the Vibration Level is set to 0.

How to disable camera shake in Prince of Persia: The Lost Crown

The camera may shake during some situations in Prince of Persia: The Lost Crown. If you find this visual effect to be too distracting, then you can take a look at this troubleshooting article from Seeking Tech to see how you can disable it for this Metroidvania.

1. For the first step, open the pause menu and then head over to the System tab, where you can then select Options.

2. In Options, make sure you are viewing the Gameplay tab.

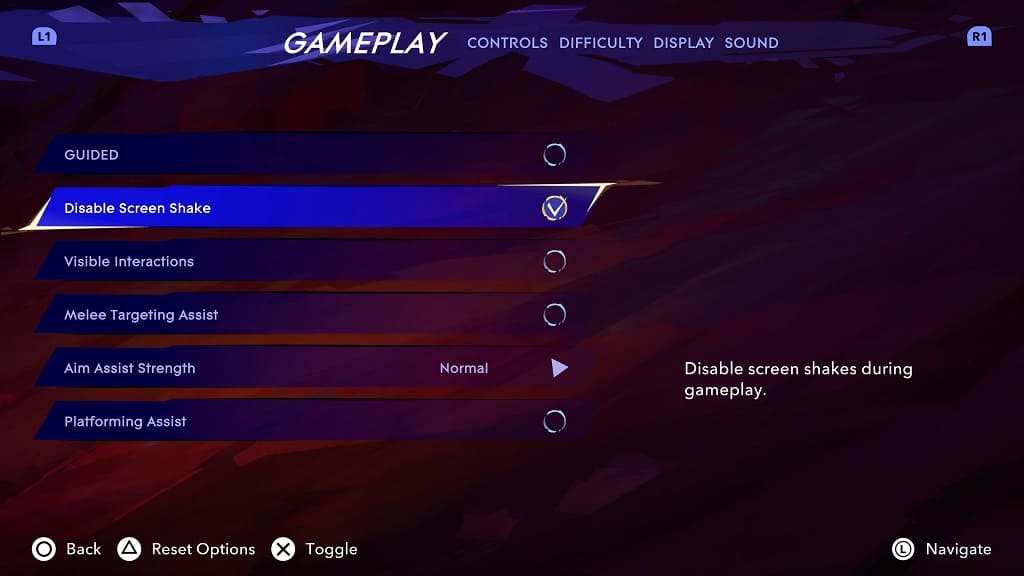
3. From there, move the menu cursor down to Disable Screen Shake. It should be showing the following description:

Disable screen shakes during gameplay.

4. Make sure that the Disable Screen Shake is selected.

5. Exit the pause menu.

You should no longer see the camera shaking in Prince of Persia: The Lost Crown.

How to skip platforming sections in Prince of Persia: The Lost Crown

If you find that some of the platforming levels in Prince of Persia: The Lost Crown to be too difficult, then you can check out this guide at Seeking Tech to see how you can skip them.

1. For the first step, make your way over to the Options menu.

You can do so by opening the pause menu and then going to the System tab. From there, select Options.

2. In Options, make sure you are viewing the Gameplay tab.

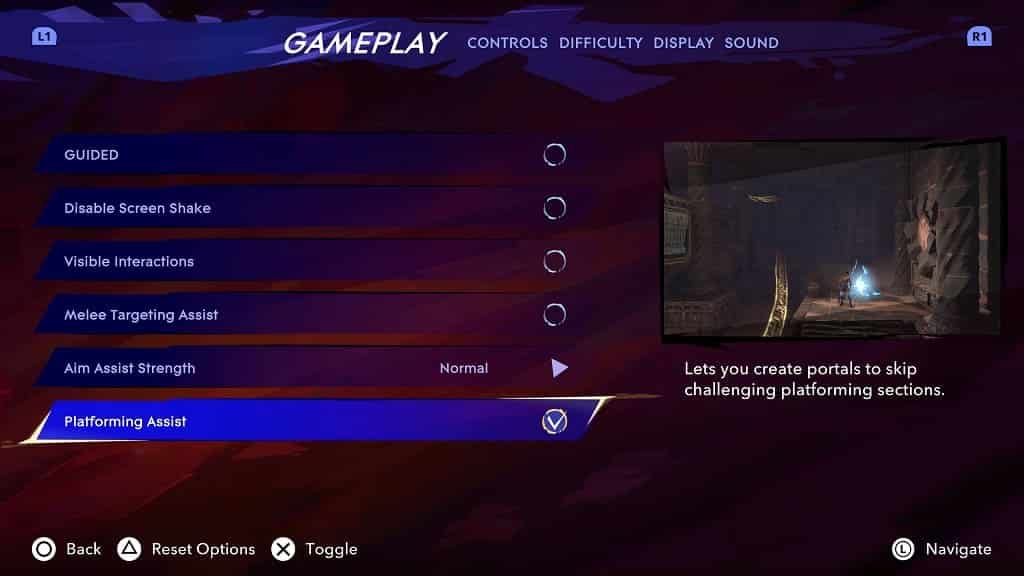
3. Next, scroll down to the Platforming Assist setting, which should be showing the following description:

Let’s you create a portable to skip challenging platforming sections.

4. Make sure that the setting is selected and then exit the Options menu.

A portable should now appear in platforming areas that will allow you to skip them in order to move onto the next section.

How to add markers to interactive objects in Prince of Persia: The Lost Crown

If you are having a hard time identifying which object can be interacted with in Prince of Persia: The Lost Crown, then you can check out this troubleshooting guide at Seeking Tech to see how you can enable markers.

1. To start off, open the pause screen in the game.

2 Afterwards, make your way to the System tab, where you can then select Options.

3. From the Options screen, make sure you are viewing the Gameplay section.

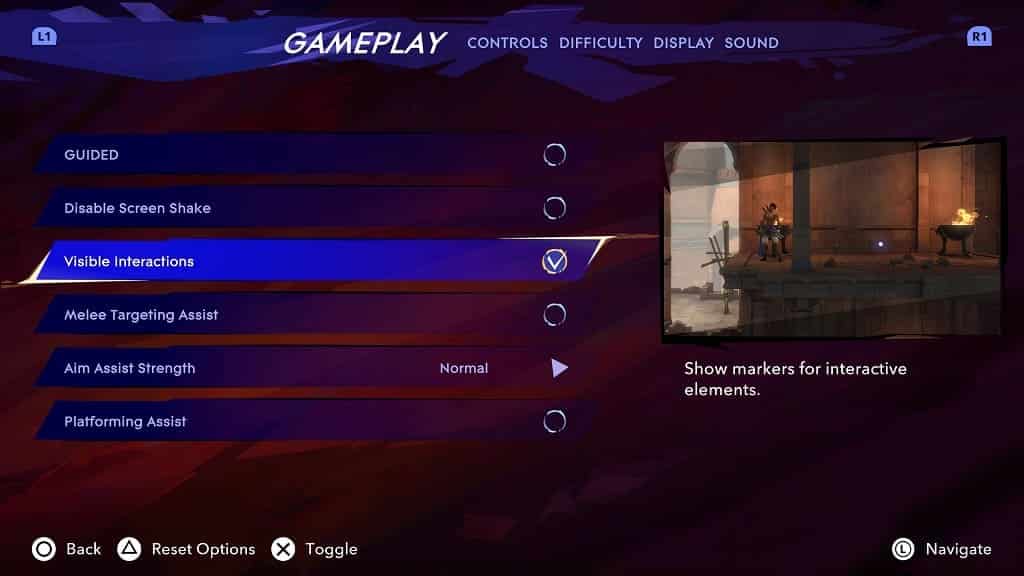
4. Next, you need to move the cursor down to Visible Interactions, which has the following description:

Show markers for interactive elements.

5. Make sure that Visible Interactions is selected and then exit the pause menu.

When you play Prince of Persia: The Lost Crown, you should now see a white dot on objects that you can interact with.

What to do if you get lost in Prince of Persia: The Lost Crown

Being from the Metroidvania genre, Prince of Persia: The Lost Crown has a lot of exploration, including some backtracking. If you find yourself getting lost frequently, then you can check out this guide at Seeking Tech to see how you can enable the Guided mode.

1. For the first step, you need to open the Pause menu.

If you are playing with a controller, then this can be done by pressing Options on PlayStation, Menu on Xbox or + on Switch.

2. In the Pause menu, switch over to the System tab and then select Options.

You can switch tabs by using the L1 and R1, LB and RB or L and R buttons.

3. You should be viewing the Gameplay tab right away. If not make sure you navigate over.

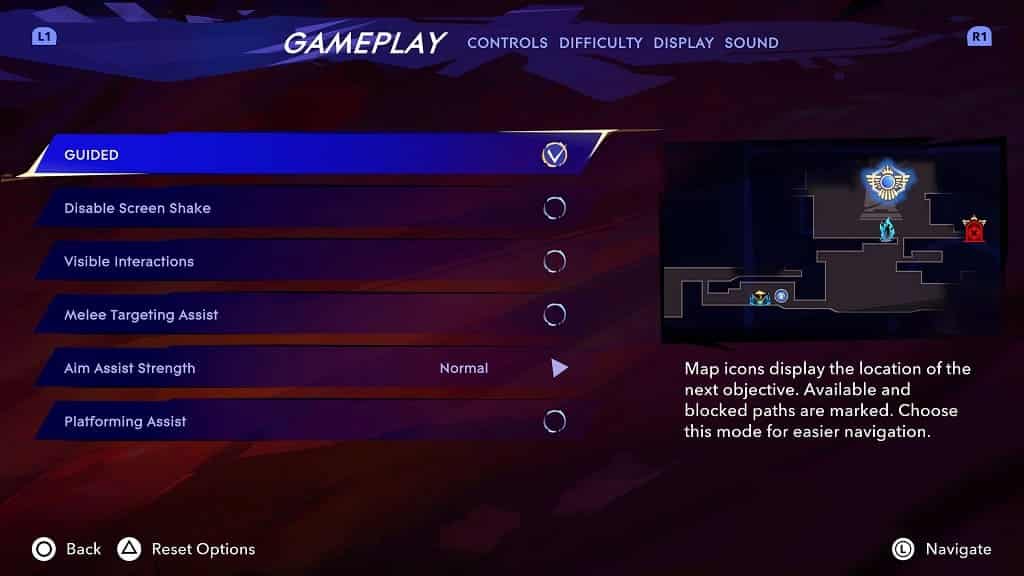
4. From there, make sure that the Guided setting is enabled.

By doing so, the locations of the next objective, open paths and blocked paths are marked on the map.

Exit the menu and return to playing The Lost Crown. When you open the map, you should see the new navigation icons that will lead you to where you need to go.