The B2 and G2 are both 4K OLED television sets that were released in 2022. These two TVs support all of the advanced display features set of the new PlayStation 5, PlayStation 5 Digital Edition, Xbox Series X and Xbox Series S consoles. These benefits include 120 frames per second, Variable Refresh Rate and Dolby Vision.
To see how you can properly set up your LG B2 or G2 for these gaming systems, you can take a look at this tutorial from Seeking Tech.
1. To start off, make sure you plug the console to your LG OLED.
For the uninformed, only the HDMI 3 and HDMI 4 ports of the B2 support HDMI 2.1. Therefore, you need to plug your PS5, Xbox Series X or Xbox Series S to those two ports.
All four HDMI ports of the LG G2 are HDMI 2.1; thus, you can connect your console to any of these ports.
2. Once you connected your console, you then need to change the HDMI bandwidth on your television set. In order to do so, you need to take the following steps:
- Open the Home Dashboard menu on your B2 or G2.
- Select the icon that has three vertical dots.
- You then need to select Edit Inputs.
- Next, you need to select the HDMI port that is currently connected to your PS5, Xbox Series X or Xbox Series S.
- Finally, you need to select PC to unlock the full HDMI bandwidth.
3. You should then make sure that the Game Optimizer mode has been turned on. In order to do so, go to Settings > All Settings > Picture > HDR Select Mode > Game Optimizer.
4. Next, there are several Brightness settings that you might need to change. To do so, head over to Settings > All Settings > Picture > Advanced Settings > Brightness.
Afterwards, make sure that you match the following settings for HDR games:
- OLED Pixel Brightness: 100
- Adjust Contrast: 100
- Black Level: 50
- Auto Dynamic Contrast: Off
- Dynamic Tone Mapping: HGiG
- Peak Brightness: High
- Gamma (Adjust Brightness): 2.2
- Video Range: Auto
- Motion Eye Care: Off
For SDR games, you can change OLED Pixel Brightness to 70, Adjust Contrast to 85 and then disable Dynamic Tone Mapping. You can leave the rest of the Brightness settings to the same values as you did for HDR games.
5. You can then adjust the color settings of your B2 or G2 by going to Settings > All Settings > Picture > Advanced Settings > Color.
From there, make sure you that you set Color Depth to 55 for HDR games or 50 for SDR games. For both HDR and SDR set Tint to 0. You should then select White Balance and then make sure that the Color Temperature, Red, Green and Blue settings are all set to 0.
6. You should also make sure that you are using any of the Clarity features from your LG B2 or G2. To start off, go to Settings > All Settings > Picture > Advanced Settings > Clarity.
From there, make sure that the Adjust Sharpness setting is set to 0. You should also disable the following features:
- Super Resolution
- Noise Reduction
- MPEG Noise Reduction
- Smooth Gradation
- Real Cinema
- TruMotion
7. Moreover, you need to disable any AI-enhanced picture settings. Start by going to Settings > All Settings > General > AI Service. You should then turn off all of the settings from this menu, including the following:
- AI Picture Pro
- AI Brightness Settings
- AI Genre Selection
8. You should then disable the Energy Saving Step setting by going to Settings > All Settings > General > OLED Care > Device Self Care > Energy Saving.
9. Next, head over to Settings > All Settings > General > OLED Care > Device Self Care > OLED Panel Care. From there, make sure you turn on Screen Move and then set Adjust Logo Brightness to Low.
10. Now you need to open the Game Optimizer menu and then make sure you match the following settings:
- Game Genre: Standard
- Reduce Blue Light: Off
- Dark Room Mode: Off
- Prevent Input Delay (Input Lag): Boost
- VRR & G-Sync: On
- Fine Tune Dark Area: 0
11. You should be done setting up your LG B2 or G2 TV for your console. With that said, you may still need to change a few settings on the console side.
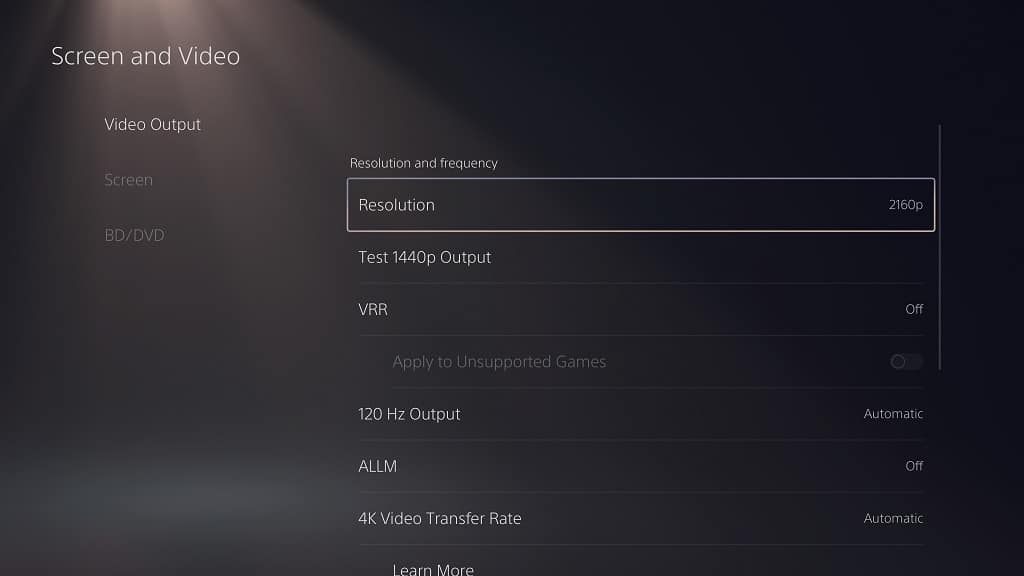
If you have a PS5 or PS5 Digital Edition, then you need to go to Settings > Screen and Video > Video Output. Afterwards, you need to make sure your settings are the same as the following:
- Resolution: 2160p
- VRR: Automatic
- 120 Hz Output: Automatic
- ALLM: Automatic
- 4K Transfer Rate: Automatic
- HDR: On When Supported
- Deep Color Output: Automatic
- RGB Range: Automatic (Recommended)

Select the Adjust HDR option from the Video Output menu. You then need to follow the on-screen instructions to properly calibrate the HDR brightness output.
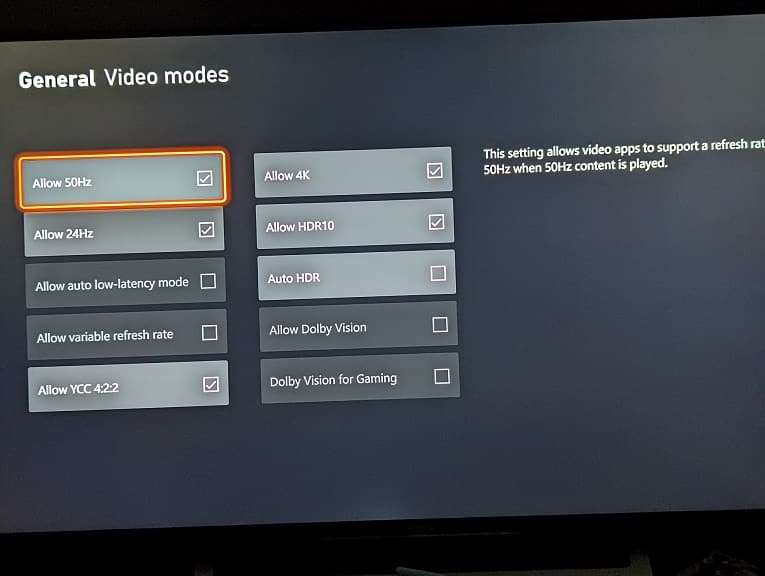
On the Xbox Series X or Xbox Series S, you first need to head over to Settings > General > TV & display options > Video modes. You can then enable the following:
- Allow auto-low latency mode
- Allow variable refresh rate
- Allow 4K
- Allow HDR10
- Allow Dolby Vision
- Dolby Vision for Gaming
From the same Video modes menu, you should also disable Auto HDR.

Head back to Settings > General > TV & display options and then make sure that Resolution is set to 4K. Afterwards, select Calibrate HDR and then follow the on-screen steps in order to calibrate the HDR brightness output.
