In addition to the internal storage, the Steam Deck also comes with a microSD card expansion slot that will let you add more space. You can take a look at this tutorial to see how you can move files between the internal storage and the microSD card as well as learn how you can change the default installation location.
How to move files on the Steam Deck
In order to move files between different storage options on your Steam Deck, you need to take the following steps:
1. Turn on your portable system if it is currently turned off.
2. You should also make sure that you have the microSD card inserted into the Steam Deck and formatted for use with the gaming console.
If you have having problems trying to insert or format a microSD card, then you can follow the steps laid out in this guide.
3. Once you are ready, go ahead and open the Steam menu by pressing the Steam button.
4. With the Steam menu opened, you need to select Settings.
5. Inside of Settings, scroll down the left column and then select Storage.
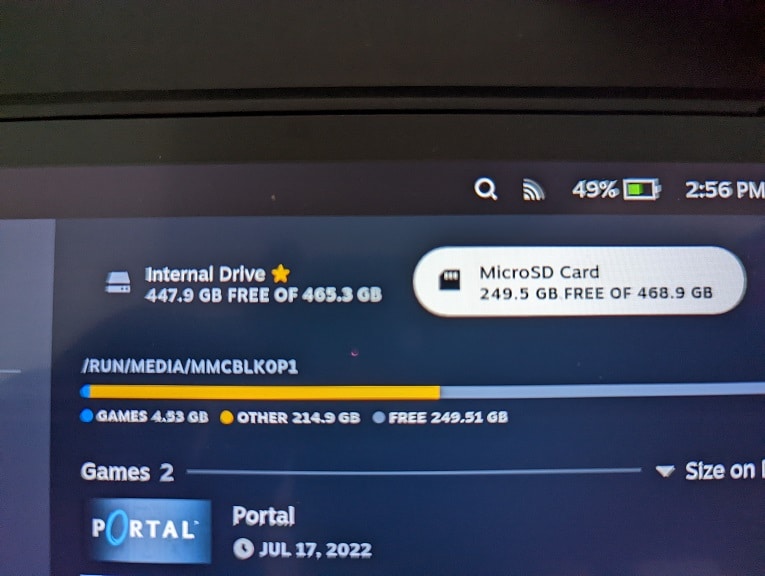
6. In the Storage section, you should see both Internal Drive and microSD card options located at the top. Here, you need to select the option that has the file(s) you want to move over to the other storage.
If you want to move something from the Internal Drive to the microSD card, then you need to select the Internal Drive option.
If you want to move something from the microSD card to the Internal Drive, then you need to select the microSD card.
7. Next, you need to hover over to the file that you want to move over.
8. With the aforementioned file highlighted, press the Y button.
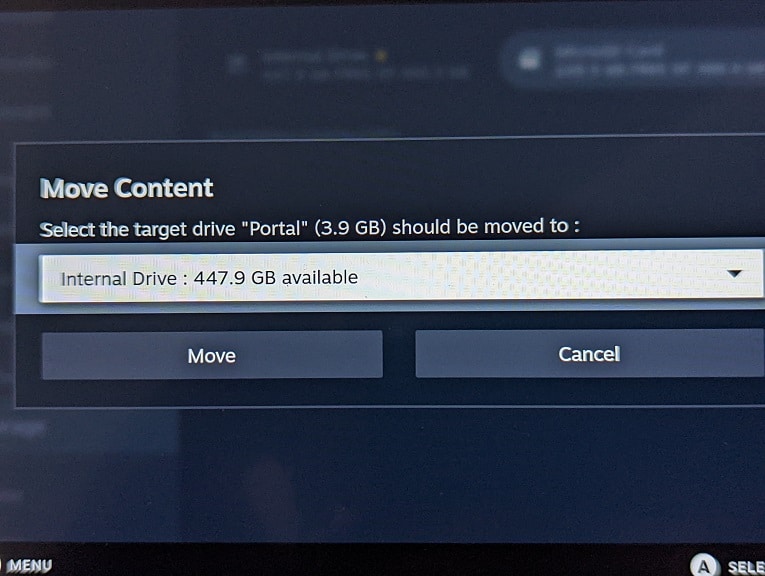
9. In the Move Content screen, select the new location and then select Move.

10. Once the transfer has completed, press the Close option in order to exit out of the Move Content screen.
How to change the default installation location on the Steam Deck
If you want to change the default installation location on your Steam Deck, then you need to do the following:
1. Open the Steam menu and then head into Settings.
2. Once you arrived in Settings, scroll down and then select Storage.
3. In the Storage section, you should see Internal Drive and microSD Card located at the top of the screen.
The option that has a star icon next to its name is the current default installation location.
4. Highlight the storage option that you want to switch to as the default installation location.

5. With the storage option highlighted, press the X button.
6. Once you are done, future game downloads and installations will now be stored in the storage option that you named as the default location.
