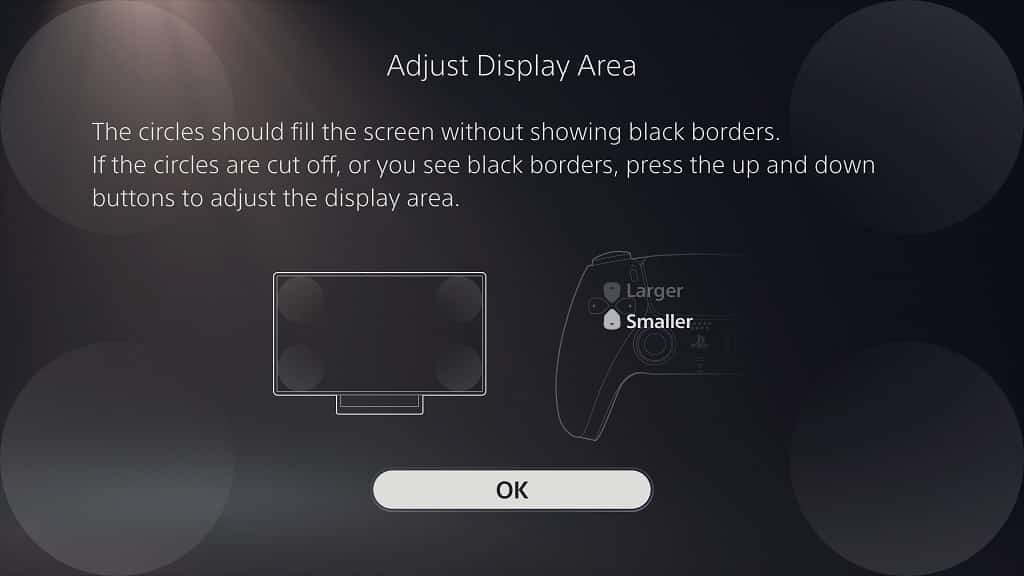
When playing the PlayStation 5 and/or PlayStation 5 Digital Edition, you may notice that games don’t completely fill out your television screen or monitor. You may also notice that games have cut off edges as the display area appears to be over-scanned.
If you are experiencing either or both of the aforementioned issues, then you can check out this troubleshooting guide at Seeking Tech to find some potential fixes.
About the PS5 Aspect Ratio
Before we start, it is important to note that the PlayStation 5 is designed for a 16:9 television screen or monitor. If you are using a display with an aspect ratio of 4:3, 16:10 or 21:9, then you may experience either cutoff borders or black bars.
If you aren’t using a 16:9 display with your PS5, then we recommend you play games with visible black bars on your screen. While you can also play games at full screen using the 4:3, 16:10 or 21:9 ratios, the image will be distorted.
Some games are also designed to display at a different ratio no matter what aspect ratio your TV or monitor is built for, even if it is a 16:9 display. Once again, we recommend sticking to the black bars so that you won’t get a distorted image.
If you are worry about the black bars potentially causing permanent burn-in to your television or monitor, then you can check out this guide to see how you can prevent it from happening.
How to fix black bars and cut off edges on PS5
If you are experiencing black bars and/or cut off edges even when playing games designed for the 16:9 aspect ratio on a matching 16:9 display, then you can take the following steps:
1. The first step we recommend taking is to adjust the aspect ratio settings of your television or monitor.
You need to make sure that your display isn’t stretching or cropping the video output from your PS5 system.
2. If changing the aspect ratio settings of your television or monitor does not resolve your issue, then you can try fixing it from the PS5 menus. To do so, you need to first turn on your system if you haven’t done so already.
3. With your PS5 turned on, you need to be in the Home Screen, which is the main system menu where you can select a videogame to open or go to the PlayStation Store.
If you are currently playing a game or using an app on the PS5, you can go to the Home Screen by pressing and holding the PS button on your DualSense.
4. In the Home Screen, locate the Settings menu, which has a gear icon on the top right corner of the screen. Select Settings with the X button on your DualSense controller.
5. Inside the Settings menu, select the Screen and Video option.
6. Inside the Screen and Video menu, select Screen from the list of available options on the left side.
7. On the right side of the same Screen and Video menu, you then need to select Adjust Display Size.
8. Inside the Adjust Display Area menu, you can use the up and down button on the directional pad of your controller (or the up and down direction of the left analog stick) to adjust the viewing area.
The main object here is to get the four circles on the edges as close to the edges of your display as possible without any visible black borders. The edges of the four circles should also not be cut off.

Once you are satisfied with the display area, press the X button on your controller to confirm the change.
If adjusting the display area does not resolve your issue, try changing the display settings from the menu of your television or monitor again.
If none of the aforementioned fixes work, then we recommend connecting your PlayStation 5 to a different television or monitor.
