The U.S. version of Live A Live supports both English and Japanese voice dialogue. To see how you can change the language in this unique Japanese role-playing game, you can take a look at this tutorial from Seeking Tech.
1. Before we start, it is important to note that the Language Settings can only be accessed from the title screen of Live A Live. So, if you are currently playing the game, then you need to save your progress and then quit back to the title screen.
On the PlayStation 4 and PlayStation 5 versions of the game, for example, you need to do the following:
- Press the Triangle button to open the Main Menu.
- In the Main Menu, press the Options button to open the Save Menu.
- Save your game in the Save Menu and then return to the Main Menu.
- Afterwards, select Settings.
- Inside of Settings, you need to select Return to Title.
- You should see a message warning you that you will be losing any unsaved progress. Here, you need to select Confirm.
2. Once you get to the title screen of Live A Live, press any button to open a list of options.
3. Next, you need to select the Settings option.
4. You should then select Language Settings from the Settings menu.
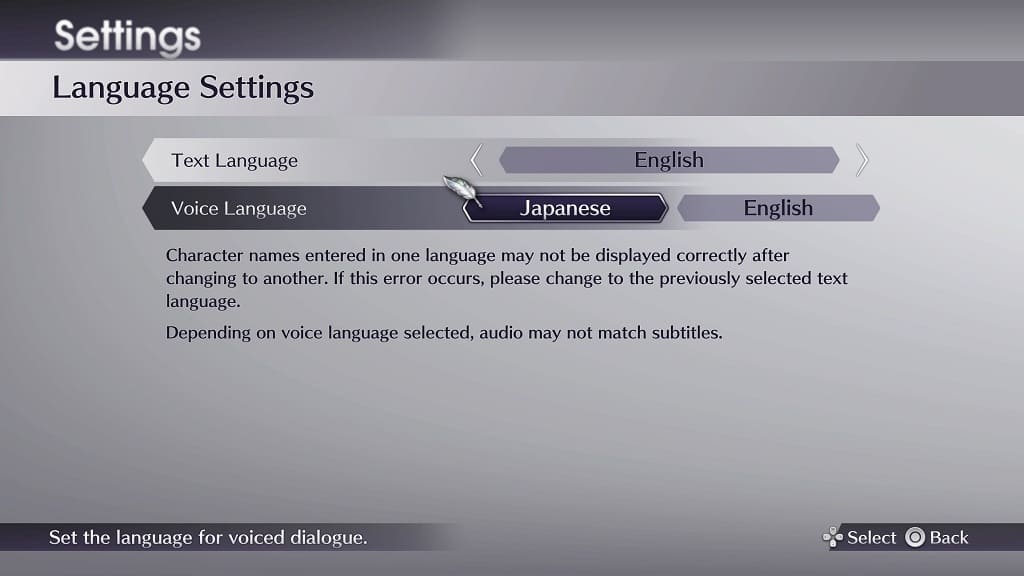
5. Inside the Language Settings sub-menu, you should see the Voice Language setting. By default, this is set to English if you are playing the U.S. region.
You can use the left analog stick or directional pad to change to a different voiced dialogue language.

6. From the same Language Settings sub-menu, you can also change the text language, which is set to English by default if you are playing the U.S. copy.
You should see the following options:
- English
- French
- Italian
- German
- Spanish
- Korean
- Simplified Chinese
- Traditional Chinese
- Japanese
7. Once you are done making the changes, go back out of the Language Setting menu. You should get a message saying that the new settings have been saved.
8. Load back into your game and should see the new language options enabled.
