You can now pay with Venmo when shopping in the Store App directly from your Xbox Series X and Xbox Series S. To see how you can add this payment option on either of these consoles, you can take a look at this tutorial from Seeking Tech.
1. To make things easier, you should first log into your Venmo account on a web browser on a smartphone.
2. Next, you need to turn on your Series X or Series S if you haven’t done so already.
2. In the home screen, you then need to make your way to the Settings App.
You can also head into Settings by pressing the Xbox button on the controller to open the Guide Menu. From there, you can select Settings from the Profile & System tab.
3. Inside of the Settings App, you need to select Account on the left column.
4. On the right side of the same screen, you then need to select “Payment & billing.”
5. From the “Payment & billing” menu, go to “Payment options.”
6. Select Add a new payment method from the Payment Options screen.
7. In the “Add a way to pay” menu, select eWallet.
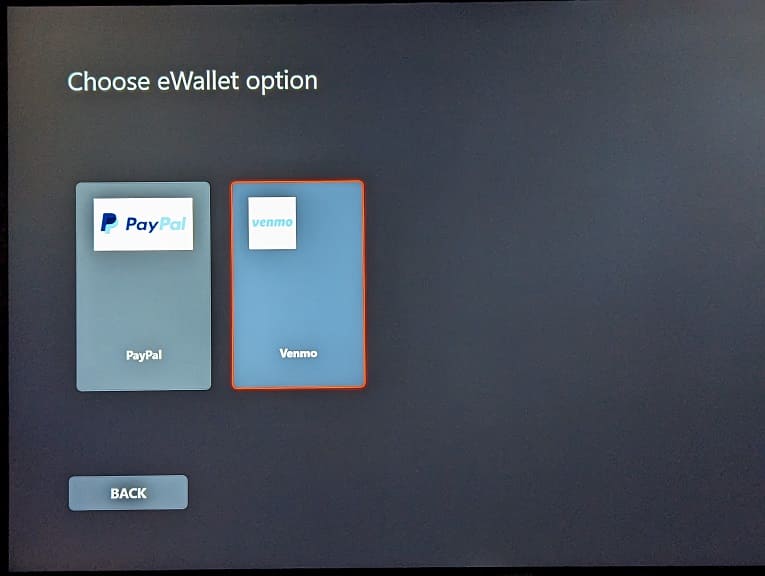
8. You should now be in the “Choose eWallet option” menu, which is where you need to select Venmo.

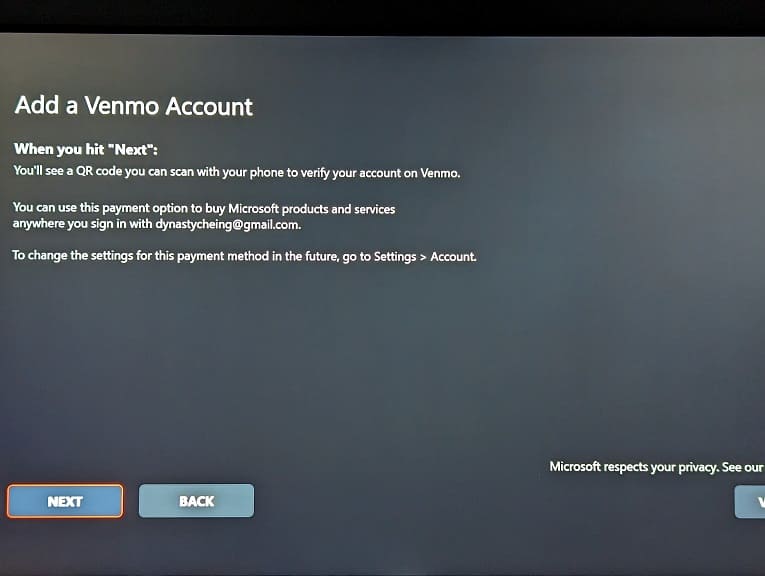
9. The “Add a Venmo Account” screen will explain how you can add Venmo to your Xbox Live account as well as how you can change the settings for this payment method in the future.
Here, you need to select Next to continue.

10. You should then see the QR Code.
If you have a phone that can scan the code, then you will be taken to the Venmo website where you can log into your Venmo account and then link it to your Xbox Live account.
If you don’t have a smartphone that is capable of reading the QR code, then you can select the Go to Venmo option. This should open the web browser on your Xbox Series X or Xbox Series S. From there, log into your Venmo account and then connect it to your Xbox Live account.
